How to Clean a Bathroom Exhaust Fan Properly
If your bathroom exhaust fan sounds louder than it used to, looks fuzzy with lint, or barely clears steam from the mirror, it probably needs a good cleaning. Learning how to clean a bathroom exhaust fan is a simple home maintenance job that can help the fan move moisture, dust, and odors more effectively.
The goal is not to deep-clean electrical parts with water. It is to safely remove the dust mat that builds up on the cover, fan housing, and blades so air can flow again.
Why a Clean Bathroom Fan Matters
Bathroom fans are there for more than odor control. They help pull damp air out of the room during showers and baths. The EPA advises using a bathroom fan or opening a window when showering, and notes that controlling moisture is key to preventing mold growth indoors. ([epa.gov](https://www.epa.gov/mold/brief-guide-mold-moisture-and-your-home?utm_source=openai))
Dust buildup can make that job harder. A clogged grille restricts airflow, and dust on the fan wheel or blades can make the motor work harder and sound rougher. The Home Ventilating Institute recommends removing the fan cover, vacuuming dust from the fan body, wiping with mild detergent, and avoiding solvents or harsh chemicals. ([hvi.org](https://www.hvi.org/resources/publications/exhaust-fan/?utm_source=openai))
How Often Should You Clean It?
For most homes, clean the bathroom exhaust fan every 6 months. If you have a large household, long steamy showers, pets, hairspray use, or a bathroom that stays humid, check it every 3 to 4 months.
You should clean it sooner if you notice:
- Dust hanging from the grille
- The fan sounds louder, rattly, or strained
- Steam lingers on mirrors and walls long after a shower
- There is mildew on the ceiling near the fan
- The fan cover looks gray instead of white
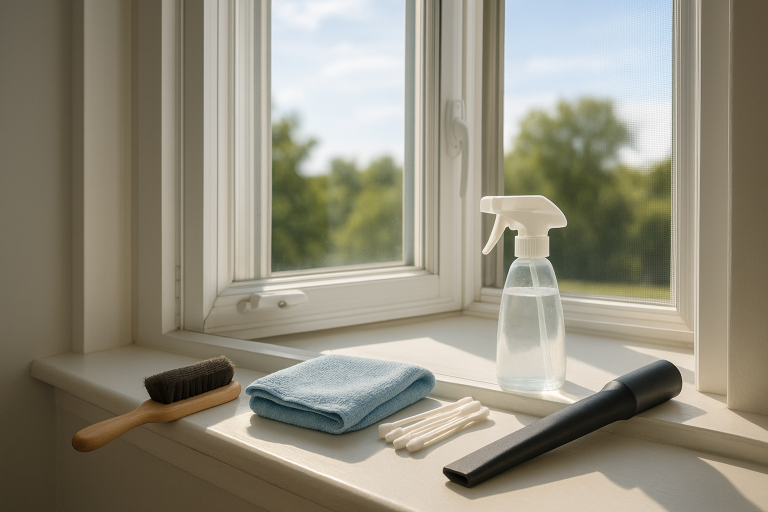
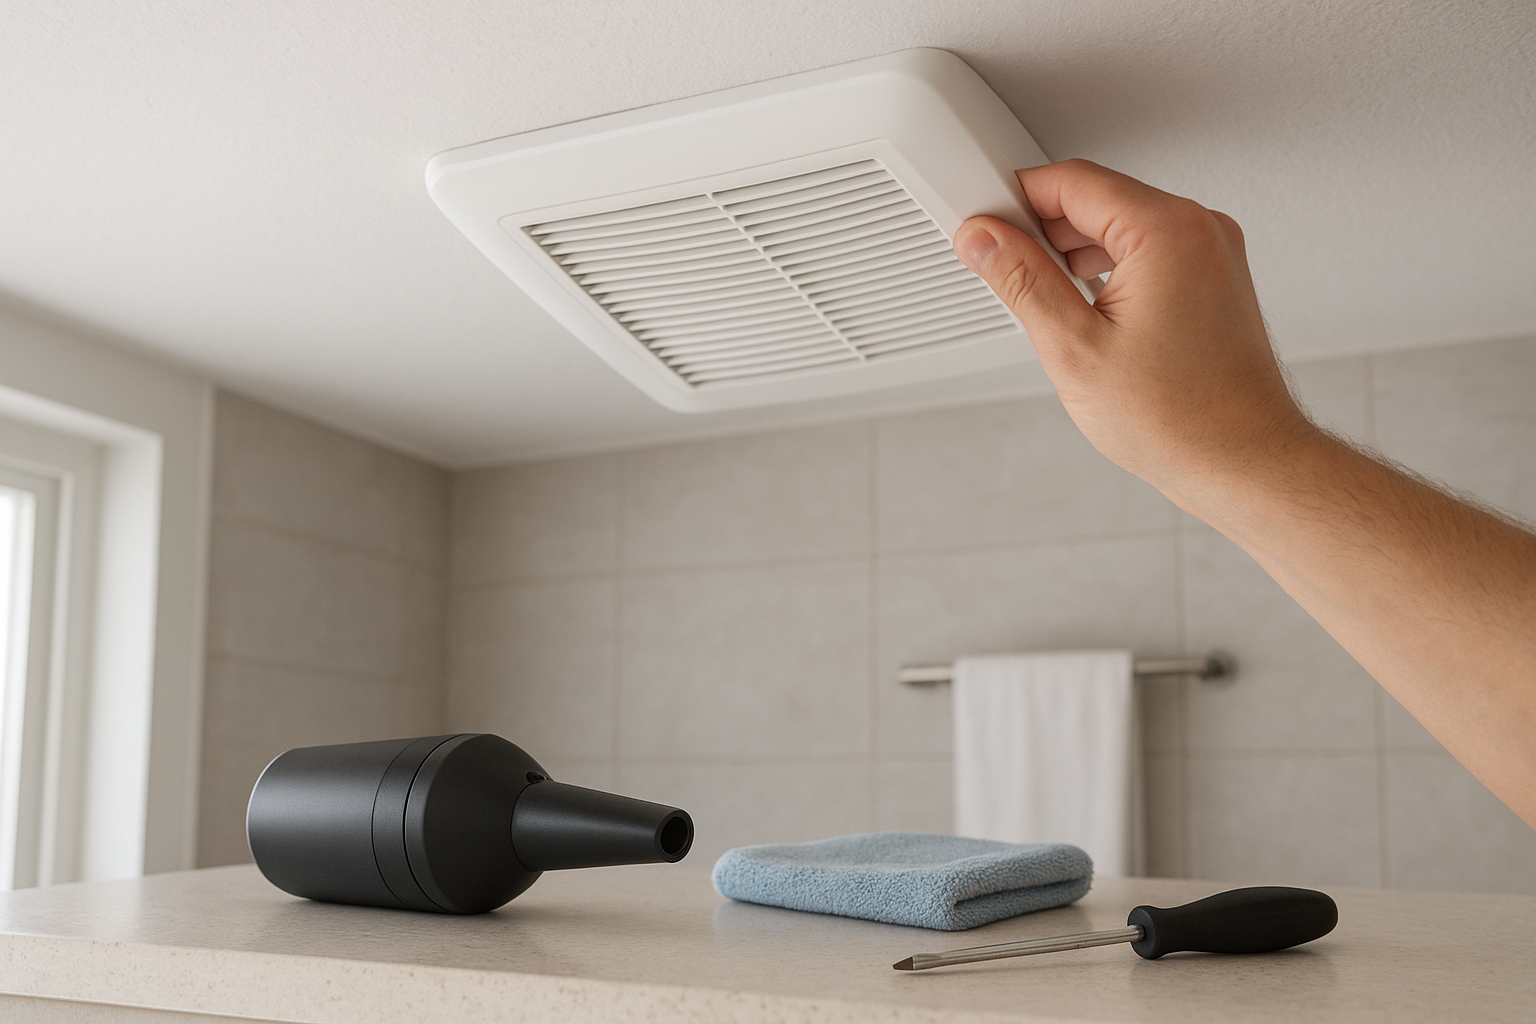
Supplies You’ll Need
- Step stool or sturdy ladder
- Vacuum with brush attachment or crevice tool
- Microfiber cloths
- Small soft brush or old toothbrush
- Mild dish soap
- Bowl or sink of warm water
- Screwdriver, if your cover is screwed in
- Dust mask and safety glasses, optional but helpful
Step 1: Turn Off Power to the Fan
Start by turning the fan off at the wall switch. For the safest approach, especially if you plan to reach inside the housing, turn off the bathroom fan circuit at the breaker as well.
If your fan is connected to a light, heater, or humidity sensor, confirm everything is off before you begin. Never spray cleaner into the fan or wipe near wiring with a dripping cloth.
Step 2: Remove the Fan Cover
Most bathroom fan covers are held in place by spring clips. Gently pull the cover straight down a few inches. You will usually see two wire springs pinched into slots on either side. Squeeze each spring clip inward and pull the cover free.
If your cover has visible screws, remove them carefully and set them somewhere safe. If the cover does not come loose easily, stop and look for hidden tabs, paint around the edges, or a model-specific latch. Do not yank it down, or you may crack the plastic or damage the ceiling drywall.
Step 3: Wash the Cover
Soak the plastic cover in warm water with a few drops of mild dish soap. Let it sit for 5 to 10 minutes to loosen dust, lint, and hairspray residue.
Use a soft brush to clean between the grille slats. Rinse well and dry completely with a towel. Set the cover aside until the fan housing is clean and dry.
Step 4: Vacuum the Fan Housing
Use the vacuum brush attachment to remove loose dust from inside the fan housing. Work slowly around the edges, the motor area, and the fan wheel or blades. A crevice tool can help reach tight corners, but be gentle around wires and small parts.
If you see a plug inside the housing, some fan motors can be unplugged and removed for deeper cleaning. Only do this if the power is off, the plug is easy to access, and you feel comfortable putting it back exactly as it was. If you rent, or if the fan is old and brittle, it may be better to stop at vacuuming and wiping.
Step 5: Wipe Dusty Surfaces
Dampen a microfiber cloth with warm soapy water, then wring it out very well. Wipe the inside edges of the housing and any accessible non-electrical surfaces. For stubborn lint on the fan wheel, use a dry toothbrush first, then vacuum again.
Important: do not use bleach, solvents, ammonia, or harsh degreasers inside the fan. HVI specifically advises against solvents or harsh chemicals when cleaning bathroom exhaust fans. ([hvi.org](https://www.hvi.org/resources/publications/exhaust-fan/?utm_source=openai))
Also avoid soaking the motor, spraying cleaner upward, or pushing dust deeper into the unit. The cloth should be damp, not wet.
Step 6: Check the Vent Flap
Many bath fans have a small damper flap where the fan connects to the duct. If you can see it from inside the housing, make sure it is not stuck shut with lint. It should open when the fan runs and close when the fan is off.
If the fan is clean but still does not move much air, the problem may be in the duct, roof cap, or wall vent outside. A crushed duct, bird nest, stuck exterior flap, or heavy lint blockage can keep air from exhausting outdoors. In that case, cleaning the visible fan will help only a little.
Step 7: Reinstall the Cover and Test the Fan
Once everything is dry, pinch the spring clips back into their slots and push the cover gently against the ceiling. If your cover uses screws, reinstall them snugly but do not overtighten.
Turn the breaker back on, then switch on the fan. Listen for a smoother sound. Hold a square of toilet paper near the grille; the fan should pull it toward the cover. This is not a precise airflow test, but it is a quick way to see whether suction improved.
How to Help the Fan Work Better After Cleaning
A clean fan still needs enough run time to remove humid air. ENERGY STAR and indoor air quality guidance commonly recommend running a bath fan during showers and for about 20 minutes afterward; EPA Indoor air guidance also references ventilation strategies that continue after the bathroom is vacated or until humidity drops below 60%. ([iaq.na.panasonic.com](https://iaq.na.panasonic.com/healthy-living/how-to-choose-the-best-bathroom-exhaust-fan-for-your-home?utm_source=openai))
For everyday use:
- Turn the fan on before or at the start of a shower.
- Leave it running at least 20 minutes after bathing.
- Keep the bathroom door slightly open afterward if privacy is no longer needed.
- Use a small hygrometer if the room often feels damp.
- Clean the fan cover before dust becomes visible from the floor.
When Cleaning Is Not Enough
Sometimes a bathroom fan is simply too old, too weak, or vented poorly. Consider repair or replacement if the fan still rattles, smells hot, fails to pull tissue toward the grille, or leaves the bathroom steamy after normal use.
Also check whether the fan actually vents outdoors. Bathroom fans should not dump damp air into an attic, wall cavity, or enclosed ceiling space. If you suspect yours does, have a qualified handyman, electrician, or HVAC pro inspect it. EPA guidance notes that local bathroom and kitchen fans that exhaust outdoors remove moisture and contaminants directly from the room. ([epa.gov](https://www.epa.gov/indoor-air-quality-iaq/addressing-indoor-environmental-concerns-during-remodeling?utm_source=openai))
The Bottom Line
Cleaning a bathroom exhaust fan is a small job with a big payoff. In about 20 to 30 minutes, you can remove the dust that blocks airflow, quiet down a strained fan, and help your bathroom dry faster after showers.
Add it to your spring and fall home maintenance list, right alongside changing HVAC filters and cleaning dryer vents. Your fan will work better, your bathroom will feel fresher, and you will be less likely to fight mildew on the ceiling later.