How to Plant Garlic in Fall for Bigger Summer Bulbs
If you want a low-fuss crop that makes you feel wildly successful next summer, plant garlic in fall. Each clove becomes a full bulb, and once it is tucked into the soil, the hardest part is mostly waiting.
This guide explains how to plant garlic in fall with practical spacing, depth, timing, and care tips you can use in a backyard bed, raised bed, or small kitchen garden.
Why Garlic Is Planted in Fall
Garlic grows best when it has time to make roots before winter, then gets a cold period that helps trigger bulb formation. Extension sources consistently recommend fall planting for a summer harvest, with timing adjusted by region and climate. ([pubs.extension.wsu.edu](https://pubs.extension.wsu.edu/product/vegetables-growing-garlic-in-home-gardens/?utm_source=openai))
Think of garlic as one of the last garden jobs of the year. You plant individual cloves in fall, they settle in over winter, green shoots appear in spring, and the bulbs size up as days get longer.
When to Plant Garlic in Fall
A good rule for many cold-winter areas is to plant garlic about 4 to 6 weeks before the ground freezes, or roughly 3 to 4 weeks before your soil usually locks up for winter. Cornell Cooperative Extension gives a practical target of planting about 3 to 4 weeks before the ground freezes, while Illinois Extension notes that fall planting is best before freeze-up. ([warren.cce.cornell.edu](https://warren.cce.cornell.edu/gardening-landscape/warren-county-master-gardener-articles/garlic?utm_source=openai))
In much of the northern United States, that often means October. In milder areas, planting may happen later. Washington State University Extension, for example, lists early to mid-fall for eastern Washington and late fall, around November, for western Washington gardens. ([pubs.extension.wsu.edu](https://pubs.extension.wsu.edu/product/vegetables-growing-garlic-in-home-gardens/?utm_source=openai))
The goal is simple: give the cloves enough time to root, but not so much warm weather that they put on a lot of leafy top growth before winter. A little green showing is usually not a disaster, but heavy growth can be more vulnerable to cold damage.
Choose the Right Garlic for Your Climate
There are two main garden types: hardneck and softneck. Hardneck garlic is generally favored in colder regions and produces a stiff central stalk plus edible spring scapes. Softneck garlic is common in grocery stores, usually stores longer, and often performs well in milder-winter regions. ([yardandgarden.extension.iastate.edu](https://yardandgarden.extension.iastate.edu/how-to/growing-garlic-home-garden?utm_source=openai))
For best results, buy seed garlic from a reputable garden supplier, local farm, nursery, or seed company. WSU Extension recommends certified seed garlic because it is grown for planting and should be free of important insects and diseases. ([pubs.extension.wsu.edu](https://pubs.extension.wsu.edu/product/vegetables-growing-garlic-in-home-gardens/?utm_source=openai))
You may be tempted to plant grocery store garlic. Sometimes it grows, but it may be treated to discourage sprouting, may not suit your climate, and could introduce disease. If you only want to experiment, try it in a separate spot rather than your best vegetable bed.
Pick and Prepare the Planting Spot
Garlic wants full sun, loose soil, and good drainage. Avoid soggy areas where bulbs may rot. North Carolina Extension describes garlic as doing best in loose, fertile, well-drained soil in full sun. ([plants.ces.ncsu.edu](https://plants.ces.ncsu.edu/plants/allium-sativum/?utm_source=openai))
Before planting, clear weeds thoroughly. Garlic does not compete well with weeds, especially in spring when bulbs are sizing up. Loosen the top several inches of soil and mix in finished compost if your bed is tired or compacted. If your soil is heavy clay, a raised bed can make garlic much easier to grow because it drains faster and warms earlier in spring.
How to Plant Garlic Cloves
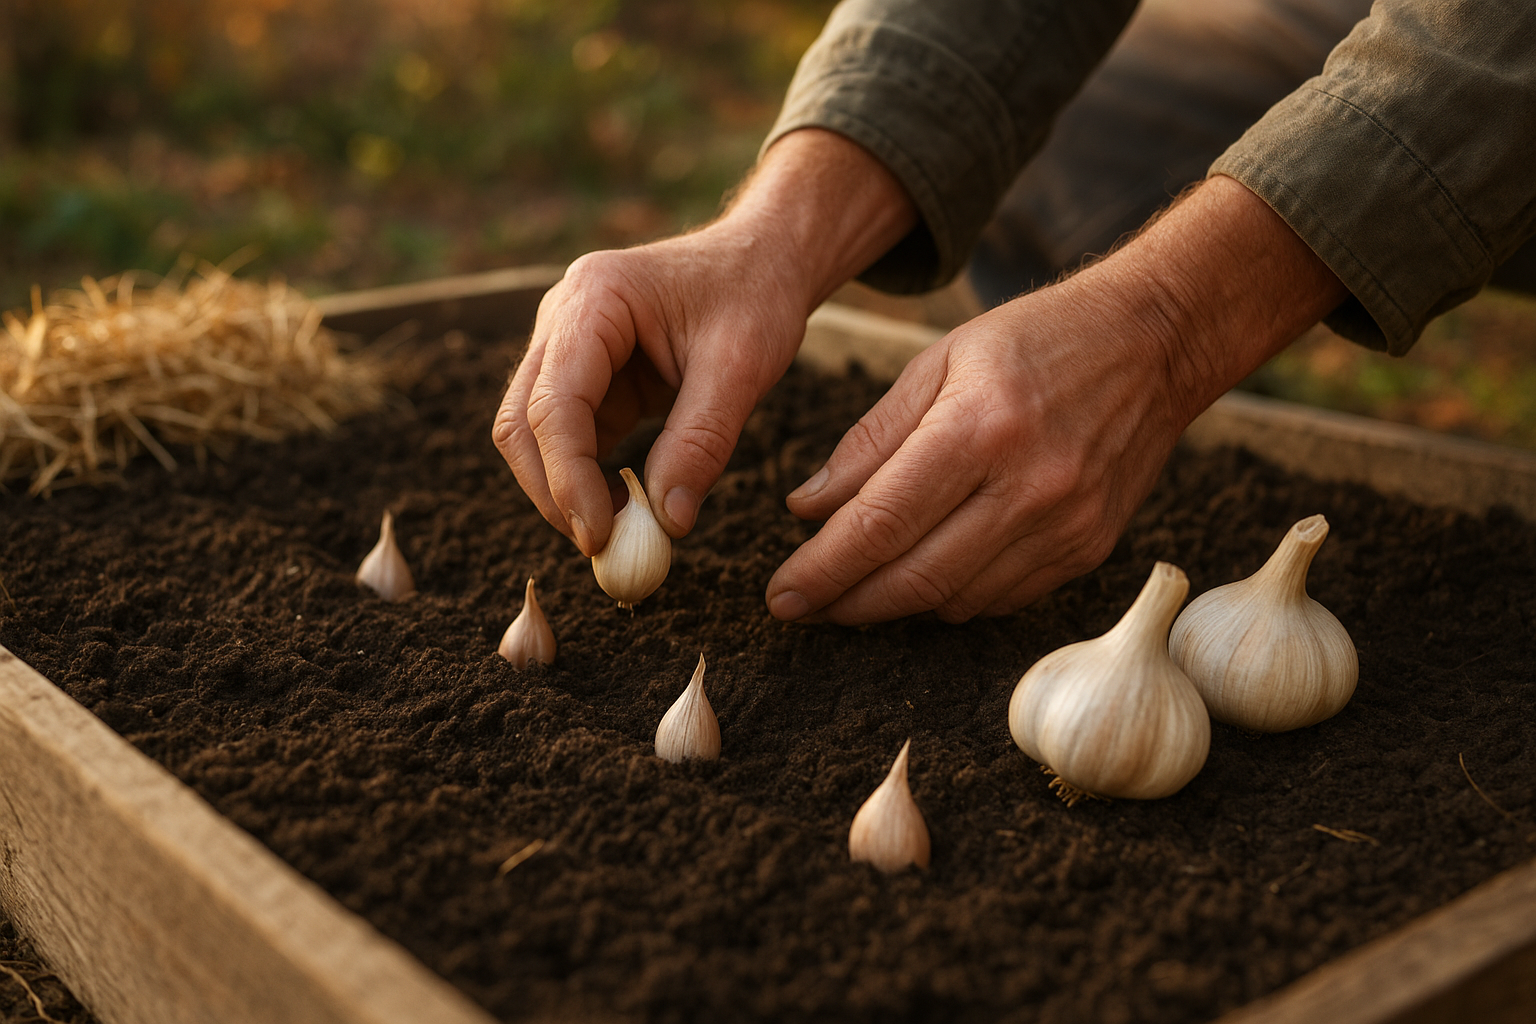
Do not separate the bulb into cloves weeks ahead of time. Break bulbs apart shortly before planting so the cloves stay firm and protected by their papery skins.
- Choose the biggest healthy cloves. Large cloves usually make larger plants and better bulbs. Skip tiny, soft, moldy, or damaged cloves.
- Keep the skins on. The papery covering helps protect the clove in the soil.
- Plant pointy end up. The flat root end goes down; the pointed tip faces the sky.
- Set cloves 2 to 3 inches deep. Several extension guides recommend planting in this general range, though some gardeners go slightly deeper in very cold climates. ([ask.extension.org](https://ask.extension.org/kb/faq.php?id=484904&utm_source=openai))
- Space cloves 4 to 6 inches apart. WSU Extension recommends 4 to 6 inches between cloves, with rows 12 to 24 inches apart. ([pubs.extension.wsu.edu](https://pubs.extension.wsu.edu/product/vegetables-growing-garlic-in-home-gardens/?utm_source=openai))
If you garden in a small raised bed, you do not need formal long rows. A grid works well. Space cloves about 6 inches apart in every direction so each bulb has room to size up.
Mulch After Planting
After planting, water the bed well if the soil is dry. Then cover the bed with clean straw, shredded leaves, or another loose organic mulch.
Many extension sources recommend a winter mulch layer. WSU Extension suggests 3 to 4 inches of mulch over the planting area, while Iowa State Extension recommends 4 to 6 inches of weed-seed-free straw after fall planting to help reduce winter injury and conserve moisture. ([pubs.extension.wsu.edu](https://pubs.extension.wsu.edu/product/vegetables-growing-garlic-in-home-gardens/?utm_source=openai))
Mulch also helps suppress weeds, which is a big deal with garlic. In windy areas, water the mulch lightly or lay a few small branches over it for a week or two to keep it from blowing away.
Spring Care for Bigger Bulbs
Garlic wakes up early. As soon as the soil warms, green shoots push through the mulch. Pull back any matted leaves if shoots are struggling, but leave enough mulch to block weeds and hold moisture.
Garlic needs steady moisture in spring, especially while leaves are actively growing. Aim for evenly moist soil, not soggy soil. If spring is dry, water deeply about once a week. Stop watering as harvest nears and the lower leaves begin to yellow, because wet soil late in the season can make curing harder.
If you planted hardneck garlic, it will send up curling flower stalks called scapes in late spring or early summer. Cut scapes when they curl but are still tender. University of Maine Extension notes that leaving scapes on the plant can significantly reduce final bulb size, and the scapes are also delicious in pesto, eggs, stir-fries, and compound butter. ([extension.umaine.edu](https://extension.umaine.edu/publications/2063e/?utm_source=openai))
When Garlic Is Ready to Harvest
Garlic is usually ready in summer, often around June or July depending on your climate and planting time. Watch the leaves rather than the calendar. A common sign is when the lower leaves have turned brown but several upper leaves are still green.
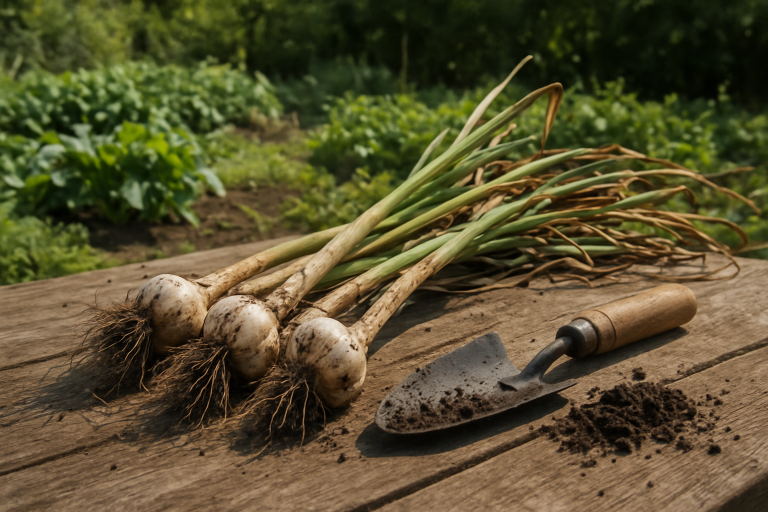
Do not yank garlic by the stalk. Loosen the soil with a garden fork, lift the bulbs gently, and keep the wrappers as intact as possible. Brush off loose soil, but do not wash the bulbs before curing.
Curing and Storing Garlic
To cure garlic, lay or hang the plants in a dry, shaded, airy spot for a few weeks. A garage, shed, covered porch, or well-ventilated basement can work if it is not damp. Once the necks are dry and the outer skins feel papery, trim roots, cut stalks, and store bulbs in a cool, dry place with good airflow.
Save your largest, healthiest bulbs for planting again in fall. Over time, replanting your best bulbs can help you build a garlic strain that performs well in your own garden conditions.
Common Garlic Planting Mistakes
- Planting too early: Garlic should root before winter, but too much leafy growth before hard cold is not ideal.
- Planting in wet soil: Poor drainage can rot cloves before they establish.
- Using tiny cloves: Small cloves often produce small bulbs.
- Skipping mulch: Mulch protects the bed, conserves moisture, and helps reduce weeds.
- Letting weeds take over: Keep the bed clean in spring so garlic does not compete for nutrients and water.
A Simple Fall Garlic Plan
For an easy first crop, buy one or two pounds of seed garlic suited to your region, prepare a sunny weed-free bed, and plant cloves 2 to 3 inches deep and 4 to 6 inches apart. Water once, mulch well, and mark the bed so you do not accidentally dig it up later.
That is really the charm of garlic: one quiet fall afternoon can turn into baskets of flavorful bulbs next summer. Plant it once, and you may decide it deserves a permanent place in your garden every year.