How to Clean a Bathroom Exhaust Fan the Right Way
If your bathroom mirror stays foggy long after a shower, the exhaust fan may not be doing its job. Dust and lint build up on the grille, blades, and housing, which can make the fan louder, weaker, and less useful for pulling moisture out of the room.
The good news: learning how to clean a bathroom exhaust fan is a simple home maintenance job you can usually finish in 20 to 30 minutes. You do need to be careful around electricity and moving parts, but most standard ceiling fans come apart with no special tools.
Why a Clean Bathroom Fan Matters
A bathroom exhaust fan helps move damp air outdoors. The EPA notes that bathroom fans that exhaust outside can increase ventilation and help remove pollutants, and it also warns that moisture problems can contribute to mold growth indoors. ([epa.gov](https://www.epa.gov/indoor-air-quality-iaq/improving-indoor-air-quality?utm_source=openai))
When the fan cover is packed with dust, less air can pass through. That means more steam hanging around on walls, ceilings, grout, and painted trim. Over time, that can show up as peeling paint, musty smells, mildew spots, or a fan that sounds like it is struggling.
How Often Should You Clean a Bathroom Exhaust Fan?
For most homes, clean the fan every six months. If the bathroom gets heavy daily use, has no window, or the fan collects visible lint quickly, check it every three months. A quick vacuum of the grille between deep cleans can help keep air moving.
You should also clean the fan if you notice any of these signs:
- The cover looks gray, fuzzy, or dusty.
- The fan is louder than it used to be.
- Steam lingers on the mirror or ceiling after showers.
- The bathroom smells damp or musty.
- The fan passes the “tissue test” poorly, described below.
What You’ll Need
- Step stool or sturdy ladder
- Vacuum with brush attachment or crevice tool
- Microfiber cloths
- Small soft brush or old toothbrush
- Warm water
- Dish soap
- Screwdriver, if your fan cover has screws
- Flashlight
- Dust mask, optional but helpful
Skip harsh solvents, soaking electrical parts, and spraying cleaner directly into the fan housing. Some manufacturer care guides specifically recommend mild soap for the grille and a vacuum for the fan housing, while warning against strong chemicals such as paint thinner or benzene. ([images.thdstatic.com](https://images.thdstatic.com/catalog/pdfImages/f6/f6c0cac7-170f-463a-8789-90e615fc76b9.pdf?utm_source=openai))
Step 1: Turn Off the Power
Start by switching the bathroom fan off at the wall. For the safest job, turn off the breaker that controls the fan, especially if you plan to touch anything inside the housing. If your fan and bathroom light are on the same circuit, bring in a battery work light or open a window for daylight.
Never clean inside a running fan. Even a small fan can pinch fingers, and damp cleaning around live electrical parts is not worth the risk.
Step 2: Remove the Fan Cover
Most bathroom fan covers are held in place by spring clips. Gently pull the cover straight down an inch or two. You should see two wire springs on opposite sides. Squeeze each spring clip inward, then slide it out of its slot. Set the cover aside.
If your cover has screws, support the cover with one hand while removing the screws with the other. Put the screws in a small cup so they do not disappear down the sink drain.
Step 3: Wash and Dry the Cover
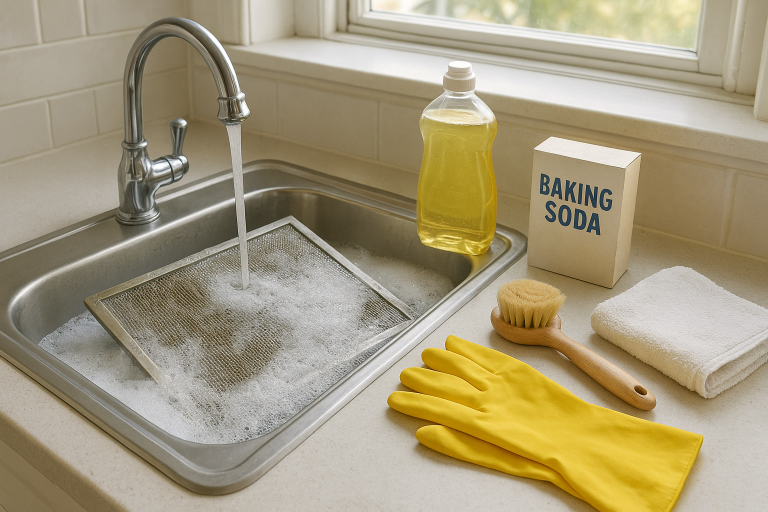
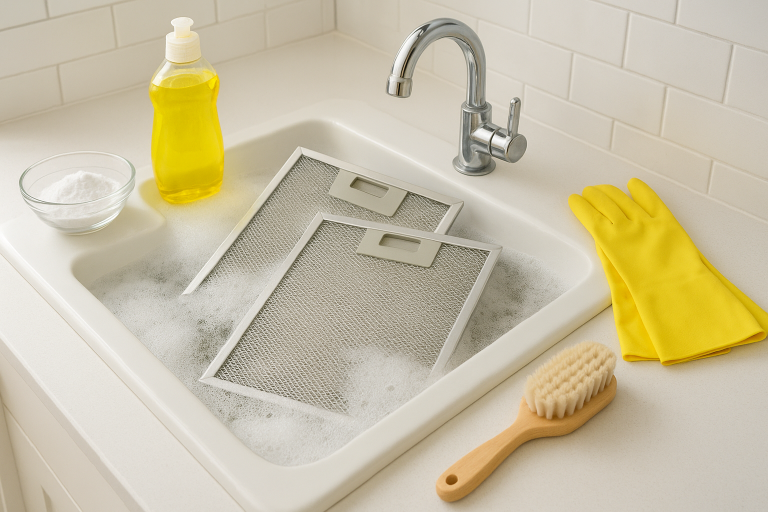
Fill the sink with warm water and a few drops of dish soap. Soak the cover for several minutes, then scrub the slats with a soft brush or cloth. Rinse well.
Dry the cover completely before reinstalling it. This matters because a damp grille can grab new dust quickly, and you do not want water dripping back toward the fan motor.
Step 4: Vacuum Loose Dust from the Housing
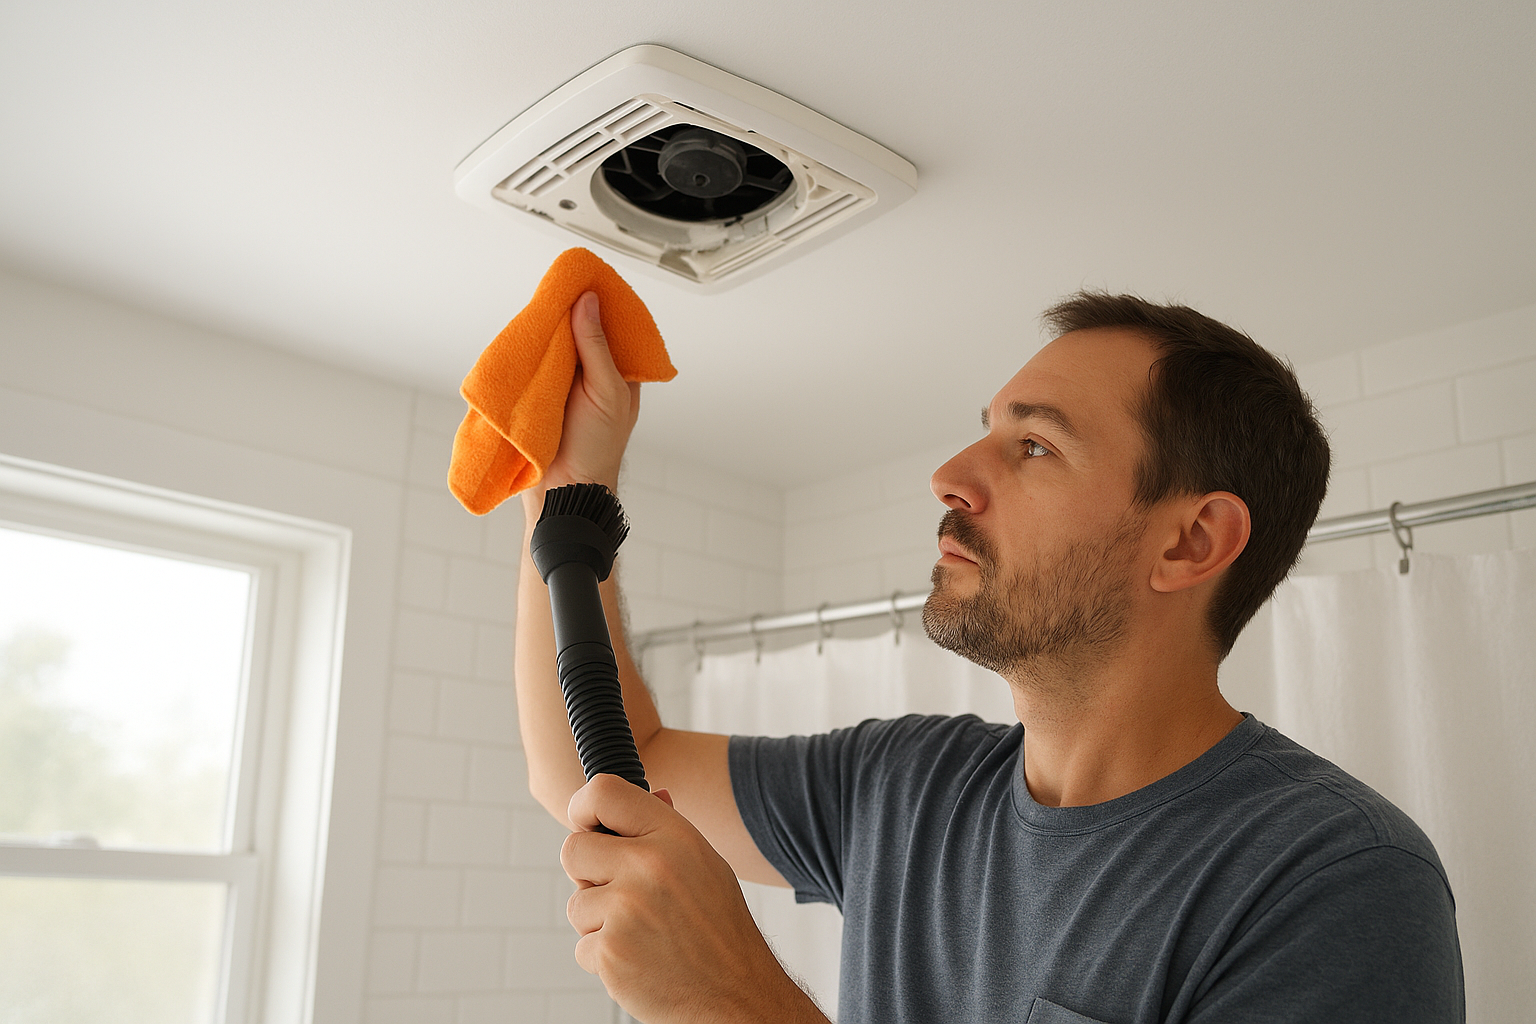
Use the vacuum brush attachment to remove dust from inside the fan housing, around the edges, and near the duct opening. Lowe’s and This Old House both recommend using a vacuum or brush attachment to clear dust from the housing and vent area after the cover is removed. ([lowes.com](https://www.lowes.com/n/how-to/how-to-clean-bathroom-exhaust-fan?utm_source=openai))
Work gently. Do not shove the vacuum hose hard against wires, the motor, or the damper flap. If you see a small flap at the duct opening, it should move freely; its job is to help keep outside air from flowing back into the bathroom when the fan is off.
Step 5: Wipe the Fan Blades Carefully
After vacuuming, wipe the fan blades or squirrel-cage wheel with a dry or barely damp microfiber cloth. A small paintbrush, detail brush, or old toothbrush can help loosen stubborn lint.
If your fan design allows the motor-and-blower assembly to unplug and come down easily, you may be able to clean it more thoroughly on a towel. But do not force it. Many fans are not meant to be removed casually, and tugging on wires can create a bigger problem than dust.
Step 6: Clean the Ceiling Around the Fan
Dust often collects on the ceiling around the grille. Wipe the surrounding ceiling with a dry microfiber cloth first. If there are faint grime marks, use a barely damp cloth with a tiny amount of mild soap, then wipe again with clean water.
Avoid soaking painted drywall or textured ceilings. Too much moisture can soften paint or damage texture.
Step 7: Reinstall the Cover
Once the cover is fully dry, squeeze the spring clips and guide them back into their slots. Push the cover gently until it sits flush against the ceiling. If your model uses screws, tighten them just until snug; overtightening can crack plastic covers.
Turn the breaker back on, then switch on the fan. Listen for scraping, rattling, or a new vibration. If the cover is not seated correctly, turn the fan off and adjust it.
Do a Quick Airflow Test
Hold one square of toilet tissue against the fan grille while the fan is running. A working fan should hold the tissue against the cover. If the tissue falls immediately, the fan may still be clogged, the duct may be blocked, or the fan may be too weak for the room.
Also check the outdoor vent if you can reach it safely from the ground. Leaves, lint, pest nests, or a stuck exterior flap can stop airflow even when the fan itself is clean.
When Cleaning Is Not Enough
Cleaning helps a dusty fan, but it will not fix every ventilation problem. Consider repair or replacement if the fan hums but does not spin, smells hot, rattles loudly, or fails the tissue test after cleaning. You should also investigate if the fan vents into an attic instead of outdoors; bathroom moisture should be exhausted outside, not dumped into insulation or framing.
If the room stays damp after showers, run the fan during the shower and for a while afterward. The EPA recommends using a bathroom fan that vents outdoors, or opening a window when conditions allow, during and after showering to exhaust moisture. ([epa.gov](https://www.epa.gov/indoor-air-quality-iaq/biological-contaminants-and-indoor-air-quality?utm_source=openai))
Small Habits That Keep the Fan Cleaner
- Leave the fan on after showers so damp air clears before it settles.
- Vacuum the grille when you clean the bathroom floor.
- Keep towels spread out so they dry faster.
- Use a squeegee on shower walls to reduce lingering moisture.
- Do not spray hairspray or powder products directly under the fan.
A clean bathroom exhaust fan is one of those small jobs that pays off quietly. It helps the room dry faster, cuts down on dusty buildup, and gives you a better chance of preventing musty bathroom problems before they start.