How to Clean a Smelly Garbage Disposal
A smelly garbage disposal can make the whole kitchen feel dirty, even when the sink looks spotless. The good news: most odors come from food residue under the splash guard, inside the grinding chamber, or in the drain line, and you can usually clear them with a short cleaning routine using supplies you already have.
Here is a practical, low-mess way to clean a smelly garbage disposal, plus the daily habits that help keep the stink from coming back. Always follow your disposal manufacturer’s instructions first, especially if your model has specific cleaning guidance.
Before You Start: Safety First
Never put your hand down into a garbage disposal. If you need to remove something visible, turn off the disposal at the wall switch and, for extra safety, unplug it under the sink or switch off the breaker. Use tongs or pliers instead of fingers.
For normal cleaning, you do not need to disassemble the unit. You will be cleaning the rubber splash guard, deodorizing the chamber, and flushing loosened debris through the drain. Major appliance makers and home maintenance guides commonly recommend running cold water while using the disposal because it helps food waste move through and can keep fats more solid as they are chopped and flushed. ([geappliances.com](https://www.geappliances.com/clean-disposall-garbage-disposal?utm_source=openai))
What You’ll Need
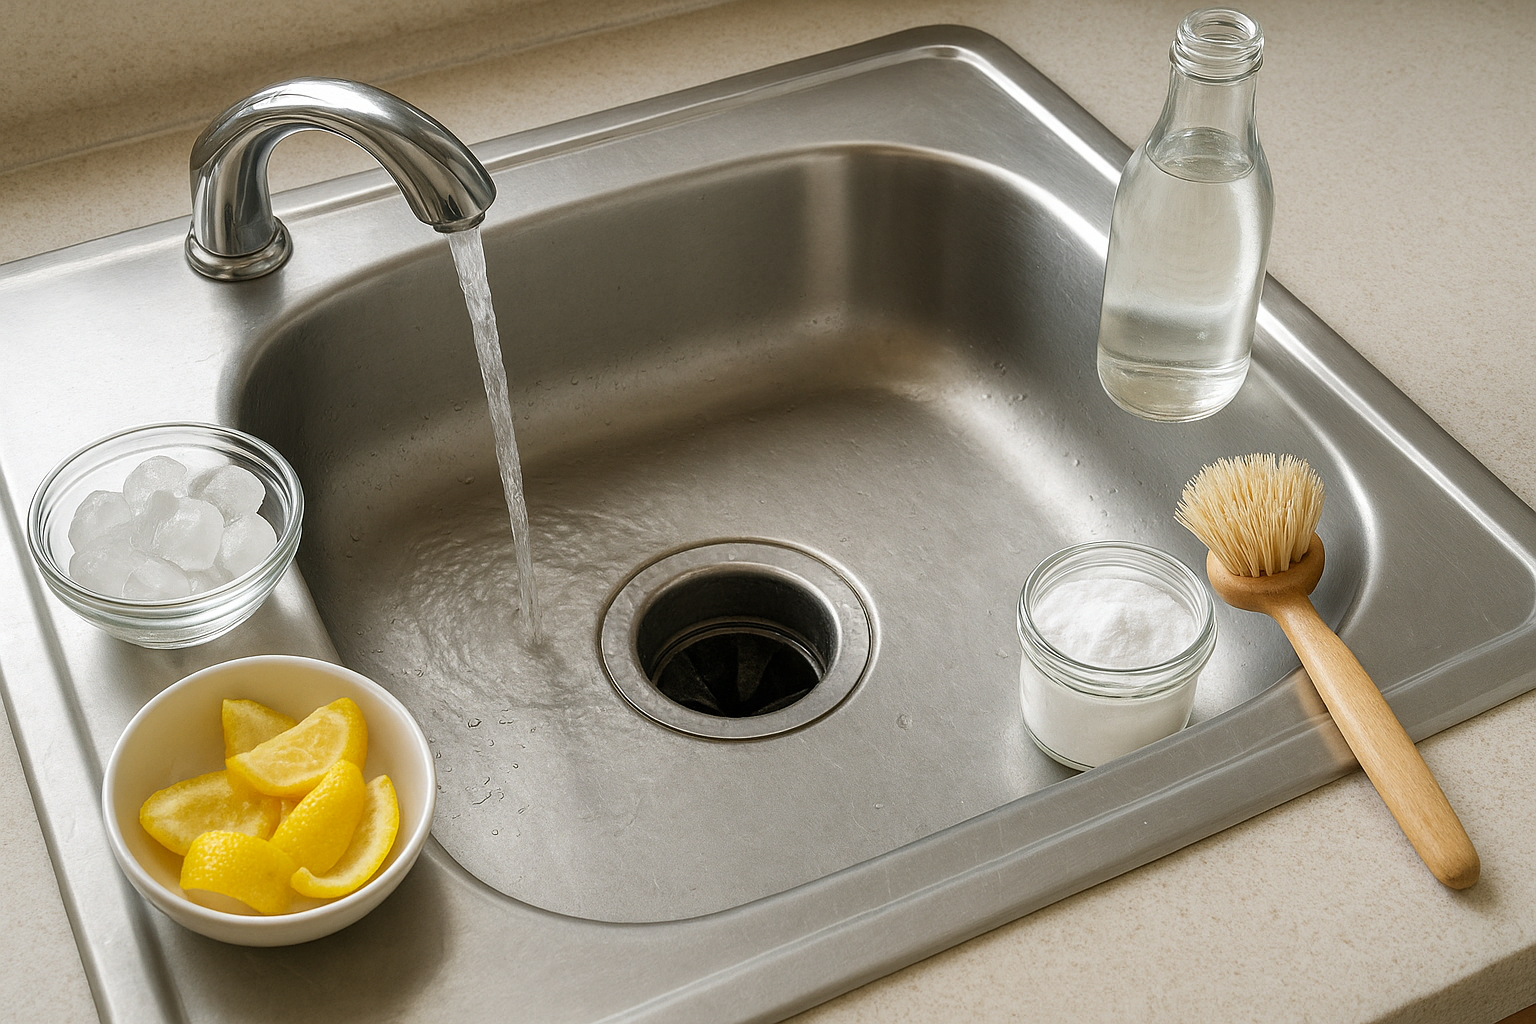
- Dish soap
- Old toothbrush, small scrub brush, or sponge
- 1/2 cup baking soda
- 1 cup white vinegar
- 2 to 3 cups ice cubes
- 1/2 cup coarse salt, optional
- A few lemon, lime, or orange peels, optional
- Tongs, if you need to remove debris
Step 1: Clean the Splash Guard
The rubber flaps at the drain opening are one of the most common places for odor to hide. Food splatter, grease film, and bits of vegetable matter cling to the underside, so the sink can smell bad even after you run the disposal.
- Turn off the disposal.
- Lift the rubber flaps gently with a spoon handle or gloved hand, keeping your fingers out of the drain opening.
- Scrub the top and underside of the splash guard with warm soapy water and a small brush.
- Rinse well with a steady stream of water.
If your splash guard is removable, take it out and wash it in hot, soapy water, then rinse and replace it. If it is cracked, sticky, or permanently smelly, replacing the splash guard may do more than repeated deodorizing.
Step 2: Deodorize with Baking Soda and Vinegar
Baking soda helps absorb odors, while vinegar helps loosen light residue and freshen the drain. This is best for odor maintenance, not for clearing a true clog. If your sink is backing up, skip the fizzing routine and deal with the clog directly.
- Pour 1/2 cup baking soda into the disposal opening.
- Slowly add 1 cup white vinegar.
- Let the mixture foam and sit for about 10 minutes.
- Turn on cold water, then run the disposal for 20 to 30 seconds.
- Keep the water running for several more seconds after the grinding sound clears.
This baking soda and vinegar method is widely recommended as a simple disposal-cleaning option by appliance and home improvement sources. GE Appliances, Lowe’s, and Consumer Reports all point to baking soda, vinegar, cold water, and flushing as useful parts of disposal care. ([geappliances.com](https://www.geappliances.com/clean-disposall-garbage-disposal?utm_source=openai))
Step 3: Scrub the Chamber with Ice and Salt
Ice helps knock loose soft buildup inside the grinding chamber. It does not sharpen blades, because disposals use impellers rather than knife-like blender blades, but it can help clean the surfaces as it tumbles around. Coarse salt adds a little extra scouring action.
- Put 2 to 3 cups of ice cubes into the disposal.
- Add 1/2 cup coarse salt, if using.
- Turn on cold water.
- Switch on the disposal and let it grind until the ice is gone.
- Let cold water run for another 10 to 15 seconds.
Cold water matters here because it keeps the ice solid long enough to do some scrubbing. Consumer Reports also recommends running water after the grinding stops to help flush remaining particles away. ([consumerreports.org](https://www.consumerreports.org/appliances/garbage-disposals/how-to-clean-your-garbage-disposal-a1060478189/?utm_source=openai))
Step 4: Add Citrus for Freshness, Not Deep Cleaning
Citrus peels can make the sink smell fresh, but they are a finishing touch, not the main cleaning step. Use only a few small pieces so you do not overload the disposal.
- Cut lemon, lime, or orange peel into small strips.
- Turn on cold water.
- Run the disposal and feed in a few pieces at a time.
- Let the water run briefly afterward.
Avoid dropping in whole lemon halves or large chunks of rind, especially if you have a smaller or older unit. Too much fibrous peel can create more work for the motor and may leave pieces behind.
What Not to Put Down a Garbage Disposal
Many disposal odors start with the wrong foods going down the drain. Scrape plates into the trash or compost first, then use the disposal for small scraps.
- Grease, oil, and fat: These can coat the disposal and pipes, then trap odors.
- Large amounts of pasta, rice, or bread: Starchy foods can swell and form a paste.
- Fibrous scraps: Celery strings, corn husks, onion skins, and artichoke leaves can tangle or linger.
- Coffee grounds: A little may pass through, but larger amounts can collect in pipes.
- Eggshell piles: They are often suggested as a cleaning trick, but the membrane and grit can contribute to buildup in some drains.
- Bones, fruit pits, and hard shells: These can jam or damage the unit.
Daily Habits That Prevent Odors
A clean disposal is mostly about flushing well. When you use it, start cold water first, turn on the disposal, feed scraps gradually, and keep the water running for a few seconds after the grinding stops. InSinkErator guidance shared by Consumer Reports suggests running cold water before, during, and briefly after grinding to help clear remaining particles. ([consumerreports.org](https://www.consumerreports.org/appliances/garbage-disposals/how-to-clean-your-garbage-disposal-a1060478189/?utm_source=openai))
At the end of the day, add a drop of dish soap to the drain, turn on cold water, and run the disposal for 20 seconds. This quick rinse helps wash away greasy film before it turns into a smell.
How Often Should You Clean It?
For a disposal that gets daily use, do a quick soap-and-cold-water rinse every few days and a deeper baking soda, vinegar, and ice cleaning about once a month. Home Depot recommends monthly cleaning with a disposal cleaner or a vinegar-and-baking-soda mixture, which is a good baseline for most kitchens. ([homedepot.com](https://www.homedepot.com/c/ah/how-to-clean-a-garbage-disposal/9ba683603be9fa5395fab90b93e46d3?utm_source=openai))
If you cook often, peel lots of vegetables, or notice odors sooner, clean it every two weeks. If you rarely use the disposal, run it with cold water at least once in a while so food residue does not sit in the chamber.
When the Smell Means Something Else
If the disposal still smells after cleaning the splash guard, deodorizing, and flushing with ice, the odor may be coming from the drain trap, a partial clog, or buildup farther down the line. A slow-draining sink, gurgling, standing water, or sewage-like smell is a sign to stop adding cleaners and check the plumbing.
You may be able to remove and clean the P-trap if you are comfortable with basic sink plumbing. Otherwise, call a plumber, especially if both sides of a double sink are slow or the smell returns immediately after cleaning.
The Simple Routine to Remember
For most smelly disposals, clean the splash guard first, then use baking soda and vinegar, then grind ice with cold water, and finish with a few citrus peels if you like. After that, the best prevention is simple: scrape plates well, avoid grease, run cold water generously, and give the disposal a quick soapy rinse before odors have a chance to settle in.