How to Weatherstrip a Drafty Door the Right Way
A drafty door can make a room feel uncomfortable even when the heat or air conditioning is running. The good news is that learning how to weatherstrip a drafty door is a very doable weekend project, and most homeowners can handle it with basic tools.
Weatherstripping seals the moving parts of a door, while caulk seals stationary gaps around trim and frames. Used together, they can make an exterior door feel tighter, quieter, and less inviting to dust, bugs, and outdoor air. ENERGY STAR notes that sealing air leaks and adding insulation can improve comfort and may save up to 10% on annual energy bills. ([energystar.gov](https://www.energystar.gov/saveathome/seal_insulate?utm_source=openai))
When a Door Needs New Weatherstripping
Before you buy anything, take a minute to confirm where the air is coming from. A door may need new weatherstripping if you notice:
- Light showing around the top, sides, or bottom of the closed door
- A visible gap between the door and the stop molding
- Cold or hot air moving around the latch side
- Dust, insects, or moisture near the threshold
- Old foam that is flattened, cracked, sticky, or peeling
- A door that rattles in windy weather
For the easiest test, close the door on a dollar bill. If the bill slides out with almost no resistance, that spot likely needs a better seal. Check the hinge side, latch side, and top of the door, because one side may leak more than the others.
Choose the Right Weatherstripping
The best weatherstripping depends on the size of the gap, how often the door is used, and how much durability you need. The U.S. Department of Energy explains that caulk is used for stationary cracks, while weatherstripping is used on moving parts such as doors and operable windows. ([energy.gov](https://www.energy.gov/cmei/buildings/articles/energy-efficient-home-improvement-credit-insulation-and-air-sealing?utm_source=openai))
Adhesive foam tape
Best for: quick fixes, small gaps, rental-friendly repairs, and doors that are not heavily used.
Foam tape is inexpensive and easy to cut with scissors. It works well when the door and frame are fairly even, but it can compress over time, especially on a busy entry door.
V-strip or tension seal
Best for: narrow, even gaps along the sides or top of a door.
V-strip folds into a springy shape that presses gently against the door. It is less bulky than foam and can be a good choice when thick weatherstripping keeps the door from latching.
Tubular rubber or vinyl gasket
Best for: exterior doors that need a durable, long-lasting seal.
This type is often attached to a wood or metal carrier and fastened to the door stop. It costs more than foam tape, but it usually looks cleaner and holds up better to daily use.
Door sweep
Best for: gaps at the bottom of the door.
A door sweep attaches to the inside face of the door and seals against the threshold. For an exterior door, choose a sweep with flexible vinyl, rubber, silicone, or bristles that lightly touch the threshold without dragging hard.
Tools and Materials
- Tape measure
- Pencil
- Utility knife or scissors
- Cleaning cloth
- Mild soap or rubbing alcohol for cleaning the frame
- Weatherstripping for the top and sides
- Door sweep for the bottom gap
- Screwdriver or drill, if using screw-on weatherstripping
- Small pry bar or pliers, if removing old nailed-on strips
Step 1: Inspect and Measure the Door
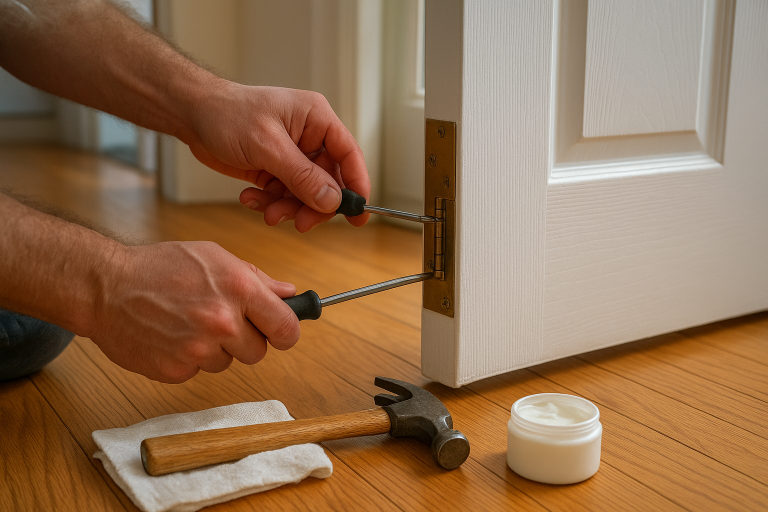
Close the door and look carefully at the reveal, which is the narrow line of space around the door. The gap should be fairly even. If the door is sagging, sticking badly, or rubbing at the top or bottom, tighten the hinge screws before you install weatherstripping. A crooked door can make even good weatherstripping perform poorly.
Measure the height of both side jambs and the width across the top. For a standard single exterior door, you will usually need one piece for each side and one for the top. Measure the bottom width separately for the door sweep.
Step 2: Remove Old Weatherstripping
Peel away old adhesive foam or remove screws from existing metal strips. If there are small nails or staples, pull them gently so you do not gouge the frame. Scrape away leftover adhesive if needed.
Wipe the door stop and jamb clean. Adhesive-backed weatherstripping sticks best to a dry, dust-free surface. If you clean with rubbing alcohol, let the area dry fully before applying anything.
Step 3: Install the Top Piece First
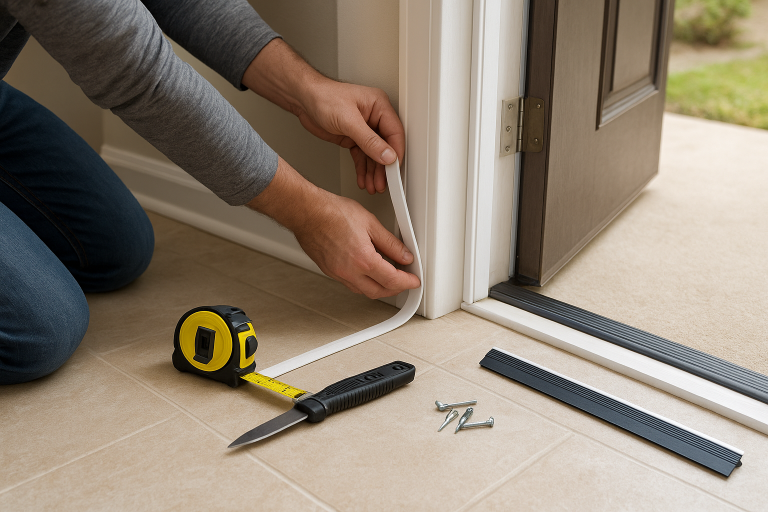
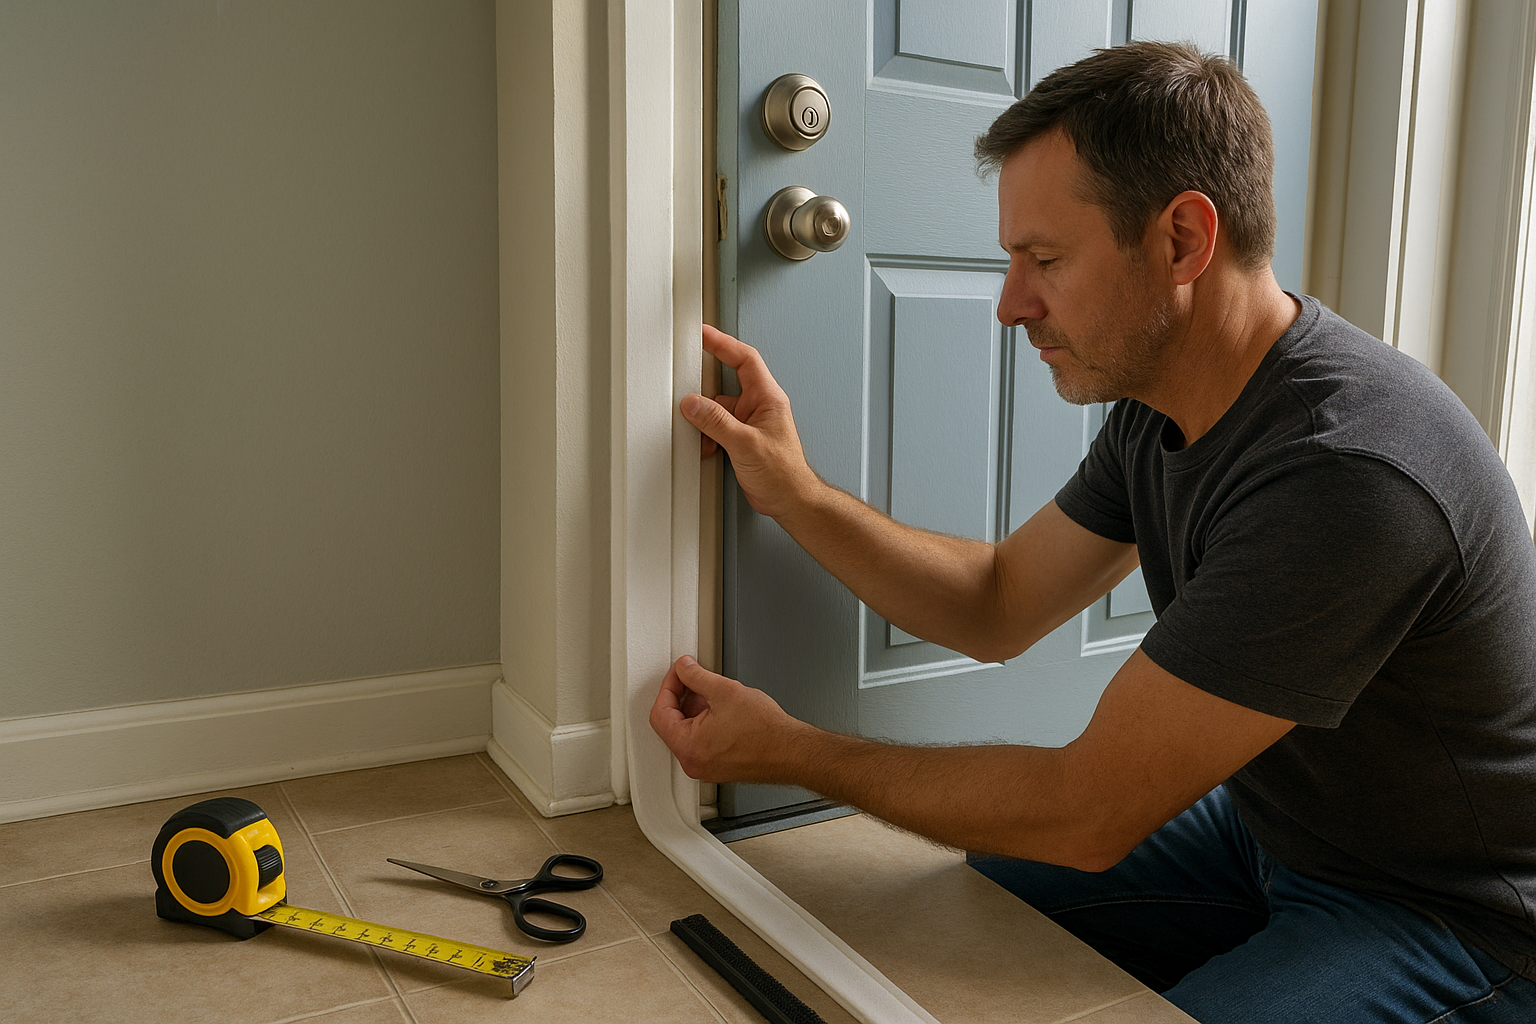
Start with the top of the door frame. Cut the weatherstripping to fit between the two side jambs. If you are using adhesive foam, peel back a few inches of the liner at a time and press it into place along the door stop where the closed door will compress it.
Do not stretch foam tape as you apply it. Stretching makes it shrink back later and can leave gaps at the ends. Press firmly along the full length once it is positioned.
If you are using screw-on tubular weatherstripping, hold it against the door stop with the gasket touching the closed door. Fasten it lightly at first, then check the door before tightening all screws.
Step 4: Seal the Latch Side and Hinge Side
Cut the side pieces to fit from the top weatherstripping down to the threshold. Install the latch side first, because this is often where drafts are easiest to feel.
Close the door slowly after installing each side. The door should latch without slamming. If it will not latch, the weatherstripping may be too thick or positioned too far toward the door. Adjust screw-on strips as needed, or switch to a thinner product if adhesive foam is causing trouble.
Step 5: Add or Replace the Door Sweep
The bottom of the door is a common source of drafts. Close the door and measure its width. Cut the sweep to size if the manufacturer allows trimming. Hold it against the inside bottom edge of the door so the flexible part just touches the threshold.
Mark the screw holes, drill small pilot holes if needed, and fasten the sweep. Open and close the door several times. The sweep should make contact without bunching, scraping hard, or preventing the door from closing. ENERGY STAR guidance also points to door sweeps and weatherstripping as simple fixes for reducing drafts around doors. ([nepis.epa.gov](https://nepis.epa.gov/Exe/ZyPURL.cgi?Dockey=P100U06J.TXT&utm_source=openai))
Step 6: Check Your Work
Once everything is installed, test the door again. Look for light around the edges. Try the dollar bill test in several spots. On a windy day, you can also use your hand to feel for air movement around the frame.
If one small area still leaks, do not automatically add a second layer of weatherstripping. Too much material can make the door hard to close and may strain the latch. Instead, check whether the strip is aligned with the door, whether the threshold needs adjustment, or whether the leak is actually coming from around the trim.
Do You Need Caulk Too?
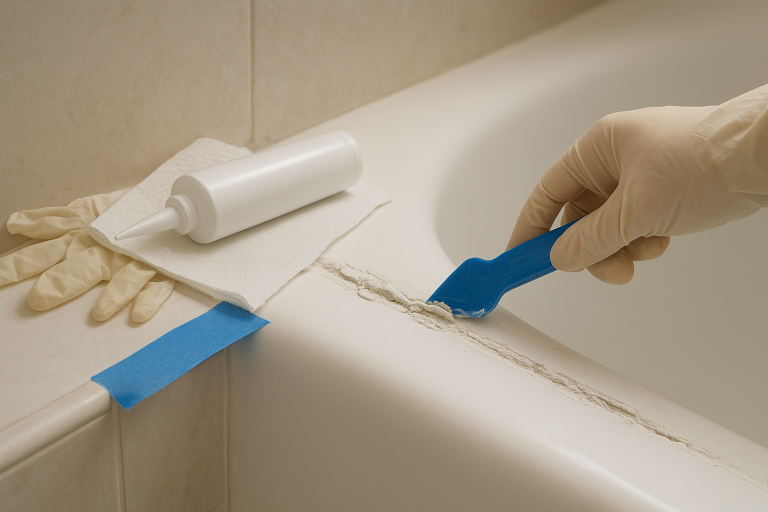
Weatherstripping seals between the door and the frame, but it will not fix gaps between the wall and the exterior trim. If you feel air coming from behind the casing or around exterior brickmold, use the right caulk for that location.
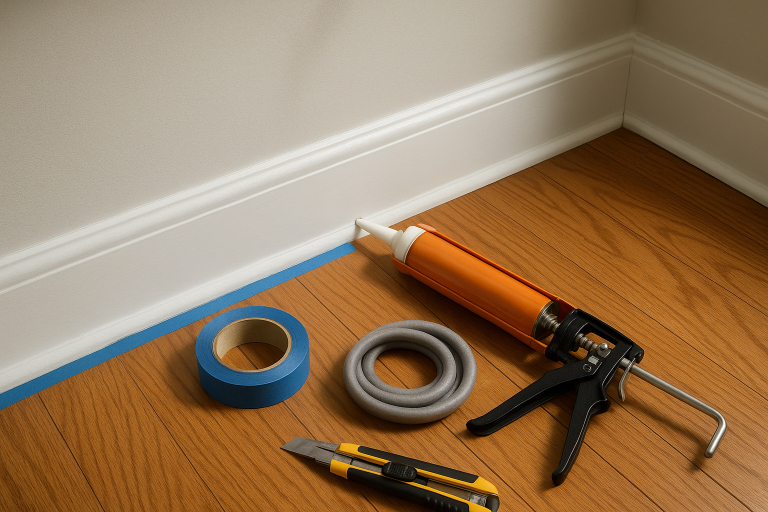
- Use paintable interior caulk for small indoor gaps around trim.
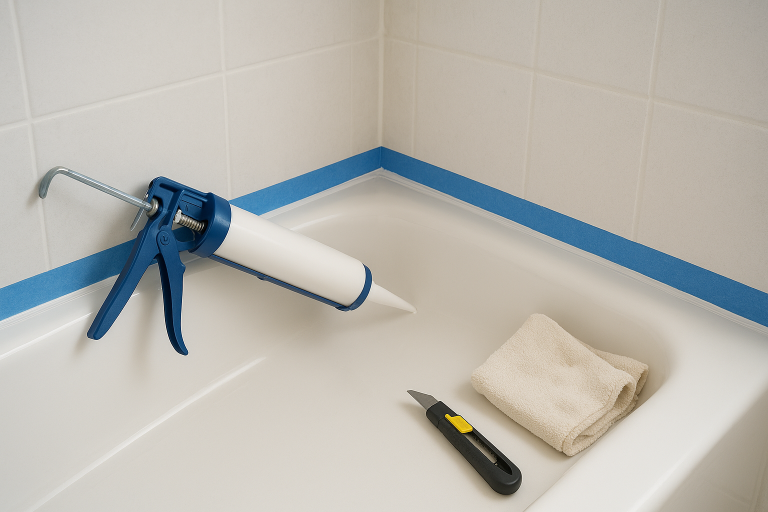
- Use exterior-rated caulk outside where trim meets siding, brick, or other materials.
- Use door-and-window spray foam only for larger hidden gaps, and apply it carefully so it does not bow the frame.
Caulk and weatherstripping are simple air-sealing techniques that many homeowners can do themselves, according to the Department of Energy. ([energy.gov](https://www.energy.gov/articles/insulate-your-home-and-your-bank-account?utm_source=openai))
Common Mistakes to Avoid
- Using weatherstripping that is too thick: A tight seal is good, but the door still needs to latch easily.
- Installing over dirt or old adhesive: The strip may peel off within days.
- Forgetting the bottom gap: A new side seal will not help much if air pours under the door.
- Stretching foam tape: It can pull back and leave gaps.
- Ignoring a sagging door: Fix loose hinges before sealing.
How Long Does This Project Take?
For one exterior door, plan on about 30 to 90 minutes, depending on whether you need to remove old material, trim a sweep, or adjust the latch. Adhesive foam is the fastest option. Screw-on gasket weatherstripping takes longer but usually gives a neater and more durable result.
The Bottom Line
Weatherstripping a drafty door is one of those small home projects that you can feel right away. Start by finding the actual gaps, choose a material that matches the size of the leak, and make sure the door still closes smoothly when you are done. A careful seal around the top, sides, and bottom can make your entryway more comfortable in every season.