How to Clean a Dryer Vent from Inside the House
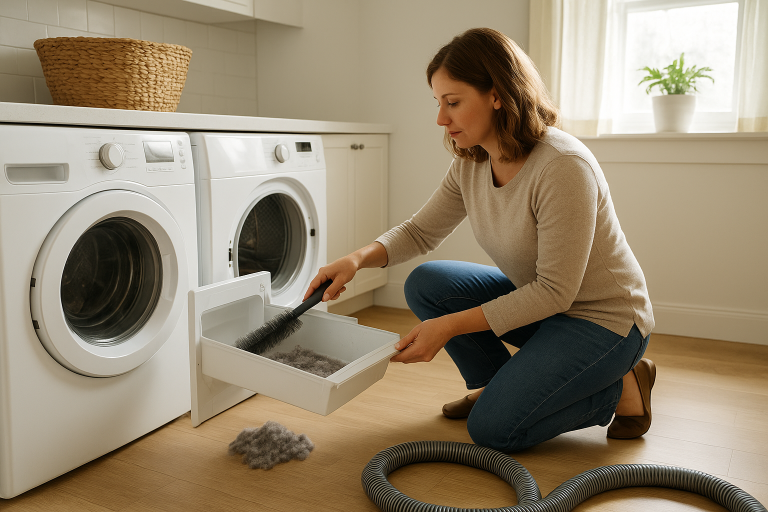
If your towels need two cycles to dry or your laundry room feels unusually hot, your dryer vent may be overdue for a cleaning. Learning how to clean a dryer vent from inside the house is a practical home task that can help your dryer work better and reduce lint buildup in the exhaust path.
This is not just about convenience. The U.S. Fire Administration has reported that failure to clean was the leading factor in residential clothes dryer fires, and NFPA research found that about one-third of dryer fires were caused by a failure to clean. ([usfa.fema.gov](https://www.usfa.fema.gov/downloads/pdf/statistics/v13i7.pdf?utm_source=openai))
How Often Should You Clean a Dryer Vent?
For most households, plan to clean the dryer vent duct about once a year. Clean it sooner if you do a lot of laundry, have pets, dry bulky towels or bedding often, or notice that loads are taking longer than normal to dry. The Building America Solution Center recommends annual dryer duct cleaning, noting that it can help clothes dry faster, save energy, and reduce fire risk. ([basc.pnnl.gov](https://basc.pnnl.gov/diy-guides/clean-dryer-exhaust?utm_source=openai))
You should also clean the lint screen every load. ENERGY STAR specifically recommends cleaning the lint filter after each load, because a clogged filter slows drying and makes the appliance work harder. ([energystar.gov](https://www.energystar.gov/products/clothes_dryers?utm_source=openai))
Signs Your Dryer Vent Needs Cleaning
A clogged vent is not always obvious from the outside. Watch for these common warning signs:
- Clothes are still damp after a normal cycle.
- The outside of the dryer feels very hot.
- The laundry room feels warm, humid, or linty while the dryer runs.
- You notice a burning or dusty smell.
- The lint screen has less lint than usual, but drying is worse.
- The exterior vent flap barely opens while the dryer is running.
- Lint is collecting around the outside vent cover.
If you smell burning, stop the dryer immediately and do not run it again until you find the cause. Lint is combustible, and the CPSC advises periodically cleaning the dryer vent, exhaust duct, and lint screen to help prevent dryer fires. ([cpsc.gov](https://www.cpsc.gov/Safety-Education/Safety-Alerts?utm_source=openai))
Tools You Will Need
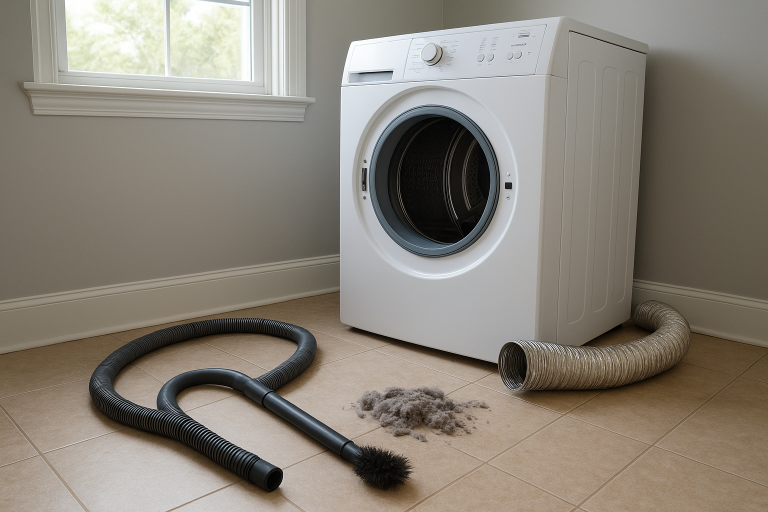
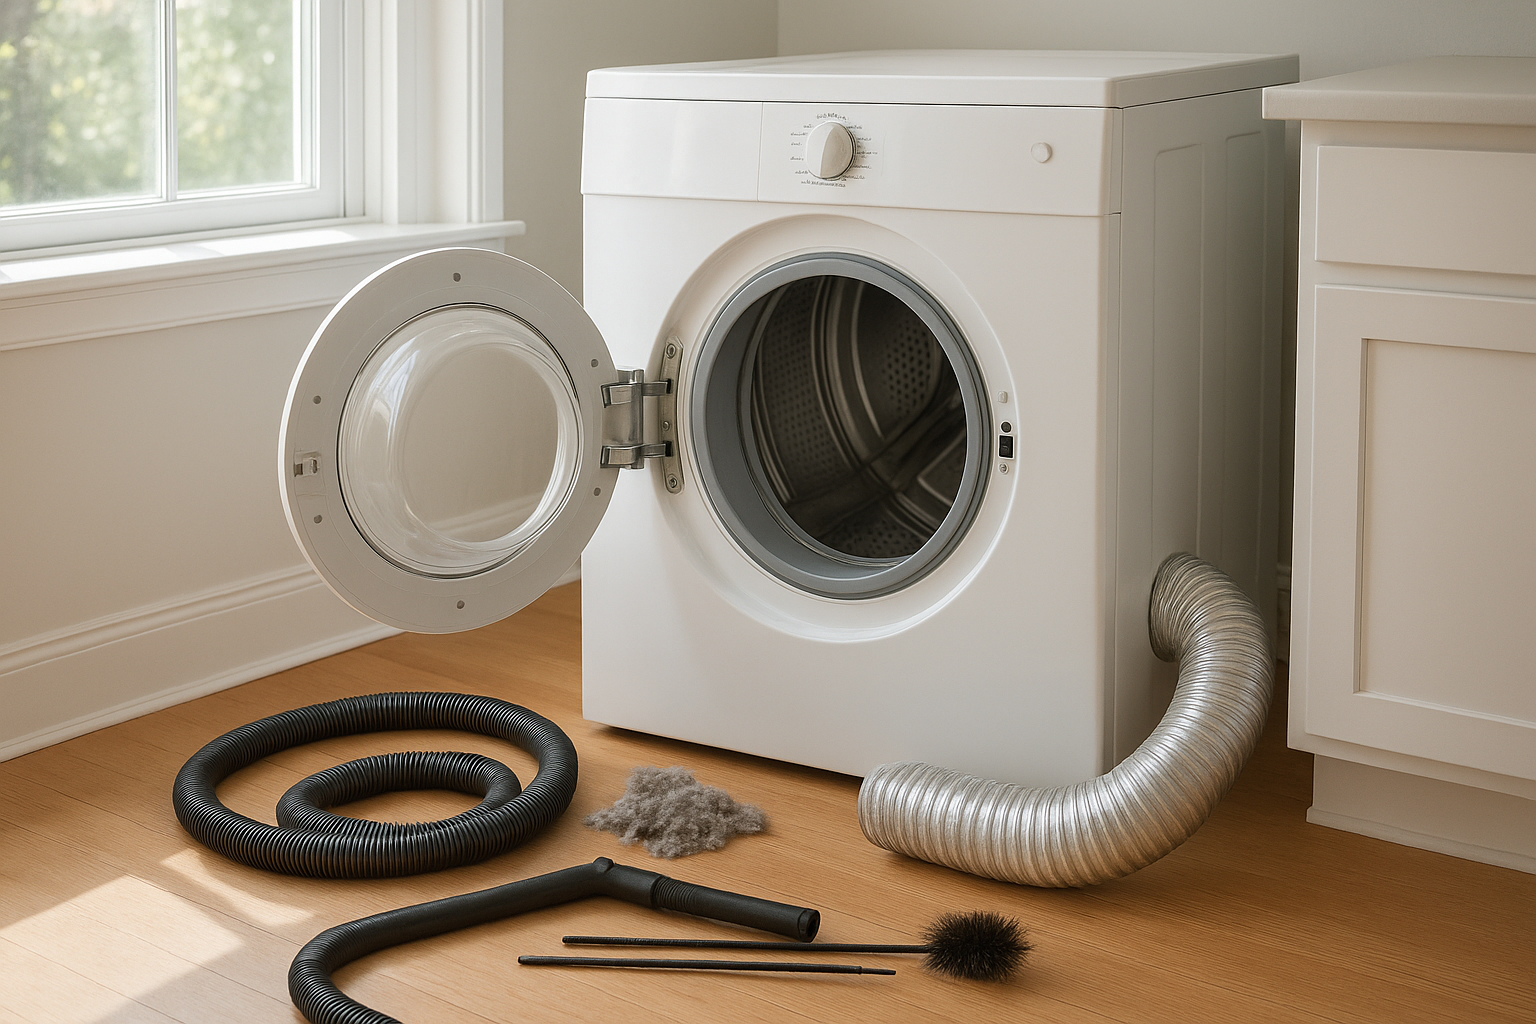
You do not need fancy equipment for a basic inside-the-house dryer vent cleaning. Gather everything before you pull out the dryer.
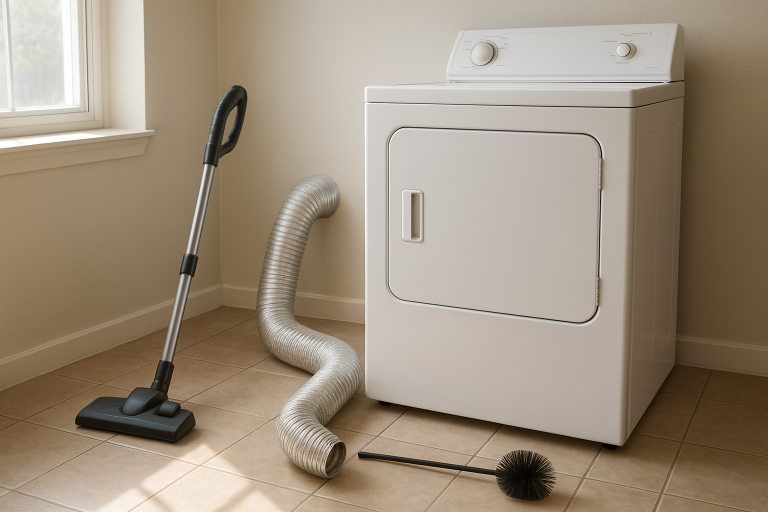
- Vacuum with a hose attachment
- Dryer vent brush kit with flexible rods
- Screwdriver or nut driver
- Work gloves
- Flashlight
- Microfiber cloth
- Foil HVAC tape, if a metal duct joint needs resealing
- Dust mask, optional but helpful
A dryer vent brush kit is usually the key tool. The flexible rods let you reach into the duct from behind the dryer and loosen lint the vacuum cannot reach.
Step 1: Unplug the Dryer and Make Room
Turn the dryer off and unplug it. If you have a gas dryer, close the gas shutoff valve before moving the appliance. If you are not comfortable moving a gas dryer or checking the connection afterward, stop here and call a qualified appliance technician.
Gently pull the dryer straight out from the wall. Do not yank it forward. Dryer ducts can be crushed, and gas lines or electrical cords need slack. Move slowly and use a flashlight to see what is behind the machine.
Step 2: Disconnect the Vent Duct
Most dryers have a short transition duct connecting the dryer to the wall vent. Loosen the clamp with a screwdriver or nut driver, then slide the duct off the dryer outlet. If the duct is taped, carefully remove the tape.
Take a quick look at the duct material. Rigid or flexible metal ducting is the safer standard. CPSC incident research has noted that many investigated dryer installations used foil or plastic transition ducting even though manufacturer instructions often specify rigid or flexible metal ducting. ([cpsc.gov](https://www.cpsc.gov/s3fs-public/electric_2_0.pdf?utm_source=openai)) If you find thin plastic or damaged foil-style duct, consider replacing it with the metal type recommended in your dryer manual.
Step 3: Vacuum Behind the Dryer
Before you push a brush into the vent, vacuum the easy lint first. Clean the floor, the back of the dryer, the wall area, and the dryer outlet. Lint often hides in corners and under the appliance.
Use a narrow crevice tool to vacuum just inside the dryer outlet, but do not force the hose deep into the machine. If you see heavy lint inside the dryer cabinet or around wiring, that is a good reason to schedule professional service.
Step 4: Brush the Wall Duct from Inside
Insert the dryer vent brush into the wall duct and push it in gently. Rotate the brush as you go so it loosens lint from the duct walls. Work in short sections, then pull the brush back out and remove the lint.
If your brush kit is designed for drill use, follow the kit directions carefully. Keep the drill on a low speed, rotate in the recommended direction, and avoid forcing the rods. Forcing a brush around a tight bend can disconnect a duct inside the wall.
Vacuum the duct opening after brushing. Repeat until you are no longer pulling out clumps of lint.
Step 5: Clean or Replace the Transition Duct
If your transition duct is metal and in good shape, brush and vacuum it too. If it is crushed, torn, kinked, too long, or packed with lint you cannot remove, replace it.
Keep the duct as short and straight as practical when you reconnect it. Long, sagging, or sharply bent duct runs restrict airflow and collect lint faster. Avoid pushing the dryer so far back that the duct gets flattened behind it.
Step 6: Check the Outside Vent
Go outside and find the dryer vent cover. Remove lint from the cover and make sure the flap or louvers can open freely. Do not leave screens over a dryer vent outlet; they can trap lint and block airflow.
If the outside vent is high on a wall, on the roof, or difficult to reach safely, do not climb or lean from a ladder with tools in hand unless you are experienced and properly equipped. This is one of the times when a professional cleaning is worth it.
Step 7: Reconnect and Test the Dryer
Reconnect the transition duct to the dryer outlet and the wall vent. Tighten the clamps snugly, but do not crush the duct. Use foil HVAC tape on metal duct joints if needed, not regular cloth duct tape, which can dry out and fail.
Plug the dryer back in. For a gas dryer, reopen the gas valve and check that everything is properly connected. Run the dryer on an air-only or low-heat setting for a few minutes, then check outside. The vent flap should open and you should feel steady airflow.
When to Call a Professional
Some dryer vents are simple: a short run straight through an exterior wall. Others travel up through the roof, across a crawl space, or through several elbows. Call a pro if:
- The vent exits on the roof or a second-story wall.
- You cannot reach the full duct with a brush kit.
- The brush gets stuck or you suspect a disconnected duct.
- Drying is still slow after cleaning.
- You smell burning or see scorch marks.
- Your dryer shows an airflow or blockage warning.
- You have a gas dryer and are unsure about moving or reconnecting it.
A professional can measure airflow, clear long duct runs, and inspect for crushed or unsafe ducting.
Simple Habits That Keep the Vent Cleaner Longer
- Clean the lint screen every load. Make it part of starting the dryer.
- Do not overload the dryer. Air needs room to move through fabrics.
- Dry pet bedding separately. Shake it outside first to remove loose hair.
- Check pockets. Tissues and paper scraps create extra lint.
- Look at the outside vent monthly. Clear leaves, lint, snow, and nesting debris.
- Wash the lint screen occasionally. If you use dryer sheets, residue can build up. Scrub the screen gently with warm water and a soft brush, then let it dry completely.
The Bottom Line
Cleaning a dryer vent is a manageable home maintenance job when the vent run is short, accessible, and in good condition. Give yourself about an hour, work gently, and pay attention to airflow when you test the dryer afterward.
If the duct is long, hidden, damaged, or hard to reach, bring in a professional. Either way, keeping lint out of the vent helps your dryer run more efficiently and makes your laundry routine safer.