How to Take Hardwood Cuttings in November for Free Shrubs
Late autumn is one of the easiest times to make more plants without spending a dime. If you have deciduous shrubs in the yard, November is often the perfect window to take hardwood cuttings in November and start new plants for next season.
The process is simple enough for beginners: cut healthy stems, stick them into a pot of gritty compost, keep them protected over winter, and wait for roots to form. With a little patience, you can turn one shrub into several.
Why November Is a Good Month for Hardwood Cuttings
By late fall, many shrubs are entering dormancy. Growth has slowed, leaves have dropped, and the stems have hardened. That matters because mature stems are less likely to wilt and more likely to root successfully while they rest through winter.
This method works especially well with deciduous shrubs because they naturally slow down at this time of year. You are not forcing soft, tender growth to do something unnatural; you are working with the plant’s seasonal rhythm.
Another benefit is practicality. Garden tasks usually ease up in November, so you can spend a quiet afternoon collecting cuttings, labeling pots, and setting yourself up for free plants next spring.
Best Shrubs to Try
Not every plant is a good candidate, but many common shrubs root well from hardwood cuttings. Good options include:
- Dogwood
- Forsythia
- Mock orange
- Weigela
- Spirea
- Butterfly bush
- Roses
- Hydrangea varieties that produce woody stems
As a general rule, choose deciduous shrubs rather than evergreens. Many evergreen plants are better propagated with softwood or semi-ripe cuttings at different times of year.
What You Need
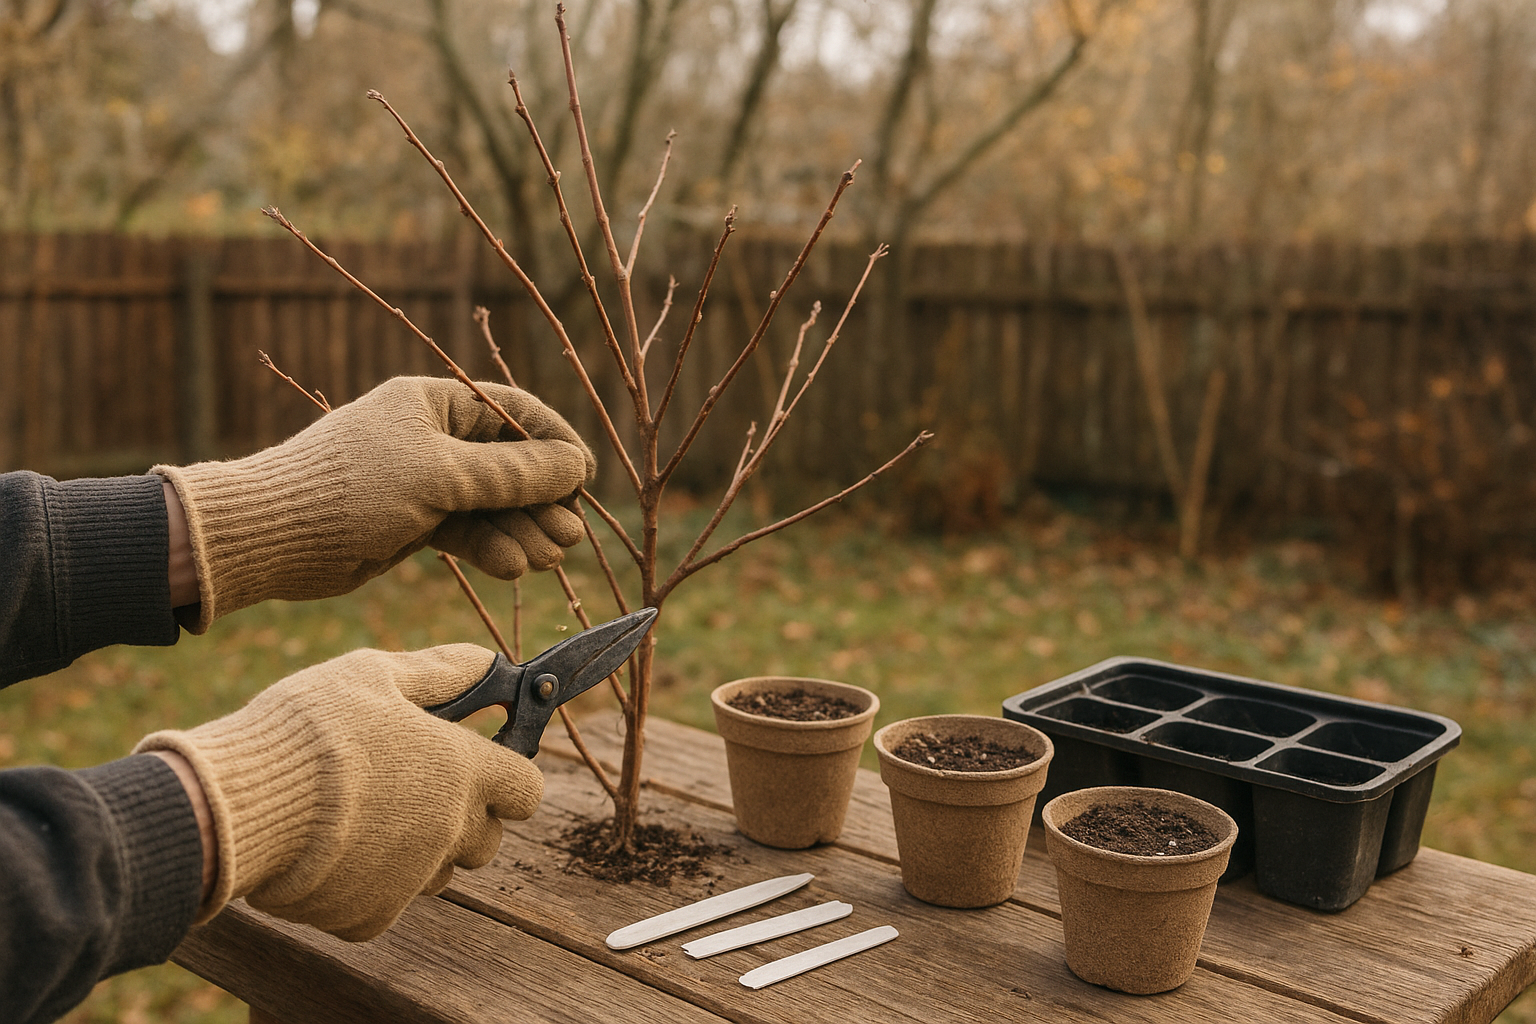
You do not need much equipment, but a few basics make the job easier and improve your odds of success.
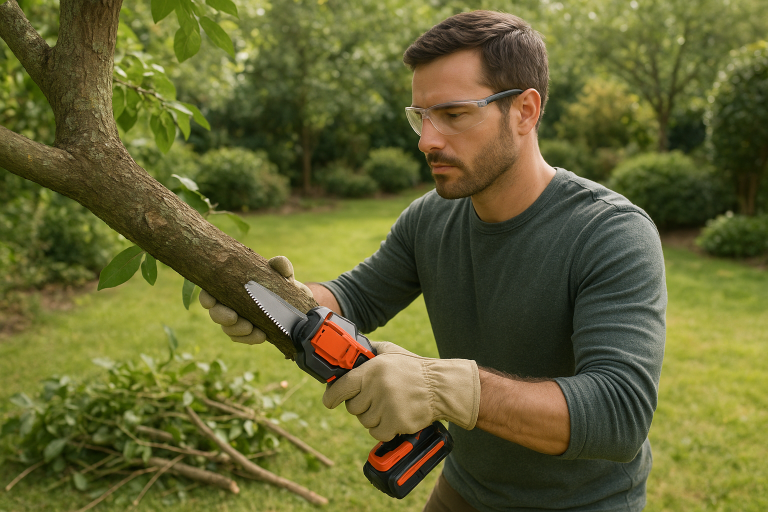
- Sharp pruning shears or snips
- Small pots or trays with drainage holes
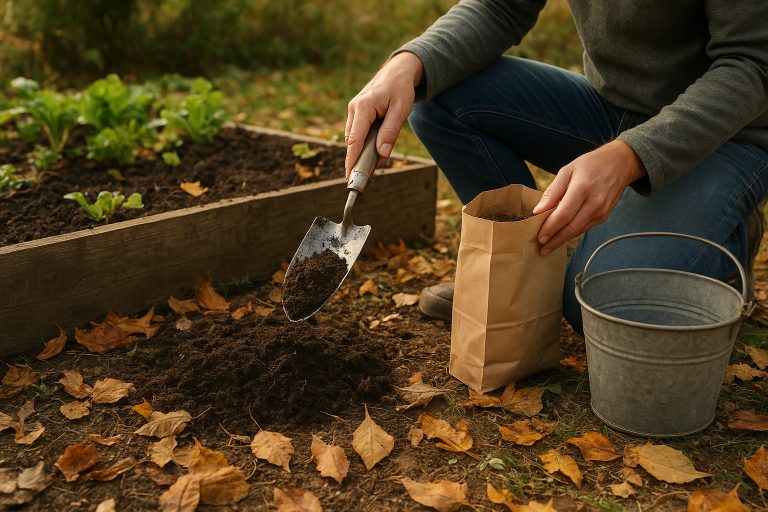
- Free-draining potting mix or a mix of compost and coarse sand or grit
- Plant labels
- A pencil or dibber for making planting holes
- Optional: rooting hormone powder or gel
If you plan to take several cuttings, prepare everything before you go outside. Cuttings dry out quickly, so it helps to move fast once stems are removed.
How to Take Hardwood Cuttings Step by Step
1. Pick the right stems
Select healthy stems from this season’s growth. Look for straight, sturdy shoots about the thickness of a pencil. These are usually young enough to root well but mature enough to handle winter conditions.
Choose stems from a plant that looks vigorous and free from disease. Avoid thin, damaged, diseased, or flower-spent stems. If you can, take cuttings from the sunnier outer part of the shrub, where growth tends to be stronger.
2. Make clean cuts
Using sharp shears, cut a length of stem about 6 to 10 inches long. Each cutting should ideally include several buds. Make the bottom cut just below a bud, and make the top cut just above another bud so you can tell which end is which.
A clean, precise cut helps the stem heal properly. Crushing the stem can increase the chance of rot, so keep your tools sharp and clean.
3. Trim the cutting
Remove any leaves that remain on the stem. If there are side shoots, trim them off. You want a bare section of woody stem that can focus on making roots rather than supporting foliage.
If the cutting is very long, you can divide it into smaller pieces, as long as each one has at least two or three buds. More cuttings usually mean a better overall success rate, since not every stem will root.
4. Prepare the potting mix
Fill pots or a tray with a free-draining mix. Hardwood cuttings do best in soil that stays lightly moist but never soggy. Too much moisture can cause the base to rot before roots form.
A simple mix of compost and grit works well. Firm the mix gently, then water it lightly before inserting the cuttings.
5. Insert the cuttings
Use a pencil or dibber to make a hole first. This prevents the rooting hormone or outer stem surface from rubbing off as you push the cutting into the mix.
Place each cutting into the pot so that about two-thirds of the stem is buried, leaving at least one or two buds above the surface. Firm the soil around the base so the cutting stands upright.
If you are rooting several varieties, label each pot clearly. It is surprisingly easy to forget what you planted once everything is bare and dormant.
6. Protect them over winter
Set the pots in a sheltered outdoor spot, such as against a wall, in a cold frame, or in an unheated greenhouse. The goal is to keep them from sitting in water and to shield them from harsh conditions.
Check occasionally through winter. Water only if the compost dries out completely. The mix should stay just slightly moist, not soaked.
Should You Use Rooting Hormone?
Rooting hormone is not essential, but it can help improve success, especially if you are trying a shrub for the first time. Dip the bottom end of the cutting into the powder or gel before planting.
If you do not have rooting hormone, do not worry. Plenty of hardwood cuttings root without it, especially when the stem is healthy and the timing is right.
Common Mistakes to Avoid
- Taking cuttings too early while stems are still soft and leafy
- Using weak or diseased growth instead of strong current-season stems
- Planting in heavy, wet soil that holds too much water
- Forgetting labels and losing track of varieties
- Letting pots dry out completely for long periods
- Disturbing cuttings too often to check for roots
Patience is important here. It can take weeks or months before roots form, and some cuttings will fail. That is normal. Taking several cuttings at once gives you the best chance of success.
How to Tell When They’ve Rooted
In spring, look for signs of new growth. Fresh leaves or buds swelling into active growth usually mean roots have formed. You can also give the stem a very gentle tug; resistance suggests roots are holding it in place.
Once the cutting has rooted well and is actively growing, you can pot it on individually if needed. Let it grow on in a pot for a while before planting it into the garden, especially if the roots are still small.
Aftercare for Young Plants
Newly rooted shrubs need a little extra attention their first season. Keep them watered during dry spells, but avoid overwatering. Gradually acclimate them to brighter, more exposed conditions if they have been sheltered in a greenhouse or frame.
When the plants look sturdy and the root system has filled the pot, transplant them into a border or larger container. Choose a spot that suits the shrub’s eventual size and light needs.
Quick Tips for Better Results
- Take more cuttings than you think you need. Some will always fail, so a bigger batch improves your odds.
- Use healthy, current-year growth. It roots better than old woody stems.
- Keep the tops and bottoms straight. Marking the base cut helps prevent planting them upside down.
- Choose a sheltered place. Winter protection helps prevent rot, frost damage, and drying out.
- Be patient. Hardwood cuttings often sit quietly for a while before showing signs of life.
Taking hardwood cuttings in November is one of the most satisfying jobs you can do in the garden. With a few tools, a little care, and some time, you can turn one favorite shrub into several new plants for free.