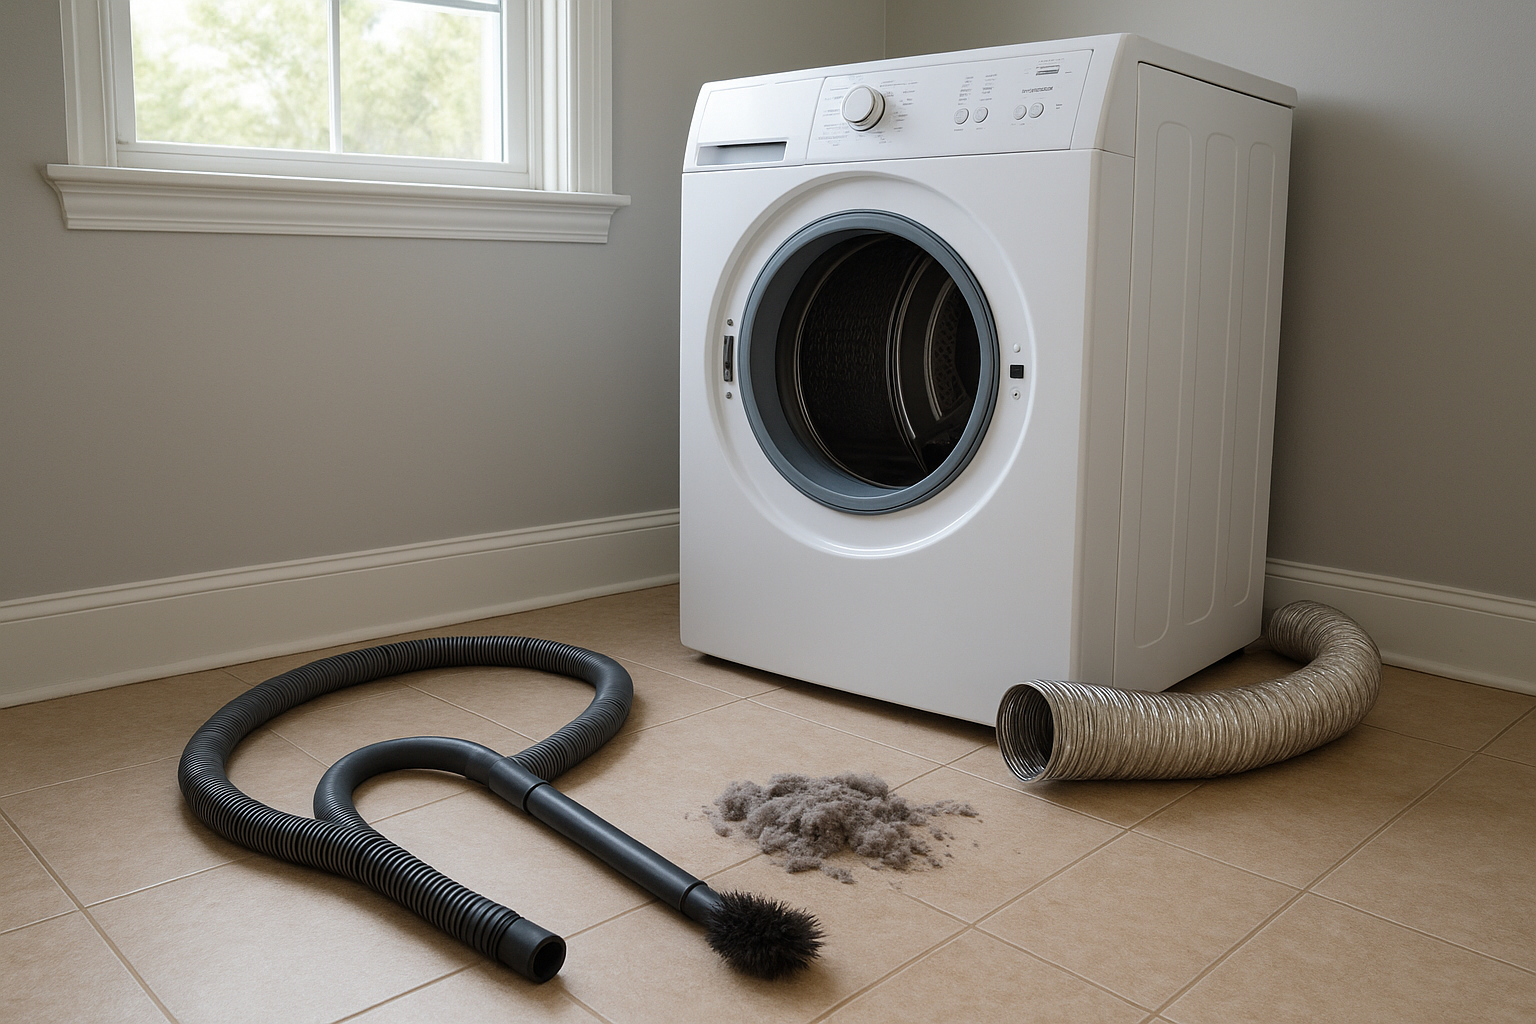
How to Clean a Dryer Vent Before It Becomes a Fire Risk
If your towels need two cycles to dry or the laundry room feels hotter than usual, the problem may not be your dryer. A clogged dryer vent can slow drying, waste energy, and create a real fire risk, especially when lint builds up where you cannot see it.
The good news: many homeowners can clean a simple dryer vent in an afternoon with a vacuum, a dryer vent brush kit, and a little patience. Here is how to clean a dryer vent safely, plus the signs that mean it is time to call a professional.
Why Dryer Vent Cleaning Matters
Lint is more than a nuisance. The National Fire Protection Association reports that failure to clean was a leading factor in home dryer fires, and that dust, fiber, or lint was often the first material ignited. ([content.nfpa.org](https://content.nfpa.org/-/media/Project/Storefront/Catalog/Files/Research/NFPA-Research/US-Fire-Problem/osdryer.pdf?hash=639DD7887A6C083F71E4FD34726B1197&rev=6e5e44af45a54ee38ab86a33bef98e86&utm_source=openai))
A blocked vent also makes the dryer work harder. ENERGY STAR notes that cleaning the lint filter after every load improves air circulation and dryer efficiency, and the same principle applies to the vent path behind the machine. ([energystar.gov](https://www.energystar.gov/products/clothes_dryers?utm_source=openai))
Think of the vent as the dryer’s exhaust pipe. Warm, moist air needs a clear path from the drum to the outdoors. When lint narrows that path, drying takes longer, heat builds up, and the appliance may wear out sooner.
How Often Should You Clean a Dryer Vent?
For most homes, plan to clean the dryer vent at least once a year. Clean it sooner if you do a lot of laundry, have pets, wash many fuzzy blankets or towels, or notice drying times getting longer. The U.S. Consumer Product Safety Commission advises cleaning the dryer vent and exhaust duct periodically to help reduce overheating risk. ([cpsc.gov](https://www.cpsc.gov/s3fs-public/5022.pdf?utm_source=openai))
You should also clean the lint screen after every load. That small habit is still your first line of defense. If the screen has a waxy film from dryer sheets or fabric softener, wash it gently with warm, soapy water, rinse well, and let it dry completely before putting it back.
Signs Your Dryer Vent Is Clogged
Clean the vent soon if you notice any of these warning signs:
- Clothes take longer than normal to dry, especially heavy loads like towels or jeans.
- The dryer or laundry room feels unusually hot while the machine is running.
- Clothes come out hotter than usual at the end of a cycle.
- You smell a hot or slightly burnt odor near the dryer.
- The outside vent flap barely opens when the dryer is on.
- Lint is collecting around the outside vent or behind the dryer.
- The dryer shuts off mid-cycle, which can happen when some machines overheat.
If you smell burning, stop using the dryer until you find the cause. Do not run “just one more load” when a dryer is overheating.
Tools You Will Need
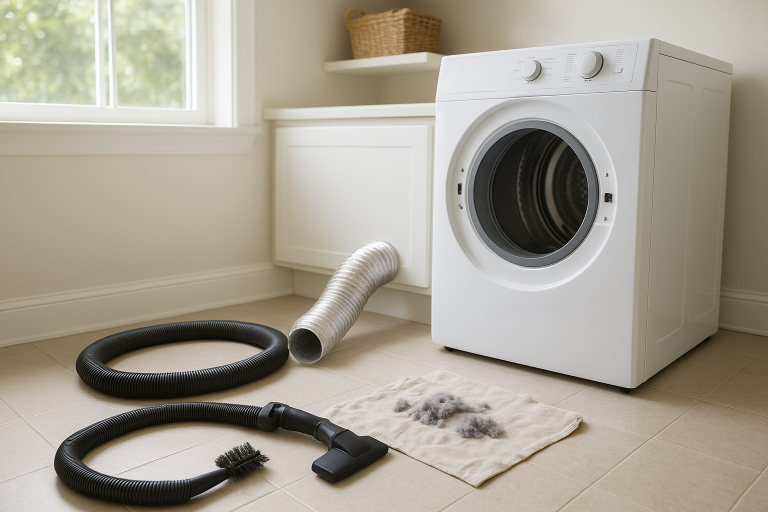
- Vacuum with hose attachment
- Dryer vent brush kit or long flexible lint brush
- Screwdriver or nut driver for the vent clamp
- Work gloves
- Flashlight
- Broom or shop vacuum for cleanup
- Foil HVAC tape, if a duct joint needs resealing
A dryer vent brush kit is usually the most useful tool because the flexible rods can reach farther into the duct. Avoid using anything sharp that could puncture the duct.
Step-by-Step: How to Clean a Dryer Vent
1. Unplug the dryer and turn off gas if needed
For an electric dryer, unplug it from the wall before you start. For a gas dryer, unplug the machine and turn off the gas supply valve if you need to move the dryer far enough to strain the gas line. If you are not comfortable working around a gas connection, stop here and hire a qualified appliance technician or dryer vent cleaner.
2. Pull the dryer away from the wall
Move slowly. Dryer transition ducts can kink, tear, or pop loose if you yank the appliance forward. Pull the dryer out just far enough to reach the hose and clamp comfortably.
3. Disconnect the transition duct
Use a screwdriver or nut driver to loosen the clamp where the duct connects to the back of the dryer. Slide the duct off gently. If there is foil tape at the connection, peel it back carefully and replace it later with fresh foil HVAC tape if needed.
4. Vacuum the dryer outlet
Use the vacuum hose to remove loose lint from the dryer outlet on the back of the machine. Do not force the hose deep into the dryer. The goal is to clear what you can reach safely.
5. Clean the transition duct
If you have a short flexible duct, take it outside or lay it flat and brush through it carefully. Vacuum out loosened lint. If the duct is crushed, torn, or made from flimsy plastic or thin foil, consider replacing it with a safer rigid or semi-rigid metal transition duct that fits your setup.
6. Brush the wall duct
Insert the dryer vent brush into the duct opening in the wall. Work it in gently, rotating as you go, then pull it back out and remove lint. Repeat until the brush comes back mostly clean. If your brush kit connects to a drill, use a low speed and follow the kit instructions so you do not separate rods inside the duct.
7. Clean the outside vent
Go outdoors and find the dryer vent cover. Remove lint from the hood and flap area. The Building America Solution Center notes that dryer vent caps should not have screening that can trap lint, so if you see a screen over the vent, that is a red flag to address. ([basc.pnnl.gov](https://basc.pnnl.gov/diy-guides/clean-dryer-exhaust?utm_source=openai))
Make sure the flap opens freely and closes when the dryer is off. A stuck-open flap can invite cold air, pests, and moisture into the duct.
8. Reconnect everything
Reconnect the transition duct to the dryer and wall outlet. Tighten the clamps so the duct is secure, but do not crush it. Push the dryer back carefully, keeping the duct as straight as possible. A kinked hose can undo your cleaning work immediately.
9. Test the airflow
Plug the dryer back in. Run it on an air-only or low-heat setting and check the outside vent. You should feel a steady flow of air, and the flap should open fully. If airflow still seems weak, there may be a deeper blockage, a long duct run, or a crushed section you cannot see.
What Not to Do
- Do not ignore long drying times. They are one of the clearest signs of poor airflow.
- Do not use duct tape on dryer duct joints. Heat can dry it out and make it fail. Use foil HVAC tape where tape is needed.
- Do not push the dryer tightly against the wall if it crushes the vent hose.
- Do not run the dryer without a lint filter or with a damaged, loose, or clogged filter. The U.S. Fire Administration warns against operating a dryer this way. ([usfa.fema.gov](https://www.usfa.fema.gov/downloads/pdf/statistics/v13i7.pdf?utm_source=openai))
- Do not vent a dryer into an attic, crawl space, garage, or wall cavity. Moist air and lint should exhaust outdoors.
When to Call a Professional
Call a dryer vent cleaning professional or appliance technician if your vent run is very long, travels through the roof, has several bends, or still has weak airflow after cleaning. You should also get help if you have a gas dryer and moving it would disturb the gas line.
A pro may also be the better choice if birds have nested in the vent, the exterior vent is high off the ground, or the duct has separated inside a wall or ceiling. Those are not worth guessing at with a brush kit.
Simple Habits That Keep the Vent Cleaner Longer
- Clean the lint screen after every load.
- Shake pet hair from blankets before washing and drying.
- Dry heavy towels separately from lightweight clothing.
- Check the outside vent flap every month or two.
- Pull the dryer out once or twice a year to vacuum behind it.
- Keep boxes, cleaning bottles, and laundry piles away from the dryer area.
Dryer vent cleaning is not glamorous, but it is one of those small home jobs that pays you back quickly. Your clothes dry faster, the laundry room stays cooler, and you lower a preventable fire risk hiding behind the machine.