How to Clean a Dryer Vent from Inside and Outside
If your towels are taking forever to dry or the laundry room feels unusually hot, your dryer vent may be overdue for a cleaning. Learning how to clean a dryer vent is a simple home maintenance job that can help your dryer run better and reduce a common household fire risk.
Most homeowners can handle a basic vent cleaning with a vacuum and an inexpensive dryer vent brush kit. The key is to clean from both ends: behind the dryer and at the outdoor vent hood.
Why Dryer Vent Cleaning Matters
A dryer works by moving hot, moist air out of the drum and through a duct to the outdoors. Over time, lint builds up in the lint screen housing, the transition hose behind the dryer, the duct inside the wall, and the exterior vent flap.
That lint blocks airflow. ENERGY STAR recommends cleaning the lint filter after every load because good airflow helps dryer efficiency. For the exhaust duct itself, the Building America Solution Center notes that dryer exhaust should run to the exterior through a short, straight path and that the duct should be cleaned at least yearly by a professional technician. ([energystar.gov](https://www.energystar.gov/products/clothes_dryers?utm_source=openai))
There is also a safety reason to take this chore seriously. NFPA research has found that failure to clean was the leading factor contributing to home clothes dryer fires, and lint, dust, or fiber was a leading item first ignited in dryer fires. ([content.nfpa.org](https://content.nfpa.org/-/media/Project/Storefront/Catalog/Files/Research/NFPA-Research/US-Fire-Problem/osdryer.pdf?hash=639DD7887A6C083F71E4FD34726B1197&rev=6e5e44af45a54ee38ab86a33bef98e86&utm_source=openai))
Signs Your Dryer Vent Needs Cleaning
You do not need to wait for a yearly reminder if the dryer is already struggling. Clean the vent soon if you notice any of these warning signs:
- Loads take longer than usual to dry, especially towels, jeans, or bedding.
- Clothes feel very hot at the end of the cycle instead of just dry and warm.
- The dryer shuts off early or seems to overheat.
- The laundry room feels humid or hot while the dryer is running.
- You see lint around the dryer, hose connection, or outdoor vent.
- The outside vent flap barely opens when the dryer is on.
- There is a musty or slightly scorched smell during a drying cycle.
Tools and Supplies
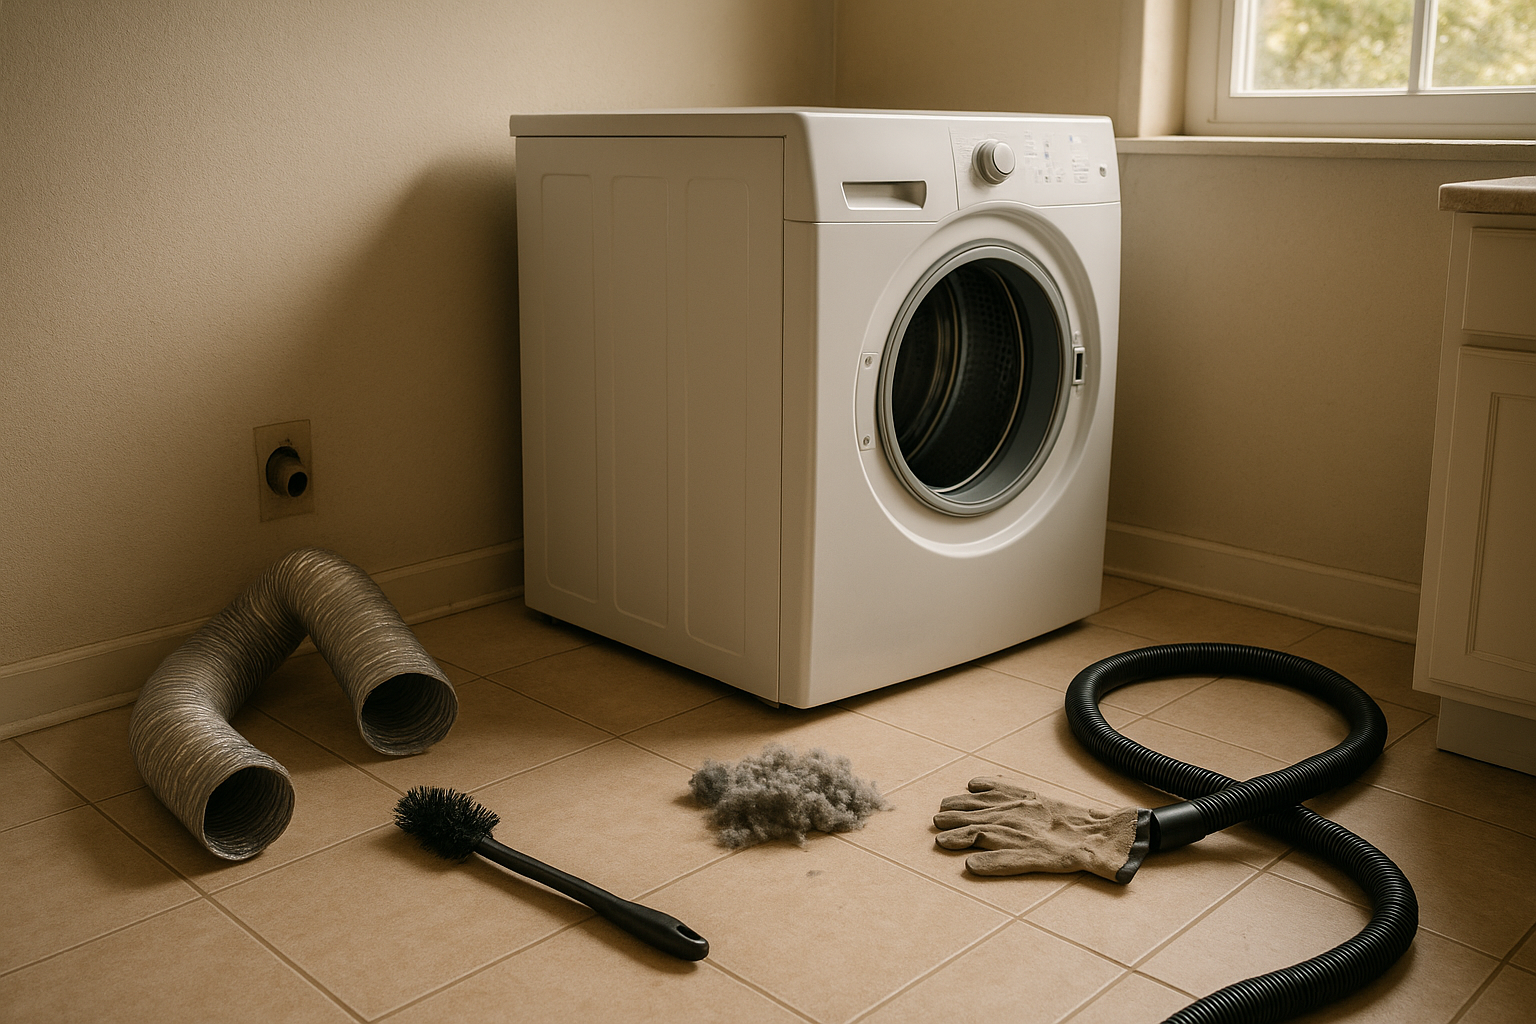
Gather everything before you pull the dryer out. You will need:
- Vacuum with hose attachment
- Dryer vent brush kit, preferably with flexible rods
- Screwdriver or nut driver for the hose clamp
- Work gloves
- Flashlight
- Microfiber cloth
- Foil HVAC tape, if you need to reseal a metal duct joint
- Replacement metal transition duct, if the old hose is crushed, torn, or plastic
Avoid using regular duct tape on dryer duct connections. Heat and lint can cause it to loosen over time. Foil HVAC tape is the better choice for sealing approved metal duct joints.
Step 1: Unplug the Dryer
Before you do anything else, turn the dryer off and unplug it. If you have a gas dryer, turn off the gas supply valve before moving the appliance. If you are not comfortable moving a gas dryer, stop here and call a qualified appliance technician or vent cleaning pro.
Pull the dryer straight out from the wall just far enough to reach the vent connection. Do this slowly so you do not kink the hose, scrape the floor, or strain a gas line.
Step 2: Clean the Lint Screen and Housing
Remove the lint screen and peel off any lint by hand. If the screen looks waxy or clogged from dryer sheets, wash it gently with warm water and a drop of dish soap, rinse well, and let it dry completely.
Next, use a narrow vacuum attachment or a dryer lint brush to clean inside the lint screen slot. This area often holds more lint than people expect. Work gently so you do not damage the screen housing.
Step 3: Disconnect the Vent Hose
Behind the dryer, loosen the clamp that holds the transition hose to the dryer outlet. Slide the hose off and look inside. If the hose is packed with lint, crushed flat, torn, or made from thin plastic or foil-like material, consider replacing it with a rigid or semi-rigid metal transition duct.
Vacuum the dryer outlet first. Then vacuum inside the hose as far as you can reach. If the hose is short and removable, take it outside and use the vent brush to loosen lint from end to end.
Step 4: Brush the Wall Duct from Indoors
Insert the dryer vent brush into the duct opening in the wall. Feed it in slowly, rotating as you go. If your kit attaches to a drill, use a low speed and follow the brush kit directions carefully. For many homes, hand-turning the rods is safer and gives you better control.
Pull the brush back out and vacuum loose lint. Repeat until the brush comes back with only a light dusting. Do not force the rods around a tight bend. If the brush gets stuck or you meet hard resistance, stop and call a pro.
Step 5: Clean the Exterior Vent
Go outside and find the dryer vent hood. Remove lint from the cover and check that the flap or louvers move freely. Birds, leaves, and lint can all block this area, especially in fall and winter.
Insert the vent brush from the outside and work it into the duct. Pull out lint as you go, then vacuum the area if your vacuum can safely reach it. Replace a cracked vent cover, and make sure there is no screen over the dryer exhaust opening. Screens can trap lint and clog quickly.
Step 6: Reconnect and Test
Reconnect the transition duct to the dryer and wall outlet. Tighten the clamps so the connections are snug, but do not crush the duct. Push the dryer back carefully, leaving enough room so the hose is not smashed behind it.
Plug the dryer back in, turn the gas valve back on if applicable, and run the dryer on an air-only or low-heat setting for a few minutes. Go outside and check the vent. You should feel steady airflow, and the flap should open while the dryer is running.
How Often Should You Clean a Dryer Vent?
For many households, a full dryer vent cleaning once a year is a good baseline. Clean it more often if you do several loads a day, have pets, wash lots of towels or fleece, or notice drying times getting longer.
Make these small habits part of your laundry routine:
- Clean the lint filter after every load.
- Check the outdoor vent flap every month or two.
- Vacuum behind the dryer a few times a year.
- Clean the lint screen slot whenever you see buildup.
- Schedule a deeper cleaning if the duct is long, has several bends, or exits through the roof.
When to Call a Professional
A basic straight vent is usually manageable for a careful homeowner, but some setups need professional help. Call a dryer vent cleaning service if your vent runs a long distance, exits on the roof, travels through multiple elbows, or remains weak after you clean both ends.
You should also call a pro if you smell burning, see scorch marks, suspect a bird nest, cannot move the dryer safely, or have a gas dryer connection you are unsure about. The cost of a service call is worth it if the alternative is a damaged appliance or an unsafe vent.
A Simple Chore That Pays Off
Cleaning a dryer vent is not glamorous, but it is one of those home jobs that gives you a clear reward. Your dryer can move air more freely, laundry may dry faster, and you will know that hidden lint is not building up unchecked behind the machine.
If you are making a seasonal home maintenance list, add this task near the top. A vacuum, a brush kit, and 30 to 60 minutes can make your laundry room safer and more efficient.