How to Seal Air Leaks Around Pipes and Wires
If one room feels drafty no matter how high you set the thermostat, look beyond the windows. Small gaps around plumbing pipes, electrical wires, cable lines, and vents can let cold air move through basements, crawl spaces, attics, and exterior walls.
The good news: many of these leaks are simple to seal in an afternoon with the right caulk or foam. This guide shows you where to look, what product to use, and which spots need extra caution.
Why these little gaps matter
Air leaks are not always obvious. A gap hidden behind a vanity, under a kitchen sink, or around a pipe in the basement ceiling can connect directly to a cold crawl space, attic, garage, or exterior wall cavity. ENERGY STAR notes that sealing air leaks and adding insulation can improve comfort and may provide up to 10% savings on annual energy bills. ([energystar.gov](https://www.energystar.gov/saveathome/seal_insulate?utm_source=openai))
These openings can also make floors feel cold, pull in musty crawl-space air, and create easy pathways for insects. Sealing them is one of those unglamorous home projects that can make the house feel noticeably tighter.
Where to look first
Start in the unfinished areas of the house, because the biggest leaks are often there. ENERGY STAR identifies attics, basements, and crawl spaces as common places to find gaps around pipes, wires, chases, and wall tops or bottoms. ([energystar.gov](https://www.energystar.gov/sites/default/files/ES_Seal_%26_Insulate_flyer.pdf?utm_source=openai))
- Under sinks: Look where drainpipes and water supply lines enter the wall or floor.
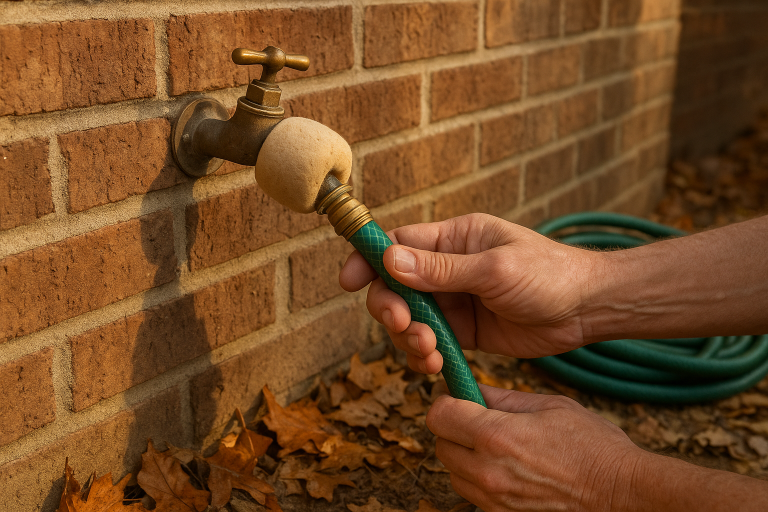
- Basement ceilings: Check around plumbing, electrical cables, dryer vents, hose bib lines, and cable/internet lines.
- Crawl spaces: Inspect the rim joist area, plumbing penetrations, and holes around utility lines.
- Attics: Look for plumbing vent pipes, wire holes, open wall cavities, and gaps around ceiling fixtures.
- Exterior walls: Check hose bibs, AC refrigerant lines, gas lines, and utility penetrations.
On a windy day, you may be able to feel leaks with your hand. Indoors, an incense stick or smoke pencil can help reveal moving air; the Department of Energy notes that a horizontal smoke stream can indicate an air leak. ([energy.gov](https://www.energy.gov/sites/prod/files/2013/06/f2/energy_savers.pdf?utm_source=openai))
Choose the right material for the gap
The product matters. Caulk works well for small, narrow cracks where the surrounding materials do not move much. Spray foam fills larger irregular gaps, but it expands and can get messy fast. ENERGY STAR’s basement and crawlspace guidance recommends caulk for gaps 1/4 inch or smaller and spray foam for larger openings. ([energystar.gov](https://www.energystar.gov/saveathome/seal_insulate/basement_crawlspace?utm_source=openai))
Use caulk for small gaps
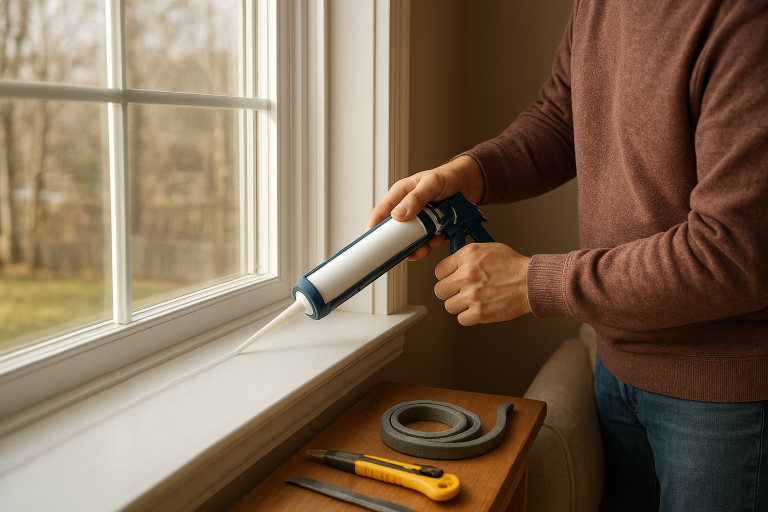
For neat gaps around pipes under sinks or along trim, use a quality paintable acrylic latex caulk. For damp areas, use a kitchen-and-bath sealant labeled for plumbing areas. Cut the caulk tube tip small, apply a steady bead, then smooth it with a damp finger or caulk tool.
Use canned spray foam for larger gaps
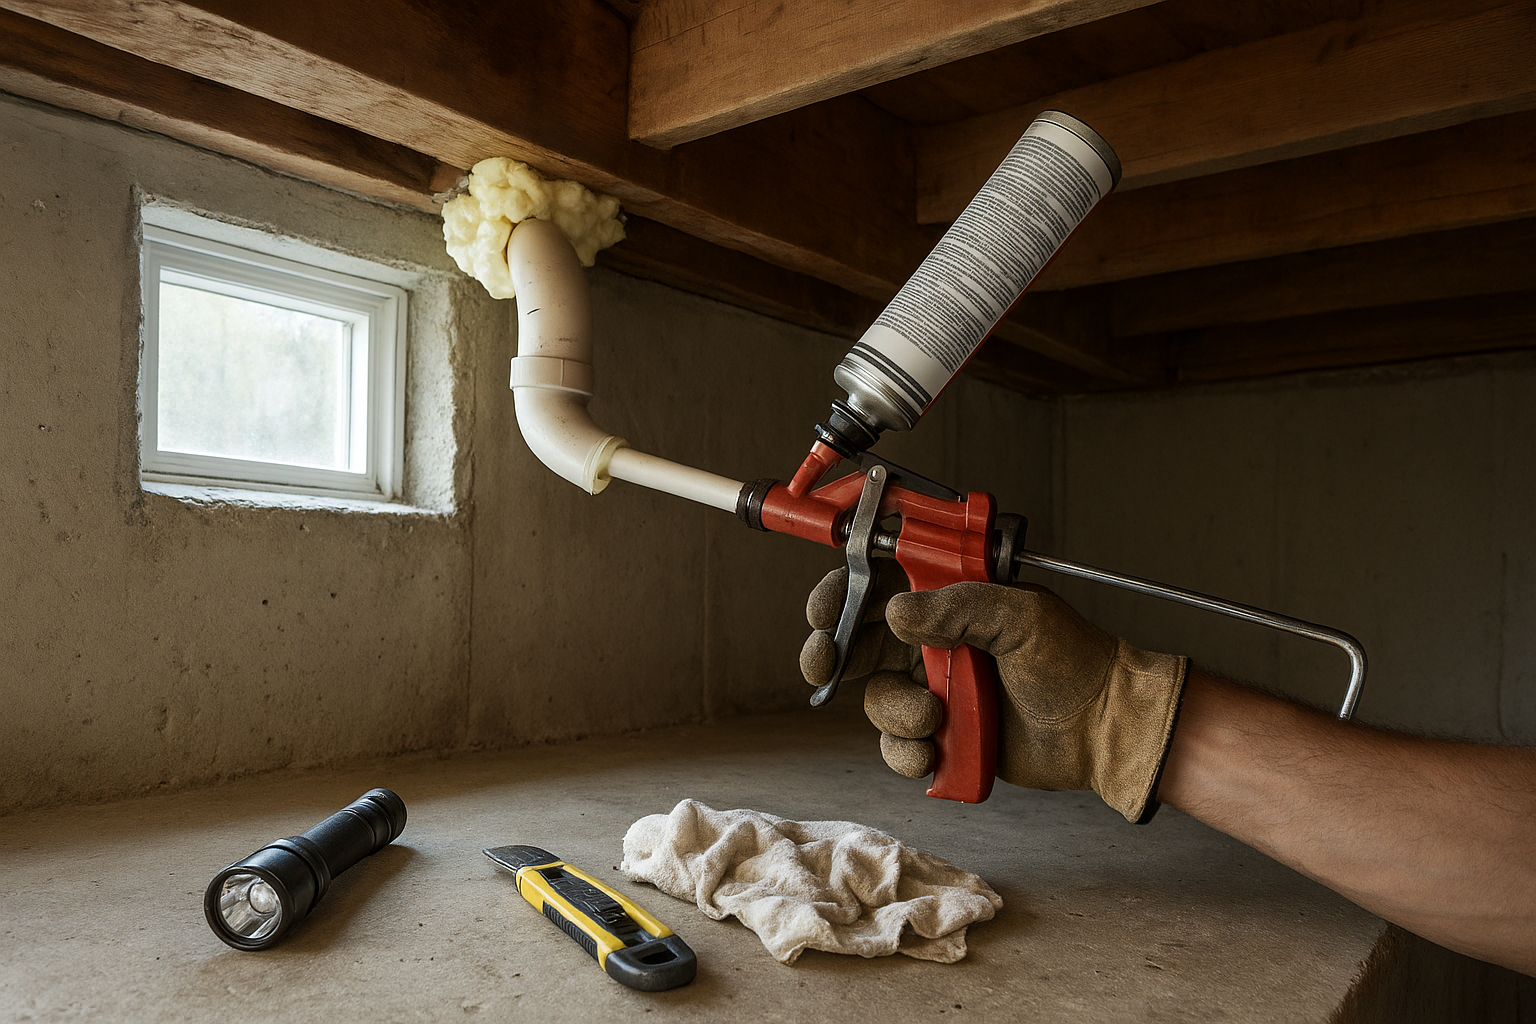
For bigger spaces around pipes, wires, and utility penetrations, use one-component expanding foam from a can. Choose a low-expansion or “window and door” foam if you are near trim, plastic pipes, or tight spaces where too much pressure could be a problem. For pest-prone areas, consider a pest-blocking foam labeled for that use.
Use backing for very large openings
If the opening is more like a hole than a crack, do not try to fill the whole thing with foam. ENERGY STAR’s DIY guide advises stuffing wider spaces around plumbing pipes with fiberglass as backing before applying expanding foam. ([energystar.gov](https://www.energystar.gov/ia/partners/manuf_res/salestraining_res/HS_diy_guide.pdf?utm_source=openai)) You can also cut rigid foam board or plywood to cover large openings, then seal the edges with foam or caulk.
Do not use regular foam around hot flues
This is the most important safety rule in the whole project: do not use regular spray foam around chimneys, metal furnace flues, water heater flues, or anything that gets hot. ENERGY STAR says furnace flues and chimneys need noncombustible materials such as aluminum flashing or sheet metal plus high-temperature caulk, and it notes that codes often require clearance from hot flues and chimneys. ([energystar.gov](https://www.energystar.gov/saveathome/seal_insulate/attic-air-sealing-project?utm_source=openai))
If you are unsure whether a pipe is a plumbing vent or a hot flue, pause. PVC plumbing vents are usually plastic, while many furnace or water-heater flues are metal. When in doubt, ask an HVAC pro, plumber, or home energy auditor before sealing.
Tools and supplies
- Flashlight or headlamp
- Work gloves and safety glasses
- Dust mask for dirty attic or crawl-space work
- Caulk gun
- Acrylic latex caulk or appropriate sealant
- Low-expansion spray foam
- High-temperature caulk and sheet metal for hot flue areas, if needed
- Utility knife
- Fiberglass insulation scraps or backer rod for large gaps
- Rags and cardboard to catch drips
Step-by-step: how to seal air leaks around pipes
- Clean the area. Brush away loose dust, cobwebs, and crumbling material. Caulk and foam stick better to clean, dry surfaces.
- Identify the pipe or wire. Make sure you are not working around a hot flue, knob-and-tube wiring, damaged electrical work, or an active leak.
- Pick the sealant. Use caulk for small gaps, foam for larger gaps, and noncombustible materials for hot flues.
- Protect nearby surfaces. Spray foam is sticky and difficult to remove once cured. Put down cardboard, wear gloves, and keep it off finished flooring and clothing.
- Fill only partway with foam. Expanding foam grows as it cures. Apply less than you think you need, especially in enclosed spaces.
- Let it cure. Follow the manufacturer’s label for cure time before trimming or covering the foam.
- Trim excess carefully. Once cured, slice extra foam flush with a utility knife if needed.
- Replace insulation. In attics and rim joist areas, put insulation back after the air seal is dry so you get both air control and thermal protection.
Spray foam safety basics
Use spray foam with ventilation, gloves, and eye protection. The EPA advises that spray polyurethane foam can create vapors, aerosols, and dust during and after application, and that ventilation helps reduce airborne levels during the work. ([archive.epa.gov](https://archive.epa.gov/epa/saferchoice/ventilation-guidance-spray-polyurethane-foam-application.html?utm_source=openai))
For small homeowner cans, follow the label closely, keep children and pets away from the work area, and avoid spraying near open flames, pilot lights, or running combustion appliances. The EPA notes that cure and re-entry times can vary by product and conditions, so manufacturer directions matter. ([archive.epa.gov](https://archive.epa.gov/epa/saferchoice/quick-safety-tips-spray-polyurethane-foam-users.html?utm_source=openai))
Common mistakes to avoid
- Sealing over water problems: If a pipe is sweating heavily or leaking, fix the moisture issue first.
- Using foam as fire protection: Standard foam is not a substitute for proper fire-blocking or fire-rated materials.
- Blocking vents on purpose: Do not seal attic ventilation, combustion-air openings, or appliance vents.
- Overfilling gaps: Too much foam can bulge, waste product, and make a mess.
- Ignoring indoor air quality: EPA cautions that weatherization should be paired with appropriate ventilation and indoor air quality protections. ([epa.gov](https://www.epa.gov/indoor-air-quality-iaq/energy-weatherization-and-indoor-air-quality?utm_source=openai))
When to call a pro
Call a qualified contractor if you find mold, wet insulation, old or questionable wiring, asbestos-suspect materials, gas line concerns, major attic bypasses, or gaps around chimneys and combustion appliances. A professional energy audit with a blower door test can also show where the biggest leaks are before you spend time sealing tiny ones.
For a simple weekend project, start with the basement ceiling, under-sink cabinets, and attic plumbing vents. Sealing those pipe and wire gaps will not make your house brand-new, but it can cut down on drafts, make cold rooms more comfortable, and help your insulation do its job.