How to Clean Refrigerator Coils Without Damaging Them
If your refrigerator has been humming more than usual, running warm, or collecting dust bunnies underneath, the condenser coils may need attention. Learning how to clean refrigerator coils is a simple home maintenance job that can help your fridge move heat away from the appliance more efficiently.
The good news: you do not need to take the refrigerator apart or touch any sealed cooling components. With a vacuum, a soft coil brush, and a little patience, most accessible coils can be cleaned in about 20 to 30 minutes.
Why Refrigerator Coils Get So Dirty
Condenser coils release heat from your refrigerator. Depending on the model, they may be on the back of the appliance or underneath it behind a toe grille. When the coils and nearby airflow openings get packed with dust, pet hair, crumbs, and lint, the refrigerator has to work harder to shed heat.
ENERGY STAR recommends keeping condenser coils clean on older refrigerators and leaving a few inches of space between the wall and refrigerator for airflow. The Building America Solution Center, a U.S. Department of Energy resource, recommends cleaning coils every 6 to 12 months to support cooling performance, appliance life, and energy savings. ([energystar.gov](https://www.energystar.gov/products/refrigerators?utm_source=openai))
Some newer refrigerators are designed with covered or low-maintenance condensers, so always check your owner’s manual first. If your manual says the condenser does not require routine cleaning, you can still keep the floor, toe grille, and surrounding vents free of dust.
How Often Should You Clean Refrigerator Coils?
For most homes, plan on cleaning accessible refrigerator coils once or twice a year. Whirlpool advises cleaning condenser coils every six months in homes with shedding pets or heavy dust, and LG similarly recommends cleaning coils once or twice yearly for cooling performance and energy efficiency. ([producthelp.whirlpool.com](https://producthelp.whirlpool.com/Refrigeration/Full-Size_Refrigerators/Product_Info/Cleaning_and_Care/How_and_When_to_Safely_Clean_the_Condenser_Coils?utm_source=openai))
You may need to clean them more often if:
- You have dogs, cats, or long-haired pets.
- Your refrigerator sits near a busy cooking area.
- The kitchen floor gathers dust quickly.
- The fridge is in a garage, basement, or laundry area.
- You notice the compressor running for long stretches.
Tools You’ll Need
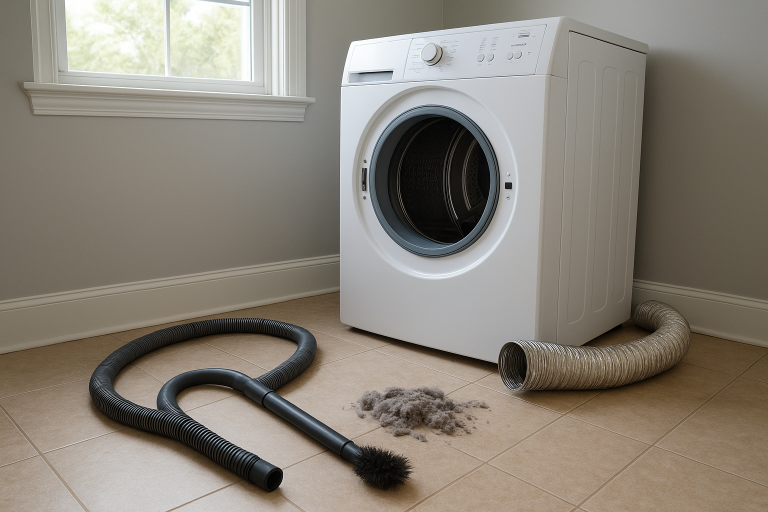
- Vacuum with crevice tool: Best for loose dust, crumbs, and pet hair.
- Soft refrigerator coil brush: A long, flexible brush reaches narrow spaces better than a regular duster.
- Flashlight: Helps you see under the fridge and behind panels.
- Work gloves: Useful around sharp metal edges.
- Dust mask: Optional, but helpful if the coils are very dirty.
- Towel or cardboard: Protects flooring when sliding the refrigerator.
Avoid wet rags, spray cleaners, steam cleaners, or anything stiff enough to bend coil fins. GE Appliances recommends unplugging the refrigerator before maintenance and using a refrigerator condenser cleaning brush to wipe dust, dirt, and pet hair from the coils. ([products.geappliances.com](https://products.geappliances.com/appliance/gea-support-search-content?contentId=16266&utm_source=openai))
Step-by-Step: How to Clean Refrigerator Coils
1. Check the Manual and Locate the Coils
Before moving anything, look up your refrigerator model or check the paper manual. You want to know whether the coils are owner-accessible and whether they are behind the front toe grille, on the back, or underneath the appliance.
If the manual says not to remove a panel, do not force it. Clean only what you can safely access from the approved openings.
2. Turn Off or Unplug the Refrigerator
Safety comes first. Whirlpool’s product guidance says to unplug the refrigerator or switch off the circuit breaker before cleaning condenser coils. This is especially important because you may be working near a fan, wiring, or a metal machine compartment. ([producthelp.whirlpool.com](https://producthelp.whirlpool.com/Refrigeration/Full-Size_Refrigerators/Product_Info/Cleaning_and_Care/How_and_When_to_Safely_Clean_the_Condenser_Coils?utm_source=openai))
Try not to leave the refrigerator off for long. Keep doors closed while you work so the interior stays cold.
3. Pull the Refrigerator Out Carefully
If your coils are on the back, slide the refrigerator straight out just far enough to work. Do not yank it. Many refrigerators have water lines, ice-maker connections, or power cords behind them.
If your floor scratches easily, place a thin piece of cardboard, a moving mat, or a towel under the front feet before sliding. If the refrigerator feels stuck, very heavy, or connected tightly to a water line, stop and get help.
4. Remove the Toe Grille or Access Cover
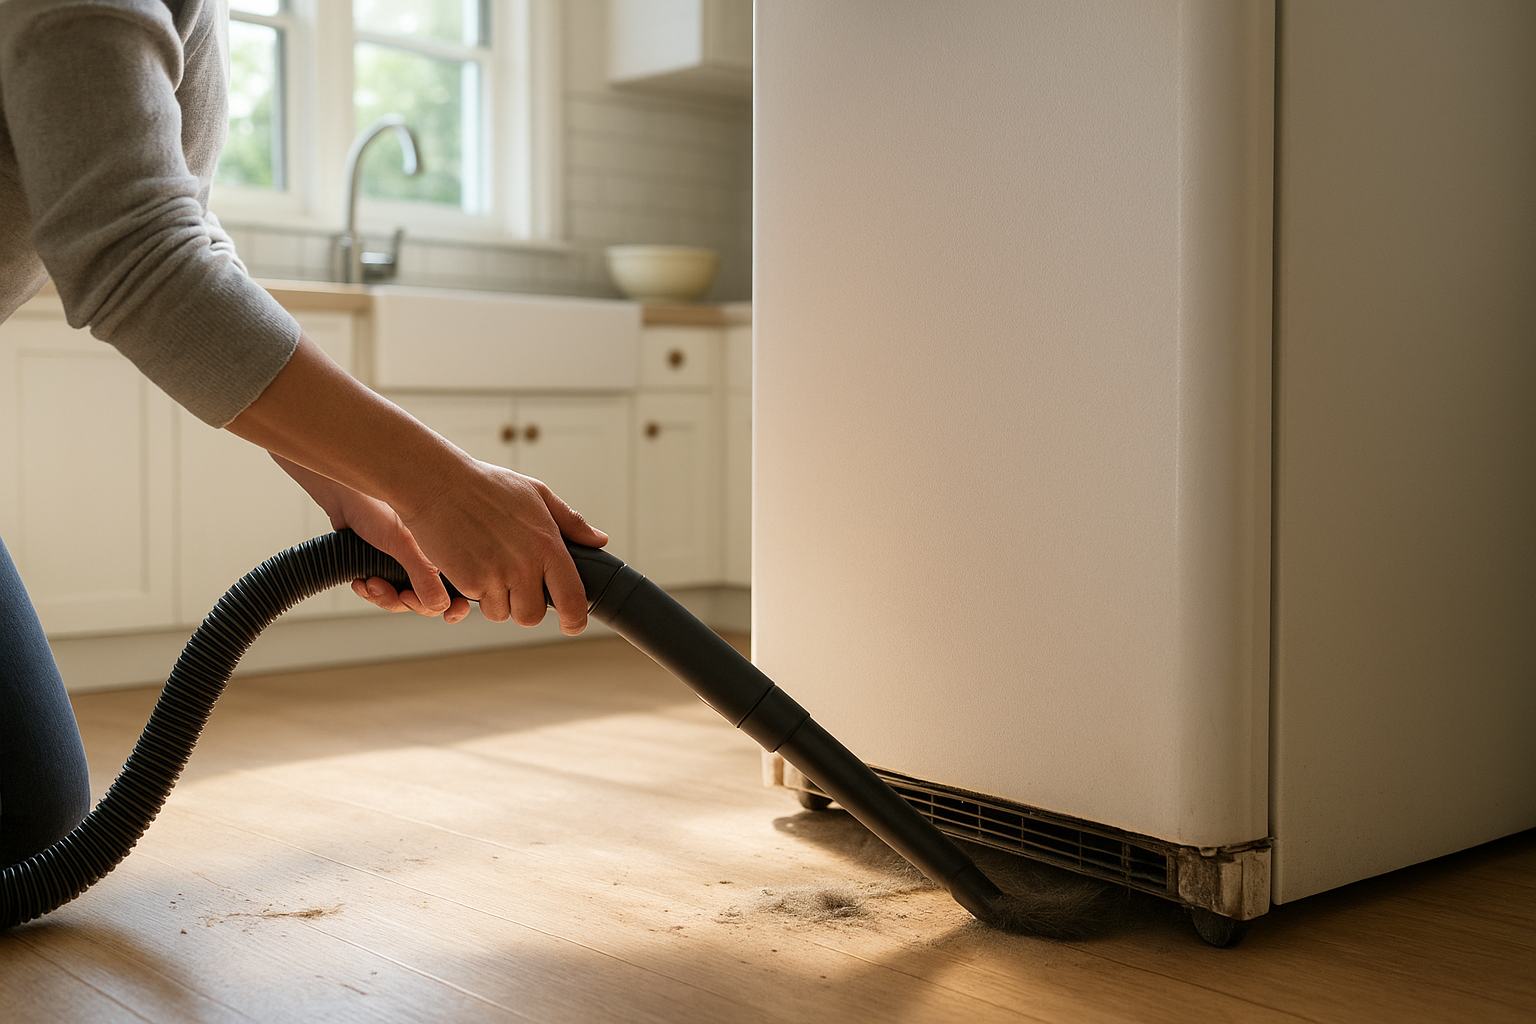
For bottom-mounted coils, the toe grille usually pulls forward or releases with simple clips. Set it aside and vacuum both sides of the grille. A clogged grille can restrict airflow even if the coils themselves are not terrible.
If there is a rear cardboard or metal access cover, remove only the screws the manual identifies. Do not remove sealed covers or anything that exposes parts you are not meant to service.
5. Vacuum Loose Dust First
Use the crevice tool to remove loose dust from the floor, grille, and open cavity. Work slowly. The goal is to remove surface debris before brushing, so you do not push a mat of dust deeper into the machine compartment.
Keep the vacuum nozzle from banging into thin metal fins, copper tubing, wires, or fan blades. If you cannot reach a spot safely, leave it alone.
6. Brush Gently Between the Coils
Slide the refrigerator coil brush into the dusty areas with light pressure. Pull dust toward you, then vacuum it up. Repeat the brush-and-vacuum pattern until the airflow path looks noticeably clearer.
Do not scrub aggressively. Condenser fins and tubing can be bent or damaged. A soft brush is enough for normal household dust.
7. Clean the Floor and Wall Area
Before pushing the refrigerator back, vacuum the floor, baseboard, and wall behind it. Dust on the floor gets pulled right back toward the coils once the fridge starts running again.
This is also a good time to check for water stains, brittle supply lines, mouse droppings, or a crushed power cord. If you see moisture or damaged wiring, do not ignore it.
8. Reinstall Covers and Restore Power
Put the grille or access cover back exactly as it was. Slide the refrigerator into place, leaving the clearance recommended in your manual. Plug it back in or turn the breaker on.
Listen for normal operation. The compressor or fan may start after a short delay. Check that the doors seal well and that the refrigerator is not rocking.
What Not to Do
- Do not use water or cleaning spray inside the machine compartment.
- Do not bend fins or tubing to make more room for the vacuum.
- Do not remove sealed panels or open refrigerant lines.
- Do not use a leaf blower indoors unless you want dust all over the kitchen.
- Do not forget to plug the fridge back in when you are done.
Signs the Coils May Need Cleaning Now
Clean the coils sooner if you notice the refrigerator running almost constantly, the sides or front frame feeling hotter than usual, weak cooling, or heavy dust visible under the front grille. Dirty coils are not the only cause of cooling trouble, but they are one of the easiest things to check.
If the refrigerator still struggles after cleaning, place an appliance thermometer inside. A refrigerator should generally stay cold enough for safe food storage, and persistent warming needs prompt attention from a qualified appliance technician.
When to Call a Pro
Call for service if you smell burning, hear grinding or clicking, see damaged wiring, find a leaking water line, or cannot access the coils without removing parts not described in the manual. You should also call a technician if the fridge is warm, the freezer is thawing, or the compressor runs constantly after the coils are clean.
Built-in and panel-ready refrigerators can be especially tricky because they may have different ventilation paths. For those, follow the manufacturer’s maintenance instructions closely.
A Simple Maintenance Schedule
Put coil cleaning on your calendar for spring and fall. Pair it with other twice-a-year jobs, such as changing smoke alarm batteries, cleaning behind appliances, or checking water supply hoses.
In between deeper cleanings, vacuum the front toe grille and the floor around the refrigerator every month or two. That small habit reduces how much dust gets pulled toward the condenser area in the first place.
The Bottom Line
Cleaning refrigerator coils is not glamorous, but it is one of those small chores that can make a hard-working appliance’s job easier. Keep it gentle, keep it dry, and only clean the parts your manufacturer makes accessible.
Once you have done it the first time, the next round is much faster. A vacuum, a coil brush, and 20 minutes twice a year can help your refrigerator breathe better through busy weeknights, holiday cooking, and everything in between.