How to Seal Baseboard Gaps to Stop Cold Drafts
If a room feels chilly near the floor, the problem may not be the window at all. Small gaps where baseboards meet the wall or floor can let in drafts, dust, and outdoor odors, especially in older homes.
The good news: learning how to seal baseboard gaps is a beginner-friendly DIY job. With a tube of paintable caulk, a little prep, and backer rod for wider openings, you can make the room feel tighter and cleaner in an afternoon.
Why Baseboard Gaps Cause Drafts
Baseboards are trim, not insulation. They cover the joint where the wall meets the floor, but there may be small air leaks behind them, especially along exterior walls, over crawl spaces, or near attached garages.
The U.S. Department of Energy notes that caulking and weatherstripping are simple air-sealing methods that can offer quick payback, and its air-sealing guidance includes baseboards, wall penetrations, and floor-to-wall joints among common leak areas. ([energy.gov](https://www.energy.gov/cmei/buildings/articles/energy-efficient-home-improvement-credit-insulation-and-air-sealing?utm_source=openai))
This project will not replace whole-house weatherization, but it is a smart place to start if you can feel cold air at the bottom of a wall.
What You’ll Need
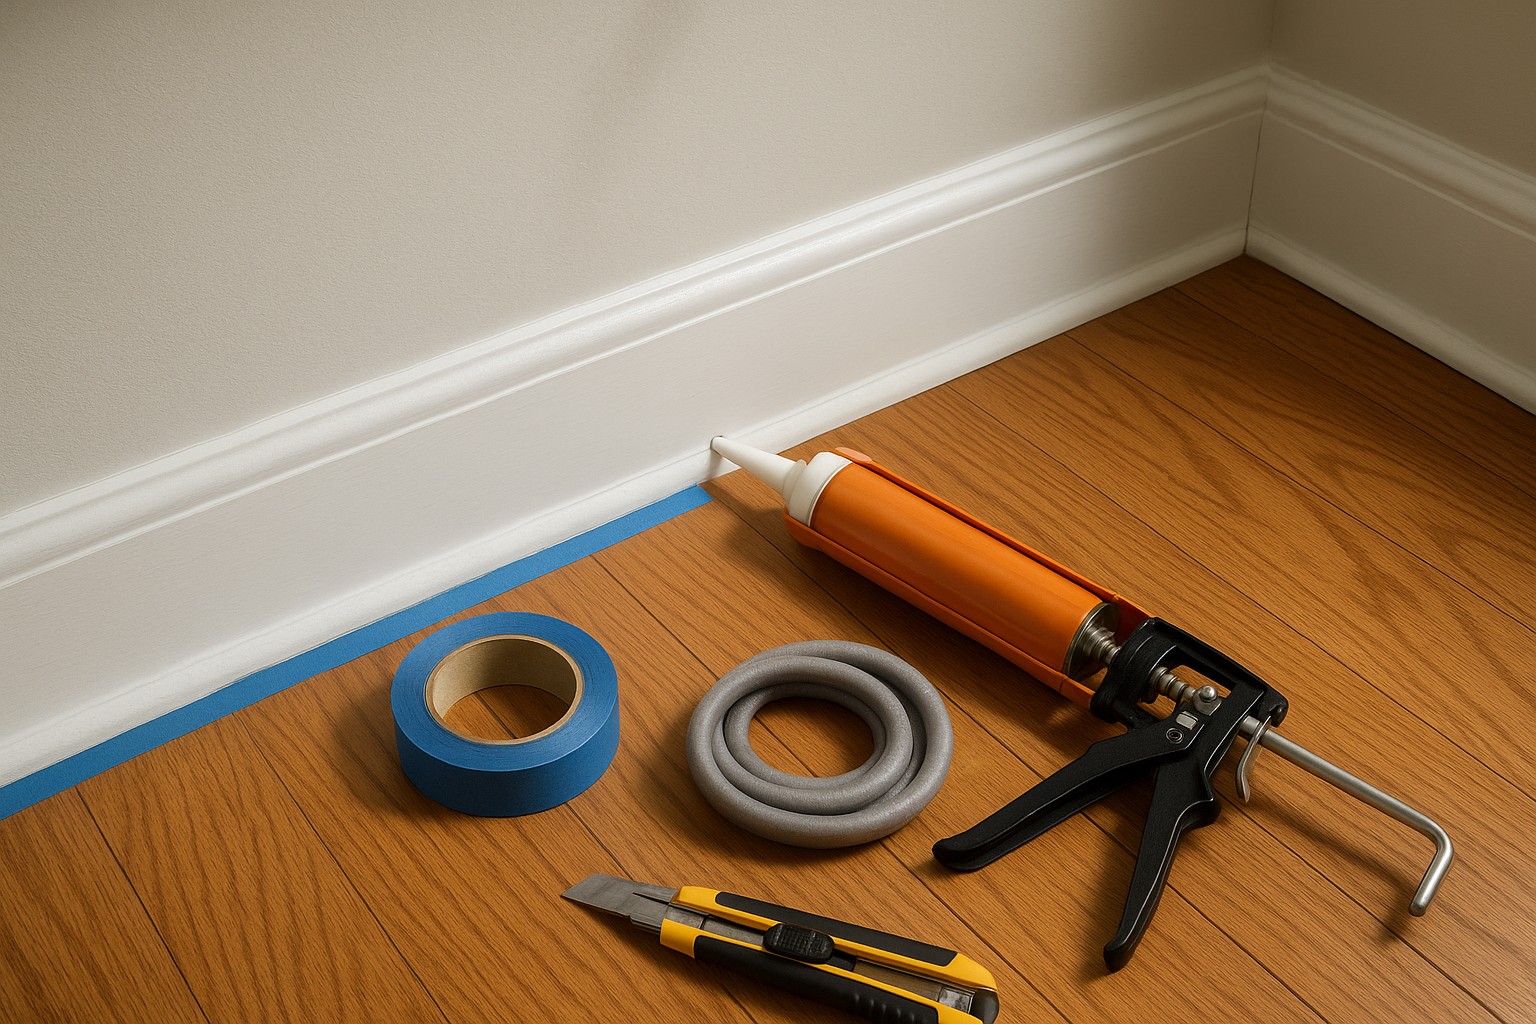
- Vacuum with crevice tool
- Damp cloth or mild cleaner
- Painter’s tape, optional but helpful
- Paintable acrylic latex caulk for dry interior rooms
- Kitchen-and-bath paintable sealant for damp areas
- Foam backer rod for gaps wider than about 1/4 inch
- Caulk gun
- Utility knife or scissors
- Caulk finishing tool or a gloved finger
- Small putty knife
- Touch-up paint, if needed
Choose the Right Caulk
For most living rooms, bedrooms, halls, and dining rooms, use paintable acrylic latex caulk. It is easy to smooth, cleans up with water before it cures, and can be painted to match trim or walls.
For bathrooms, laundry rooms, and other damp areas, choose a paintable kitchen-and-bath sealant that is labeled for moisture resistance. For exterior gaps, use an exterior-rated sealant instead; interior trim caulk is not made to handle rain, UV exposure, and large temperature swings.
Product guidance from major sealant manufacturers generally separates interior trim caulk from moisture-resistant kitchen-and-bath sealants and weather-resistant exterior sealants, so read the tube before buying. ([dap.com](https://www.dap.com/resources/how-to/choose-the-right-caulk-or-sealant?utm_source=openai))
Check the Size of the Gap First
Look closely along the top and bottom edges of the baseboard. You may see:
- Hairline gaps: Usually fine for caulk alone.
- Small gaps up to about 1/4 inch: Caulk can usually handle these if the joint is clean and dry.
- Wider or deeper gaps: Use foam backer rod first, then caulk over it.
Department of Energy weatherization job aids list caulk as a material for small holes and gaps of 1/4 inch or less. Wider gaps often need backing material, such as foam backer rod, so the caulk is not trying to fill a deep empty space by itself. ([energy.gov](https://www.energy.gov/sites/default/files/2022-08/single-family-home-job-aids.pdf?utm_source=openai))
Step-by-Step: How to Seal Baseboard Gaps
1. Find the Drafty Spots
On a windy or cold day, run your hand slowly along the baseboard. Pay extra attention to outside walls, corners, bay windows, rooms over garages, and walls that sit above crawl spaces.
You can also use a thin tissue or an incense stick if it is safe to do so. If the tissue flutters or smoke pulls sideways, you may have an air leak. The Department of Energy recommends using smoke movement as one way to locate leaks around seams, cracks, and openings. ([energy.gov](https://www.energy.gov/sites/prod/files/2013/06/f2/energy_savers.pdf?utm_source=openai))
2. Clean the Joint
Caulk sticks best to clean, dry surfaces. Vacuum the gap with a crevice tool to remove dust, pet hair, grit, and crumbs. Wipe the baseboard and nearby floor or wall with a damp cloth, then let everything dry fully.
If old caulk is cracked, loose, dirty, or peeling away, scrape it out with a putty knife or utility knife. You do not need to remove perfect caulk, but new caulk should not be smeared over failing material.
3. Tape for a Neater Line
This step is optional, but it helps beginners. Apply painter’s tape just above and below the gap, leaving only the joint exposed. Press the tape down firmly so caulk does not creep underneath.
If you are sealing the bottom edge where baseboard meets a finished wood floor, tape is especially useful. It keeps the bead narrow and reduces cleanup.
4. Add Backer Rod for Wider Gaps
If the gap is wider than about 1/4 inch or seems deep, press foam backer rod into the opening first. Use a putty knife to tuck it in gently. The backer rod should sit slightly below the surface so there is room for a smooth bead of caulk on top.
Do not force in a backer rod that is too large. It should fit snugly without bulging the trim. If the gap is uneven, use backer rod only where needed.
5. Cut the Caulk Tube Small
Cut the nozzle at a 45-degree angle, starting with a small opening. You can always cut it larger, but you cannot make it smaller again. Puncture the inner seal if your tube has one.
For baseboards, a small, controlled bead is better than a thick rope of caulk. Too much caulk makes a mess and can crack as it dries.
6. Run a Steady Bead
Hold the caulk gun at an angle and move steadily along the gap. Try to keep even pressure on the trigger. Work in short sections of 2 to 4 feet if you are new to caulking.
The goal is for the caulk to bridge the gap, not just sit on the surface. If you see skips or bubbles, add a little more before smoothing.
7. Smooth the Caulk
Use a caulk finishing tool or a damp gloved finger to smooth the bead. Wipe excess caulk onto a rag as you go. Pull painter’s tape while the caulk is still wet, then lightly smooth any raised edges.
Let the caulk cure according to the label before painting. Some products can be painted quickly; others need more time. Good ventilation is also wise, especially with sealants that have stronger odors. The EPA’s Indoor airPLUS materials emphasize lower-emission sealants for indoor air quality, so low-odor or low-VOC products are worth considering for interior work. ([epa.gov](https://www.epa.gov/system/files/documents/2023-02/Indoor%20airPLUS%20V2%20Base%20Specifications_508%20Compliant_0.pdf?utm_source=openai))
Where Not to Caulk
Do not seal every opening blindly. Avoid caulking:
- Weep holes in windows or exterior drainage systems
- Moving floor joints that need an expansion gap, especially some floating floors
- Wet, moldy, or rotten wood before the moisture problem is fixed
- Large structural gaps that suggest settling or pest damage
- Gaps around electrical panels or unsafe wiring
If you see water stains, soft trim, insect debris, or a gap that keeps reopening, investigate before covering it up.
Should You Caulk the Top, Bottom, or Both?
For draft control, the most important edge is usually the gap where air is moving. That might be the bottom edge at the floor, the top edge where trim meets the wall, or the vertical seam at an inside corner.
If you are painting trim, caulking the top edge gives the cleanest finished look. If you are sealing drafts, test first and focus on the leaky spots. In many older homes, doing both the top and bottom edges on exterior walls gives the best result.
Common Mistakes to Avoid
- Using silicone where you plan to paint: Many pure silicone caulks are not paintable. Choose a paintable product.
- Skipping the cleaning: Dusty trim causes weak adhesion.
- Filling deep gaps with caulk only: Use backer rod so the caulk can form a proper surface seal.
- Cutting the nozzle too large: A big bead is harder to control.
- Painting too soon: Follow the cure time on the label to avoid cracks or tacky paint.
How Long Does This Project Take?
For an average bedroom, plan on 30 to 60 minutes of active work, plus drying time. A whole room with lots of old caulk removal may take longer. Most of the skill is in prep and patience, not strength or special tools.
When finished, the baseboards should look cleaner, the room should feel less drafty near the floor, and dust may collect less quickly along the wall. It is a small repair, but it is one of those satisfying home jobs that quietly makes everyday living more comfortable.