How to Clean a Dryer Vent the Safe, Simple Way
If your towels need two cycles to dry or the laundry room feels hotter than usual, the dryer vent may be partly clogged. Learning how to clean a dryer vent is a practical home maintenance job that can improve drying time, reduce strain on the appliance, and lower a real fire risk.
This guide walks you through the job from the lint screen to the outdoor vent hood, using basic tools and a dryer vent brush kit. Plan on about 45 minutes to 2 hours, depending on the length and shape of your vent run.
Why Dryer Vent Cleaning Matters
Lint does not all stop at the lint screen. Some of it moves into the lint trap housing, the flexible connector, and the duct that carries moist air outdoors. The Consumer Product Safety Commission warns that lint buildup in the dryer or exhaust duct can block airflow, create excess heat, and lead to fires. It also recommends cleaning the lint screen before or after each load. ([cpsc.gov](https://www.cpsc.gov/s3fs-public/5022.pdf?utm_source=openai))
A clogged vent also makes the dryer work harder. Maytag notes that restricted exhaust airflow can slow moist air from leaving the dryer and lengthen drying time; if the air coming from the outside vent feels weak, the full vent system may need cleaning. ([producthelp.maytag.com](https://producthelp.maytag.com/Laundry/Dryers/Dryer/Drying_Performance/Not_Drying?utm_source=openai))
Signs Your Dryer Vent Needs Cleaning
You do not have to wait for a complete clog. Clean the vent if you notice any of these signs:
- Clothes are still damp after a normal cycle.
- Towels, jeans, or bedding take much longer than they used to.
- The top of the dryer or the laundry room feels unusually hot.
- You smell a hot, dusty, or slightly scorched odor while the dryer runs.
- The outside vent flap barely opens when the dryer is on.
- Lint is collecting around the outdoor vent hood.
- The dryer shuts off mid-cycle or shows a vent blockage warning.
If the dryer heats but does not dry well, poor airflow is one of the first things to check. Samsung, Maytag, and GE all point to clogged or restricted venting as a common cause of longer drying times. ([samsung.com](https://www.samsung.com/us/support/answer/ANS10004809/?utm_source=openai))
How Often Should You Clean a Dryer Vent?
At minimum, inspect the dryer duct and outdoor vent regularly and clean the system when airflow is weak or lint is visible. GE recommends inspecting and cleaning dryer exhaust ducting at least once a year to help prevent clogging. Whirlpool says a full dryer vent system should be cleaned no less than once every two years, depending on use and the kinds of loads being dried. ([products.geappliances.com](https://products.geappliances.com/appliance/gea-support-search-content?contentId=36348&utm_source=openai))
For a busy household, pets, lots of towels, or a long vent run, once a year is a better rule of thumb. Check the outside vent every few months, especially if the vent has a flap, screen, or bird guard where lint can catch.
Tools and Supplies
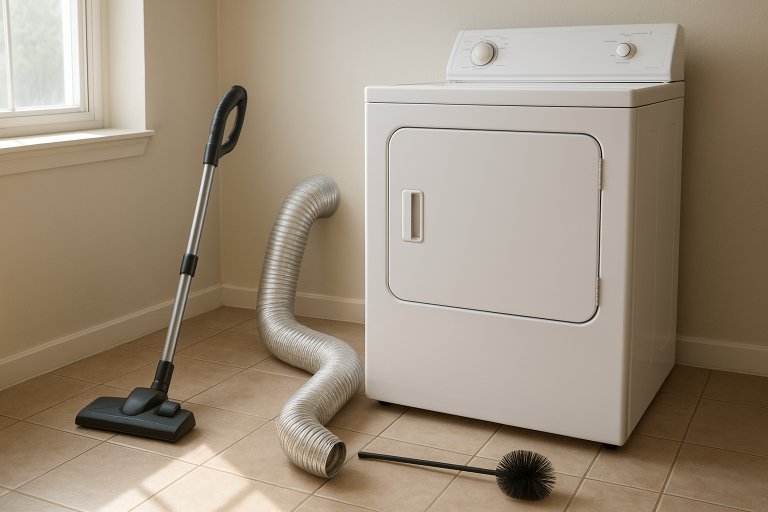
- Vacuum with hose attachment
- Dryer vent brush kit with flexible rods
- Screwdriver or nut driver
- Work gloves
- Dust mask, if you are sensitive to lint and dust
- Flashlight
- Foil HVAC tape, if a duct joint needs resealing
- Replacement semi-rigid or rigid metal duct, if the old connector is crushed or damaged
Skip plastic or thin foil vent hose if you are replacing the connector. A smooth, rigid or semi-rigid metal duct is less likely to trap lint and is a safer, sturdier choice for most laundry rooms.
Step-by-Step: How to Clean a Dryer Vent
1. Turn off and unplug the dryer
Safety first. Turn the dryer off and unplug it from the wall. If you have a gas dryer, turn off the gas supply valve before moving the appliance. If you are not comfortable disconnecting or moving a gas dryer, call a qualified appliance technician.
2. Pull the dryer away from the wall
Move the dryer slowly so you do not kink the gas line, water line for steam models, or electrical cord. You only need enough room to reach the vent connection. Take a quick photo before disconnecting anything if you want a reference for reassembly.
3. Disconnect the vent hose
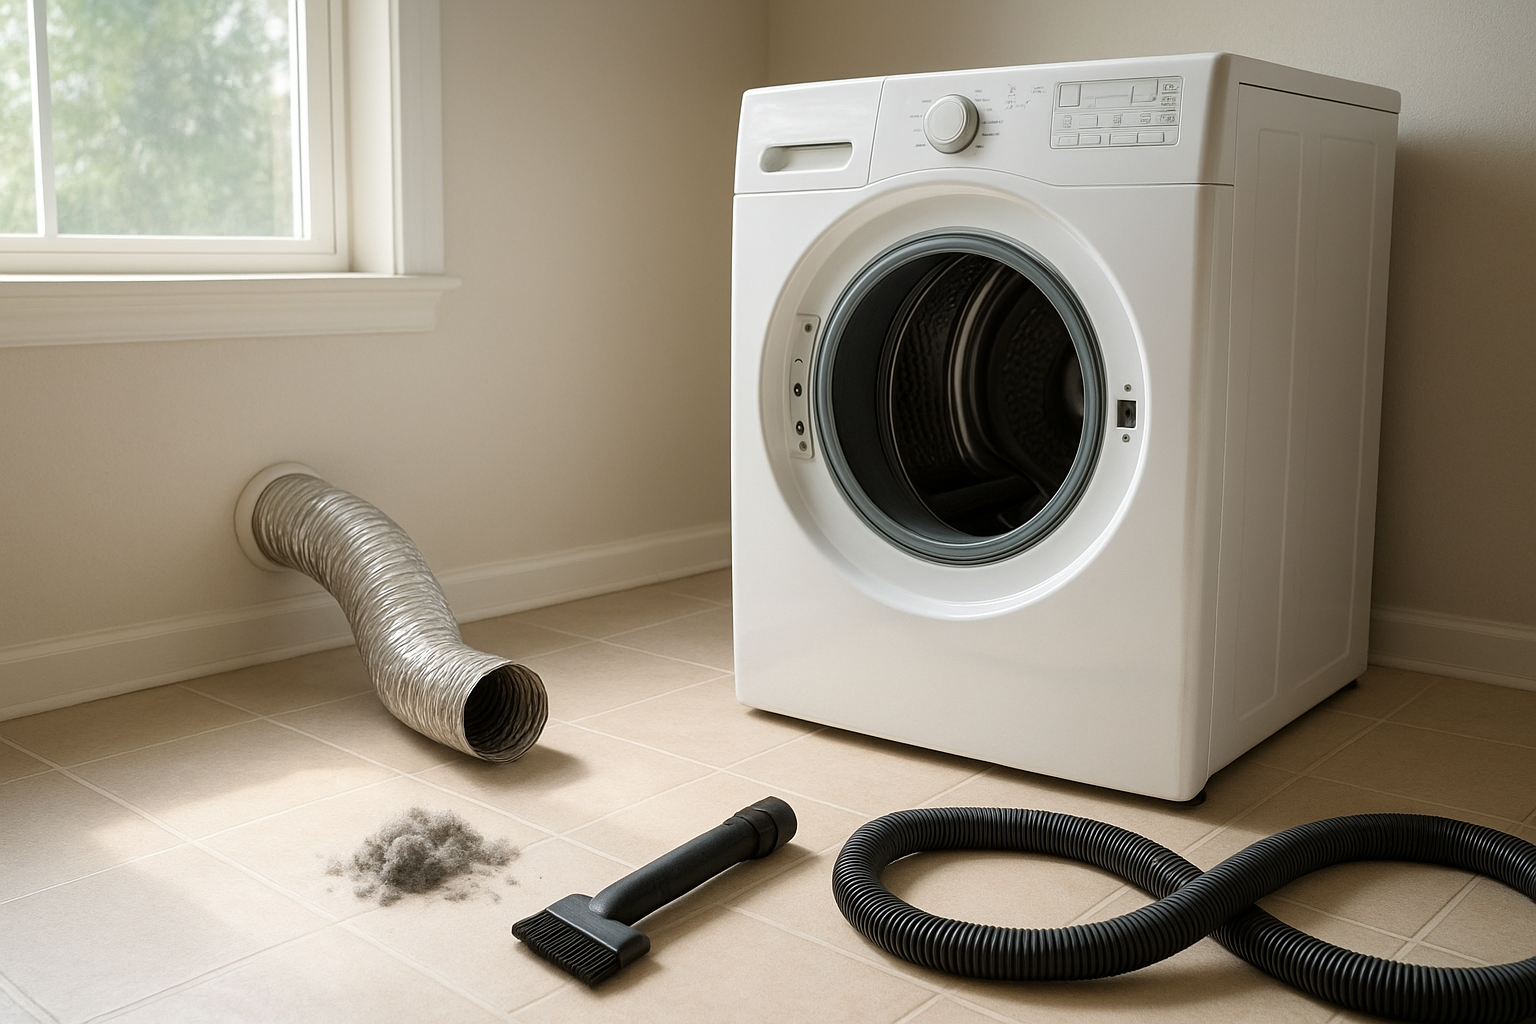
Loosen the clamp or remove the tape where the duct connects to the dryer. Then disconnect the other end from the wall duct if you can reach it. If the connector is crushed, torn, or packed with lint, plan to replace it rather than fight to reuse it.
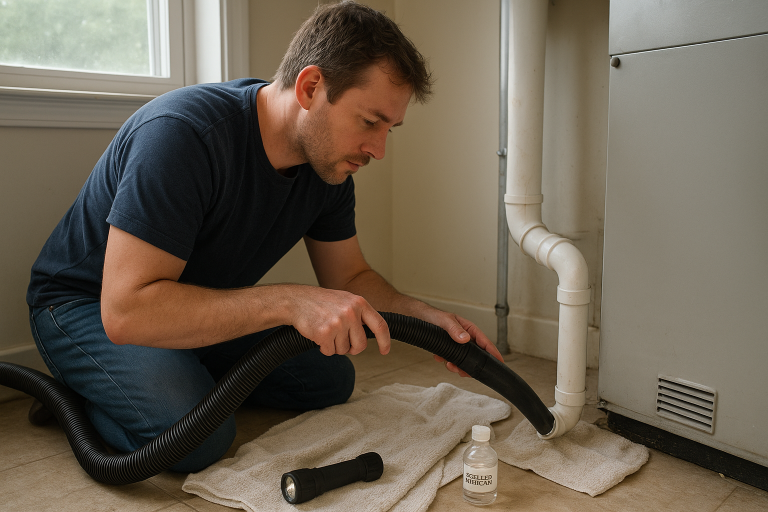
4. Vacuum behind the dryer
Vacuum the floor, wall, back of the dryer, and the area around the duct opening. Lint on the floor is not just messy; it can get pulled back into the appliance or collect near heat and electrical components.
5. Clean the lint trap housing
Remove the lint screen. Use a narrow vacuum attachment or lint trap brush to clean down inside the lint screen slot. Be gentle so you do not damage the screen area. If your lint screen looks coated with residue from dryer sheets, wash it with warm water and a little dish soap, rinse well, and let it dry completely before reinstalling.
6. Brush the duct from inside
Insert the dryer vent brush into the wall duct or the duct opening behind the dryer. Add rods as needed, turning the brush clockwise as you go so the rods do not unscrew inside the duct. Pull the brush back out and vacuum loosened lint. Repeat until the brush comes back mostly clean.
If your kit attaches to a drill, use a low speed and keep the brush moving. Do not force it around sharp turns. If it gets stuck, stop and back it out slowly.
7. Clean from the outside vent
Go outside and find the dryer vent hood. Remove lint from the flap or louvers by hand, then brush into the duct from the outside. Vacuum what you can reach. The flap should open freely and close when the dryer is off.
Do not leave a fine mesh screen over a dryer vent. Screens can catch lint quickly and create the restriction you are trying to prevent. A proper exterior vent hood should block pests while still allowing lint and moist air to escape.
8. Reconnect the duct
Reconnect the vent hose or install a new metal connector. Keep the run as short and straight as practical. Avoid crushing the duct when you push the dryer back into place. Secure joints with clamps or foil HVAC tape, not regular cloth duct tape, which can dry out and fail.
9. Test the airflow
Plug the dryer back in and turn the gas valve back on if applicable. Run the dryer on an air-only or low-heat setting, then check the outdoor vent. You should feel a steady push of air, and the flap should open easily. If airflow is still weak after cleaning, there may be a long run, hidden blockage, damaged duct, or appliance issue.
When to Call a Professional
Some dryer vents are simple and short. Others run through walls, attics, crawl spaces, or up to the roof. Call a professional if the vent is very long, exits on the roof, has several turns, is hard to access, or remains weak after a careful cleaning. You should also call for help if you smell gas, see burn marks, hear scraping inside the dryer, or suspect the clog is inside the appliance cabinet rather than the duct.
How to Keep the Vent Cleaner Longer
- Clean the lint screen before or after every load.
- Do not overload the dryer; heavy loads shed more lint and dry unevenly.
- Shake pet hair from blankets and towels before washing and drying.
- Check the outdoor vent every few months for lint, leaves, or nests.
- Keep the dryer area clear of boxes, rags, and stored cleaning products.
- Replace crushed transition duct promptly.
Once you know how to clean a dryer vent, it becomes an easy annual maintenance task. Put it on your calendar with other seasonal chores, and pay attention to drying time between cleanings. When the dryer can breathe, laundry day is faster, the appliance runs better, and your home is safer.