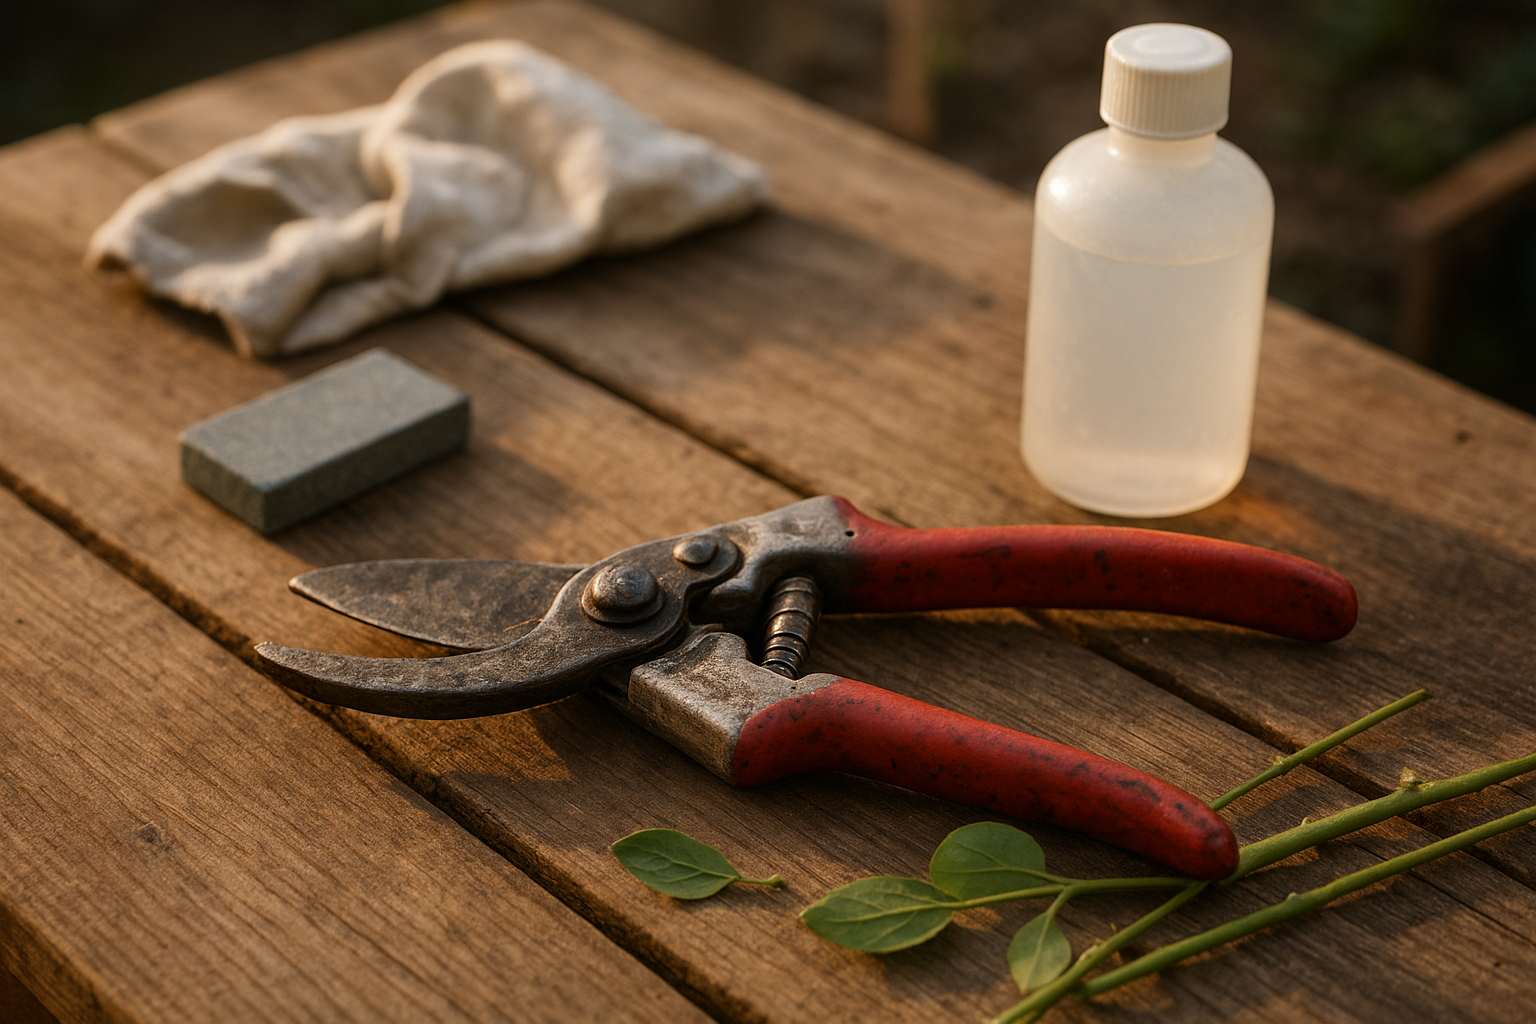
How to Clean and Sharpen Pruning Shears
A good pair of pruning shears should slice through stems cleanly, not chew, crush, or leave ragged edges. If yours feel sticky, rusty, or hard on your hand, a short cleaning and sharpening session can make them feel almost new again.
This guide focuses on common bypass pruning shears, the scissor-style pruners most gardeners use for living stems. The same cleaning routine works for anvil pruners and loppers, but the sharpening edge is a little different, which we’ll cover below.
Why clean and sharpen pruning shears?
Sharp, clean pruning tools make smoother cuts and reduce tearing of plant tissue. University extension guidance consistently recommends keeping pruning tools sharp and clean, and disinfecting them when disease may be present, especially before moving from an infected plant to a healthy one. ([site.extension.uga.edu](https://site.extension.uga.edu/laurensgarden/files/2020/01/C-1087_2-Home-Fruit-Orchard-Pruning-Techniques.pdf?utm_source=openai))
Dull pruners also make you work harder. If you find yourself twisting the tool, squeezing with both hands, or leaving half-cut stems behind, the blade likely needs attention. Sticky sap and dirt can cause the same problem, so clean first and sharpen second.
What you’ll need
- Dish soap and warm water
- Old toothbrush or small stiff brush
- Clean rags or paper towels
- Rubbing alcohol, disinfectant wipes, or diluted bleach if needed
- Fine steel wool or a rust eraser for light rust
- Diamond file, sharpening stone, or pruner sharpening tool
- Light machine oil, camellia oil, or another tool-safe oil
- Gloves and eye protection, especially if using a file
You do not need to take the pruners apart for routine care. If the pivot is packed with grit or the blades will not open and close smoothly, disassembly can help, but take a photo first so you can put the spring, washer, nut, and lock back correctly.
Step 1: Brush off dirt and plant bits
Open the shears fully and brush away loose soil, bark, leaves, and dried plant debris. Pay attention to the pivot area and the small groove where sap collects. This quick dry brushing keeps you from turning grit into a muddy paste in the next step.
If the pruners are very dirty, scrape off thick buildup with a wooden craft stick or the back of an old butter knife. Avoid gouging the blade with a screwdriver or anything that can nick the metal.
Step 2: Wash off sap and grime
Wash the blades and handles with warm water and a few drops of dish soap. Use a toothbrush to scrub around the pivot, spring, lock, and blade faces. Rinse with clean water, then dry immediately and thoroughly.
For stubborn sap, rubbing alcohol on a rag often works better than soap alone. Wipe until the blade feels smooth instead of tacky. If there is light rust, rub gently with fine steel wool, then wipe the area clean and dry.
Step 3: Disinfect when disease is a concern
You do not have to disinfect pruners after every harmless snip in a healthy garden. But if you are cutting diseased branches, pruning a plant with suspicious cankers, or moving from one plant to another during disease cleanup, disinfecting is wise.
Iowa State Extension notes that alcohol is often preferred by homeowners because it is easy to use and less corrosive than bleach. A 10 percent household bleach solution can also be used, but blades should be rinsed and dried afterward to reduce corrosion. ([yardandgarden.extension.iastate.edu](https://yardandgarden.extension.iastate.edu/faq/how-do-i-sanitize-my-pruning-shears?utm_source=openai))
For a simple home routine, wipe the cleaned blades with 70 percent rubbing alcohol and let them air-dry briefly. If you use bleach, mix 1 part bleach with 9 parts water, wet the blades, then rinse, dry, and oil the tool afterward. University of Maryland Extension also lists 70 percent alcohol or a 1-to-9 bleach dilution for cleaning tools when disease spread is a concern. ([extension.umd.edu](https://extension.umd.edu/resource/pruning-tools?utm_source=openai))
Step 4: Find the beveled edge
Before sharpening, look closely at the blade. On bypass pruners, only the cutting blade is sharpened, and usually only on the beveled outer face. The flat inner face should stay flat so it can pass cleanly against the hook blade.
UC Marin Master Gardeners advises filing the flat underside only lightly to remove burrs after sharpening, not grinding a new bevel into it. LSU AgCenter guidance is similar: bypass pruners are sharpened on one side. ([ucanr.edu](https://ucanr.edu/site/uc-marin-master-gardeners/pruning-tools?utm_source=openai))
Anvil pruners are different. They have a cutting blade that comes down onto a flat anvil, and many models are sharpened on both sides of the cutting blade. If you are unsure, follow the existing factory angle rather than inventing a new one.
Step 5: Sharpen with the existing angle
- Secure the tool. Hold the pruners firmly on a bench, or clamp them gently if that feels safer.
- Match the bevel. Place the file or stone against the existing angled edge. You are refreshing that angle, not reshaping the blade.
- Push away from your body. Use smooth strokes from the base of the blade toward the tip. Lift the file on the return stroke instead of sawing back and forth.
- Use light pressure. A few steady passes are better than aggressive grinding.
- Check your work. The edge should look clean and consistent, with no shiny dull spots along the cutting line.
You do not need a razor edge. Pruners need a clean, durable working edge that can handle green stems and small woody growth. Oversharpening can make the edge too thin and more likely to nick.
Step 6: Remove the burr
After sharpening the beveled side, a tiny burr may form on the flat side of the blade. Open the pruners and lay the stone nearly flat against that inner face. Give it one or two very light passes only. The goal is to knock off the burr while keeping the back of the blade flat.
Wipe the blade with a clean rag and test it on a small green stem or a strip of paper. If it folds, crushes, or leaves a ragged cut, repeat a few light sharpening strokes and check again.
Step 7: Oil the pivot and blades
Once the tool is clean, sharp, and dry, add a drop of oil to the pivot. Open and close the pruners several times to work it in, then wipe away excess. Rub a very thin film of oil on the metal surfaces before storing, especially if the tool will sit through winter.
Do not leave pruners wet in a bucket, on the potting bench, or in damp grass. Moisture is what turns a quick cleaning job into rust removal later.
How often should you sharpen pruning shears?
For casual home gardening, sharpen when the pruners stop making clean cuts or feel like they need extra force. During heavy pruning season, a quick touch-up every few weeks may be helpful. At minimum, clean, sharpen, oil, and store them properly at the end of the season so they are ready in spring.
Disinfect more often than you sharpen when disease is involved. If you are removing diseased wood, extension guidance recommends cleaning between plants and, in some cases, between cuts to reduce the chance of carrying pathogens on the blade. ([site.extension.uga.edu](https://site.extension.uga.edu/laurensgarden/files/2020/01/C-1087_2-Home-Fruit-Orchard-Pruning-Techniques.pdf?utm_source=openai))
Common mistakes to avoid
- Sharpening the wrong side: On bypass pruners, sharpen the beveled cutting edge, not the flat inside face.
- Skipping the cleaning step: Sap and grit can clog a file and hide nicks in the blade.
- Leaving bleach on the tool: If you use bleach, rinse, dry, and oil afterward to help prevent corrosion.
- Cutting stems that are too large: Switch to loppers or a pruning saw when the pruners strain.
- Storing tools dirty: End-of-day wiping is the easiest way to avoid sticky, rusty blades.
A simple after-pruning habit
After each pruning session, wipe the blades clean, dry them, and add a tiny drop of oil to the pivot. If you cut diseased material, disinfect the blades before putting the tool away. That two-minute habit keeps sharpening easier and helps your pruning shears last for years.
When your pruners glide through stems again, you’ll feel the difference right away. Clean cuts are easier on the plant, easier on your hands, and much more satisfying than fighting a dull, sticky tool.