How to Clean and Reverse a Ceiling Fan for Fall
Before the heat fully gives way to sweater weather, take ten minutes to clean and reverse a ceiling fan. It is a small fall home task, but it can keep dust from raining down on the room and help move warm air more comfortably once you start using heat.
The basic rule is simple: in warm weather, most ceiling fans should spin counterclockwise to create a cooling downdraft; in cooler weather, ENERGY STAR recommends reversing the motor and running the fan clockwise on low speed to gently circulate warm air. ([energystar.gov](https://www.energystar.gov/products/ceiling_fans/installation-and-usage-tips?utm_source=openai))
Why This Fall Task Is Worth Doing
Ceiling fans collect a surprising amount of dust along the top edges of the blades. If you flip the direction without cleaning first, that dust can scatter onto furniture, bedding, or the floor. The EPA notes that indoor dust can contain biological contaminants such as pollen, mold spores, pet dander, dust mite matter, and skin cells, and that regular cleaning helps reduce dust and allergen buildup. ([epa.gov](https://www.epa.gov/indoor-air-quality-iaq/sources-indoor-particulate-matter-pm?utm_source=openai))
Reversing the fan also changes how the air moves in the room. In winter mode, the goal is not to make a breeze you can feel. The goal is a slow, gentle updraft that helps redistribute warmer air that has collected near the ceiling. Hunter Fan’s guidance matches ENERGY STAR’s: clockwise on low for winter, counterclockwise for summer cooling. ([hunterfan.com](https://www.hunterfan.com/blogs/hunter-blog/ceiling-fan-direction-for-summer-and-winter?utm_source=openai))
What You’ll Need
- Sturdy step ladder or step stool
- Old pillowcase
- Microfiber cloth
- Mild dish soap
- Small bowl of warm water
- Dry towel
- Vacuum with brush attachment, optional
- Screwdriver, only if your fan’s reverse switch is behind a cover
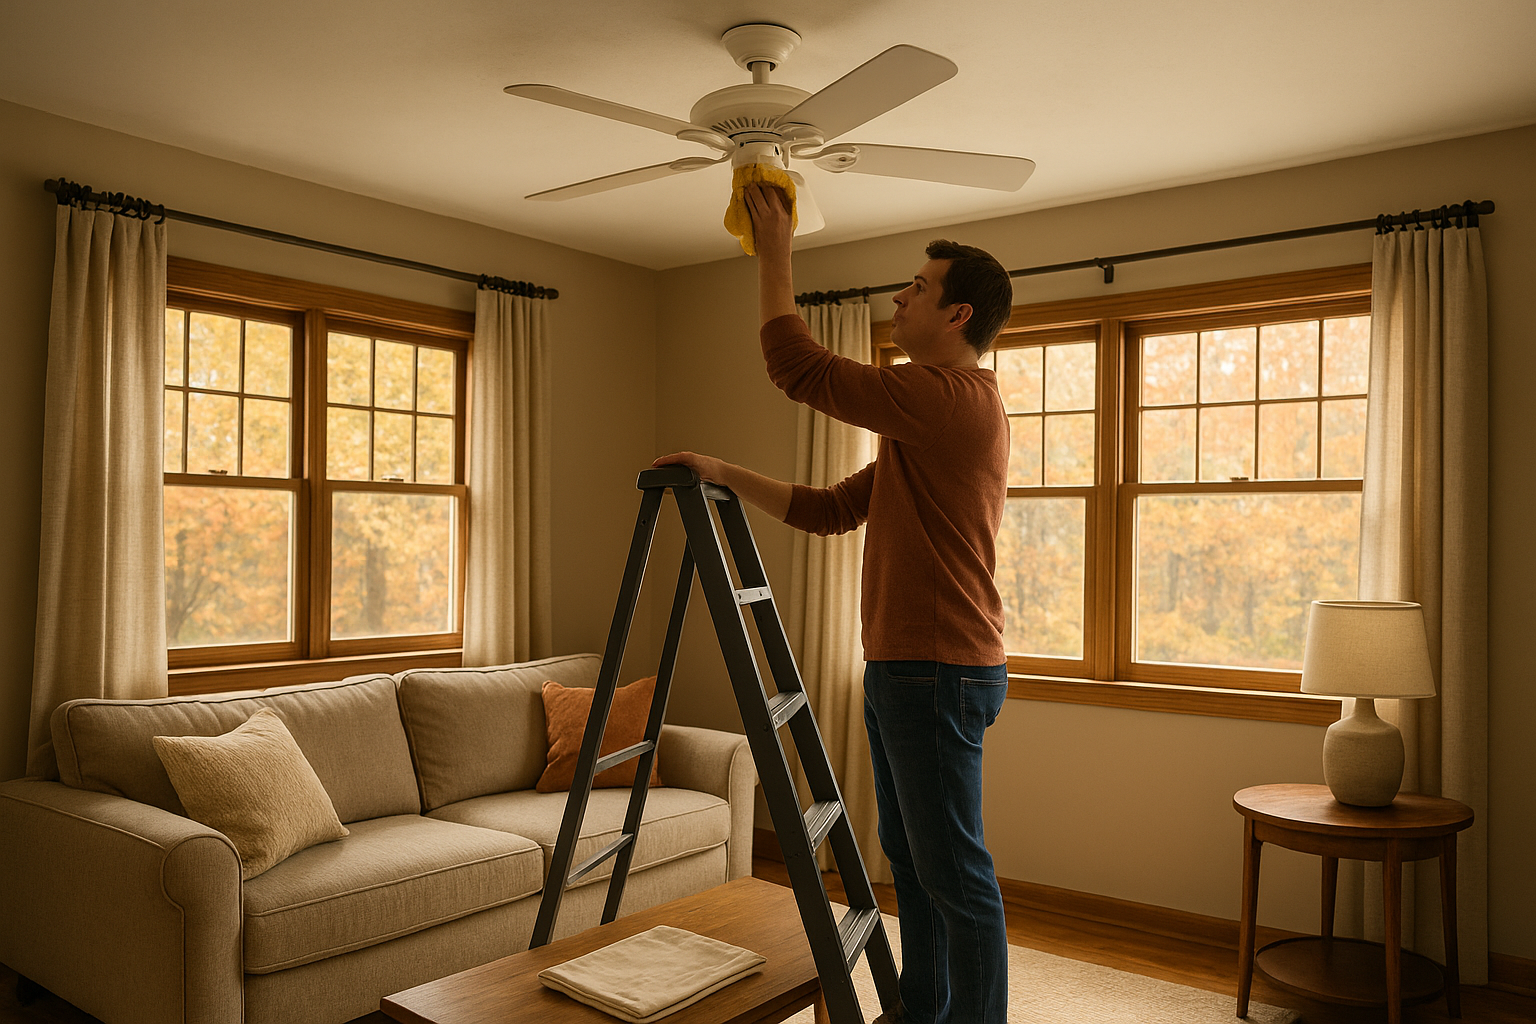
Safety first: Turn the fan off and let the blades stop completely before you touch anything. If your fan is connected to a wall switch, flip the switch off too. Use a stable ladder placed on a flat floor, not a chair or rolling stool.
Step 1: Check the Current Direction
Stand under the fan and turn it on low for a few seconds. Look up at the blade movement. If the blades move counterclockwise and you feel air pushing down, it is set for summer. If the blades move clockwise and you feel little to no direct breeze beneath it, it is likely set for winter.
Do not worry if your room layout makes the airflow hard to read. The surest check is the blade rotation from below: counterclockwise for summer cooling, clockwise on low for cooler months. ENERGY STAR specifically recommends low speed in winter so the fan does not create an uncomfortable draft. ([energystar.gov](https://www.energystar.gov/products/ceiling_fans/installation-and-usage-tips?utm_source=openai))
Step 2: Clean the Blades Before Reversing
The old pillowcase trick is popular because it catches dust instead of pushing it into the air. Slide the pillowcase over one fan blade, gently press the fabric around the blade, and pull it back toward you. Most of the dust will stay inside the case.
- Place the pillowcase over one blade.
- Hold the blade steady with one hand near the bracket, without pulling down hard.
- Wipe from the center of the fan toward the blade tip.
- Repeat on each blade.
- Take the pillowcase outside, turn it inside out, and shake it into the trash if needed before laundering.
If the blades still feel tacky, dip a microfiber cloth in warm water with a drop or two of dish soap. Wring it very well so it is damp, not dripping. Wipe each blade, then follow with a dry towel. Avoid soaking wood or wood-look blades, and do not spray cleaner upward into the motor housing.
Step 3: Dust the Motor Housing and Light Kit
Use a dry microfiber cloth or a vacuum brush attachment to clean the motor housing, downrod, canopy, pull chains, and the outside of any light globes. If your fan has glass shades, remove them only if you can do so safely and according to the fixture design. Wash glass shades in warm soapy water, dry completely, and reinstall.
This is also a good time to check for loose dust on the top of nearby bookcases, curtain rods, and tall cabinets. Once the fan starts moving air in the opposite direction, those dusty high spots can become more noticeable.
Step 4: Find the Reverse Switch or Button
Many pull-chain ceiling fans have a small sliding reverse switch on the side of the motor housing. Some fans with remotes, wall controls, or smart controls reverse by button, menu setting, app control, or voice command. Hunter’s support guidance notes that pull-chain fans commonly use a reversing switch, while some remote or Wi-Fi models use a push-button or app setting. ([support.hunterfan.com](https://support.hunterfan.com/hc/en-us/articles/115001396474-How-do-I-know-what-direction-to-set-my-ceiling-fan?utm_source=openai))
If you cannot find the switch, look for your fan’s brand and model number on the top of the motor housing or in your home paperwork. Search the manufacturer’s manual rather than guessing or removing parts. Never try to force a switch, and never reverse the fan while the blades are moving unless your manual specifically says the model is designed for that.
Step 5: Reverse the Fan for Fall and Winter
With the fan off and fully stopped, move the reverse switch or use the remote setting. Turn the fan back on at the lowest speed. Stand beneath it and check the direction. For fall and winter, the blades should rotate clockwise when viewed from below.
You should not feel a strong breeze blowing down on your face or shoulders. If you do, either the fan is still in summer mode or the speed is too high. Set it to low and give the room a few minutes. The comfort change is subtle, especially in rooms with high ceilings.
When to Run the Fan in Cooler Weather
A reversed ceiling fan is most useful when warm air gathers near the ceiling, such as in rooms with vaulted ceilings, stairwells, wood stoves, fireplaces, or forced-air heat vents. Run it on low while the room is occupied, then turn it off when you leave.
Ceiling fans help people feel more comfortable, but they do not heat or cool a room by themselves. ENERGY STAR’s ceiling fan tips advise turning fans off when you leave a room because fans cool people, not rooms. ([energystar.gov](https://www.energystar.gov/products/ceiling_fans/installation-and-usage-tips?utm_source=openai)) In winter, the same practical idea applies: use the fan when you are there to benefit from the improved air circulation.
Quick Troubleshooting
The fan wobbles after cleaning
Check that you did not bend a blade bracket while wiping. Make sure each blade is dry and that no dust clump is stuck on top of one blade. If wobbling continues, the blades may need balancing with a ceiling fan balancing kit.
The fan hums on low
A slight hum can happen with some older fans, but a new or loud hum may point to an incompatible dimmer switch, loose part, or motor issue. Use only controls rated for ceiling fans, not a standard light dimmer.
The direction will not change
Turn the fan off, wait for it to stop completely, and try again. If it still will not reverse, check the manual for your model. Remote-control fans may need fresh batteries, a specific button sequence, or a wall switch left in the on position.
A Simple Fall Ceiling Fan Checklist
- Turn fan and wall switch off.
- Clean blades with a pillowcase.
- Wipe sticky residue with a barely damp microfiber cloth.
- Dust the motor housing, pull chains, and light kit.
- Reverse direction to clockwise for cooler months.
- Run on low speed only.
- Turn the fan off when the room is empty.
Once you have done one fan, the rest of the house goes quickly. Add this job to your early fall cleaning list, right alongside changing HVAC filters and washing throw blankets. Clean blades, the right direction, and a low setting can make your home feel fresher and more comfortable without much effort.