How to Clean a Front Load Washer Gasket
If your clean laundry has started smelling faintly musty, the rubber gasket on your front load washer is a smart place to start. That soft door seal traps water, lint, detergent residue, pet hair, and the occasional mystery sock—exactly the kind of damp buildup that leads to odor.
The good news: you can clean a front load washer gasket with simple supplies and a little patience. This guide walks you through a safe, thorough method that gets into the folds without damaging the rubber.
Why Front Load Washer Gaskets Get So Grimy
Front load washers need a flexible rubber gasket to create a watertight seal around the door. The tradeoff is that the gasket has folds and low spots where moisture and debris collect. Appliance makers recommend checking and cleaning this area regularly, including lifting the folds to remove lint, coins, hair, and residue. ([whirlpool.com](https://www.whirlpool.com/blog/washers-and-dryers/how-to-clean-gasket-on-front-load-washer.html?utm_source=openai))
If the washer door stays closed between loads, that trapped moisture has nowhere to go. Over time, you may notice black specks, gray slime, a sour smell, or detergent buildup around the seal.
Supplies You’ll Need
- Rubber gloves
- 2 or 3 microfiber cloths or soft rags
- Small bucket of warm water
- Mild dish soap or mild detergent
- Old soft toothbrush or non-scratch scrub brush
- Cotton swabs for tight grooves
- Dry towel
- Optional: washing machine cleaner tablet for the tub-clean cycle
- Optional: chlorine bleach, only if your washer manual allows it
Important safety note: Do not mix bleach with vinegar, ammonia, or other cleaners. The EPA warns that mixing chlorine bleach with products containing ammonia can produce toxic fumes. ([epa.gov](https://www.epa.gov/mold/should-i-use-bleach-clean-mold?utm_source=openai))
Step 1: Empty the Washer and Open the Gasket Folds
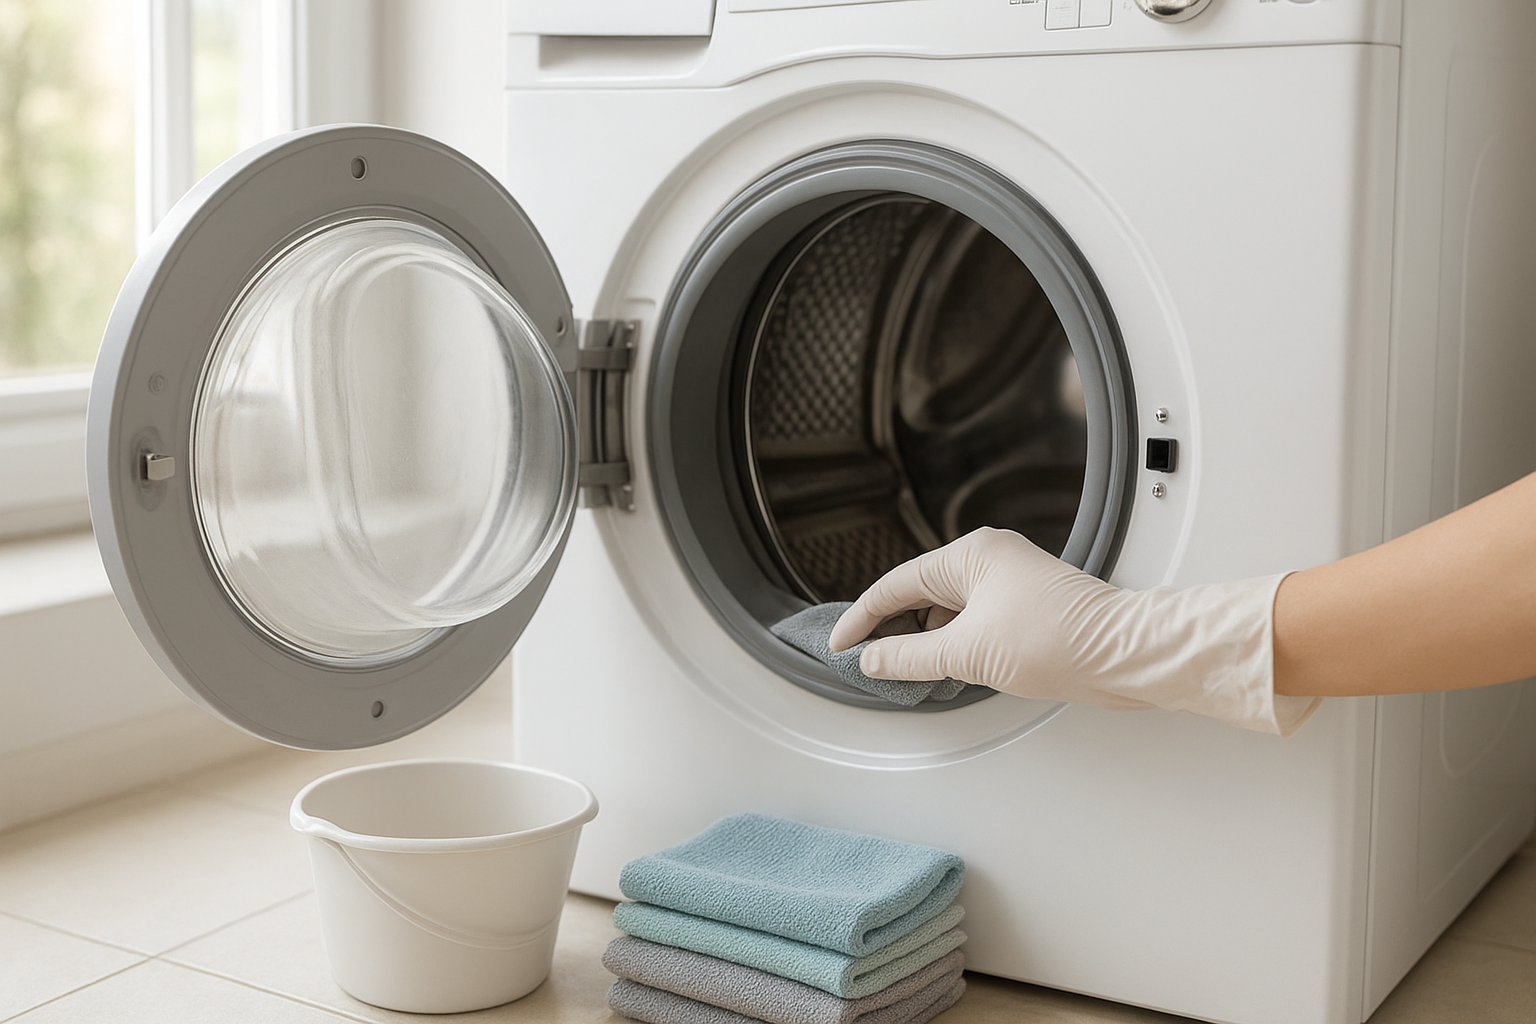
Start with an empty washer. Put on gloves, open the door fully, and slowly pull back the rubber gasket. Most front load washer seals have more than one fold, so take your time and check the bottom pocket carefully.
Remove anything loose by hand: lint clumps, hair, coins, buttons, small socks, paper bits, or hardened detergent. This step matters because wiping only the visible front edge leaves the dirtiest part untouched.
Step 2: Wipe Out Loose Grime First
Dampen a microfiber cloth with warm soapy water and wipe the gasket all the way around. Work from the top down so the dirty water collects at the bottom, where you can wipe it out last.
Use one hand to gently pull the gasket open and the other to wipe inside the fold. Do not yank hard on the rubber. You want to expose the crease, not stretch the seal out of shape.
Step 3: Scrub the Creases Gently
For stubborn gray film or black specks, dip a soft toothbrush in warm soapy water and scrub lightly. Focus on:
- The bottom trough of the gasket
- The inner fold closest to the drum
- The outer lip that touches the glass door
- Small drain holes or low spots in the rubber seal
The EPA’s general mold cleanup guidance for hard surfaces is to scrub with detergent and water, then dry the surface completely. A washer gasket is not the same as a wall or tile surface, but the same basic principle applies here: loosen the soil, remove it, and dry the area well. ([epa.gov](https://www.epa.gov/mold/mold-cleanup-your-home?utm_source=openai))
Step 4: Rinse and Dry the Gasket Thoroughly
Once the grime is loosened, wipe the gasket with a fresh cloth dampened with plain water. This removes leftover soap and residue. Then use a dry towel to dry every fold you can reach.
This drying step is not optional. Moisture is the reason the gasket gets smelly in the first place. Whirlpool recommends wiping the gasket dry after cycles as a simple maintenance habit, with deeper gasket cleaning about monthly or every 30 cycles if needed. ([whirlpool.com](https://www.whirlpool.com/blog/washers-and-dryers/how-to-clean-gasket-on-front-load-washer.html?utm_source=openai))
What About Bleach?
Bleach can be useful in some washer-cleaning routines, but it should not be your first move for everyday gasket cleaning. The EPA does not recommend bleach as a routine mold cleanup practice, and many appliance brands tell owners to check the washer manual before using chlorine bleach in a cleaning cycle. ([epa.gov](https://www.epa.gov/mold/should-i-use-bleach-clean-mold?utm_source=openai))
If your washer manual specifically allows diluted bleach for the gasket, follow the appliance instructions exactly. Wear gloves, ventilate the laundry area, use the correct dilution, and rinse the gasket afterward. Never combine bleach with vinegar or other cleaners.
Step 5: Run a Washer Cleaning Cycle
After the gasket is clean, run the washer’s tub-clean or clean-washer cycle if your machine has one. Use a washing machine cleaner tablet or the product recommended in your owner’s manual. Many front load washers use a special cleaning cycle with higher water levels to help clean the inside of the machine. ([whirlpool.com](https://www.whirlpool.com/blog/washers-and-dryers/how-to-clean-your-front-load-washer.html?utm_source=openai))
Do this with the washer empty. Do not add clothes, towels, or extra detergent. When the cycle finishes, wipe the gasket and door glass dry again.
How to Keep the Smell from Coming Back
Once the gasket is clean, a few small habits make the biggest difference.
- Leave the door open after laundry. Even a few inches helps the drum and gasket dry.
- Wipe the gasket after the last load of the day. Keep a small cloth in the laundry room for this one-minute job.
- Use HE detergent if your washer requires it. Too much detergent leaves residue that can feed odor.
- Go easy on fabric softener. Softener buildup can cling to the gasket and dispenser.
- Remove wet laundry promptly. Letting damp clothes sit in the drum makes the whole washer smell worse.
- Clean the dispenser drawer. Detergent and softener residue can grow mildew there too.
- Run a monthly clean-washer cycle. Follow your machine’s manual for the right cleaner and setting.
When the Gasket May Need Replacing
Cleaning can remove grime and odor, but it cannot fix every gasket problem. Consider calling an appliance technician or replacing the gasket if you notice:
- Deep black staining that remains after several cleanings
- Cracks, tears, or a stretched-out seal
- Water leaking from the front door
- A strong mildew smell that returns immediately after cleaning
- Mold behind areas you cannot safely reach
A damaged gasket can cause leaks, so do not ignore torn rubber or water pooling under the door.
A Simple Cleaning Schedule
For most households, this routine is enough:
- After each laundry day: Wipe the gasket dry and leave the door open.
- Weekly: Pull back the fold and remove lint, hair, and debris.
- Monthly: Deep clean the gasket and run a washer cleaning cycle.
- As needed: Clean more often if you wash pet bedding, muddy clothes, cloth diapers, or heavily soiled towels.
Bottom Line
To clean a front load washer gasket well, do not just wipe the part you can see. Pull back the folds, remove trapped debris, scrub gently with warm soapy water, rinse, and dry the rubber thoroughly.
Once it is clean, the real trick is prevention: leave the door ajar, wipe the gasket after laundry, and run a regular clean-washer cycle. Those small habits keep the washer fresher and help your laundry smell clean again.