How to Clean a Dryer Vent the Safe, Easy Way
If your towels need two cycles to dry or the laundry room feels hotter than usual, your dryer vent may be clogged with lint. Learning how to clean a dryer vent is a simple home maintenance job that can help your dryer work better and reduce a very real fire risk.
The U.S. Fire Administration lists failure to clean as the leading factor contributing to ignition in home clothes dryer fires from 2018 to 2020, and ENERGY STAR recommends cleaning the lint filter after every load for airflow, efficiency, and safety. ([usfa.fema.gov](https://www.usfa.fema.gov/prevention/home-fires/prevent-fires/appliance-and-electrical/?utm_source=openai))
How Often Should You Clean a Dryer Vent?
For most homes, plan to clean the dryer vent duct about once a year. If you have a large family, run laundry daily, have shedding pets, or dry lots of towels, work clothes, or blankets, check it every 6 months.
This is separate from the lint screen. The lint screen should be cleaned after every load. If you use dryer sheets, ENERGY STAR also recommends scrubbing the lint filter regularly because dryer sheets can leave a film that reduces airflow. ([energystar.gov](https://www.energystar.gov/products/clothes_dryers?utm_source=openai))
Signs Your Dryer Vent Needs Cleaning
You do not need to wait for a yearly reminder if the dryer is already giving you clues. Clean the vent sooner if you notice any of these signs:
- Clothes are still damp after a normal cycle.
- Towels, jeans, or bedding take much longer than they used to.
- The dryer feels very hot on top or the laundry room gets unusually warm.
- You smell a hot, dusty, musty, or slightly scorched odor while drying.
- Lint is collecting behind the dryer or around the outside vent.
- The outside vent flap barely opens while the dryer is running.
- The dryer shuts off mid-cycle from overheating.
Tools and Supplies
You do not need fancy equipment for a basic dryer vent cleaning, but the right tools make the job much easier.
- Vacuum with hose attachment
- Dryer vent brush kit with flexible rods
- Screwdriver or nut driver
- Work gloves
- Flashlight
- Dust mask, optional but helpful
- Foil HVAC tape, if the duct connection needs resealing
Skip plastic duct tape. It can dry out and fail from heat. If you need to secure a dryer duct joint, use metal foil HVAC tape rated for ductwork.
Before You Start: A Few Safety Checks
First, unplug the dryer. If you have a gas dryer, turn off the gas supply valve before moving the appliance. If you smell gas at any point, stop, leave the area, and call your gas utility or a qualified professional.
Also look at the duct material behind the dryer. Rigid or semi-rigid metal ducting is easier to clean and less likely to trap lint than flimsy plastic or thin foil-style ducting. If your dryer is connected with crushed, torn, or plastic ducting, consider replacing it rather than simply cleaning it.
How to Clean a Dryer Vent Step by Step
1. Pull the dryer away from the wall
Gently slide the dryer out far enough to reach the vent connection. Do not yank it forward. Gas lines, electrical cords, and flexible ducts can be damaged if you pull too hard.
2. Disconnect the vent hose
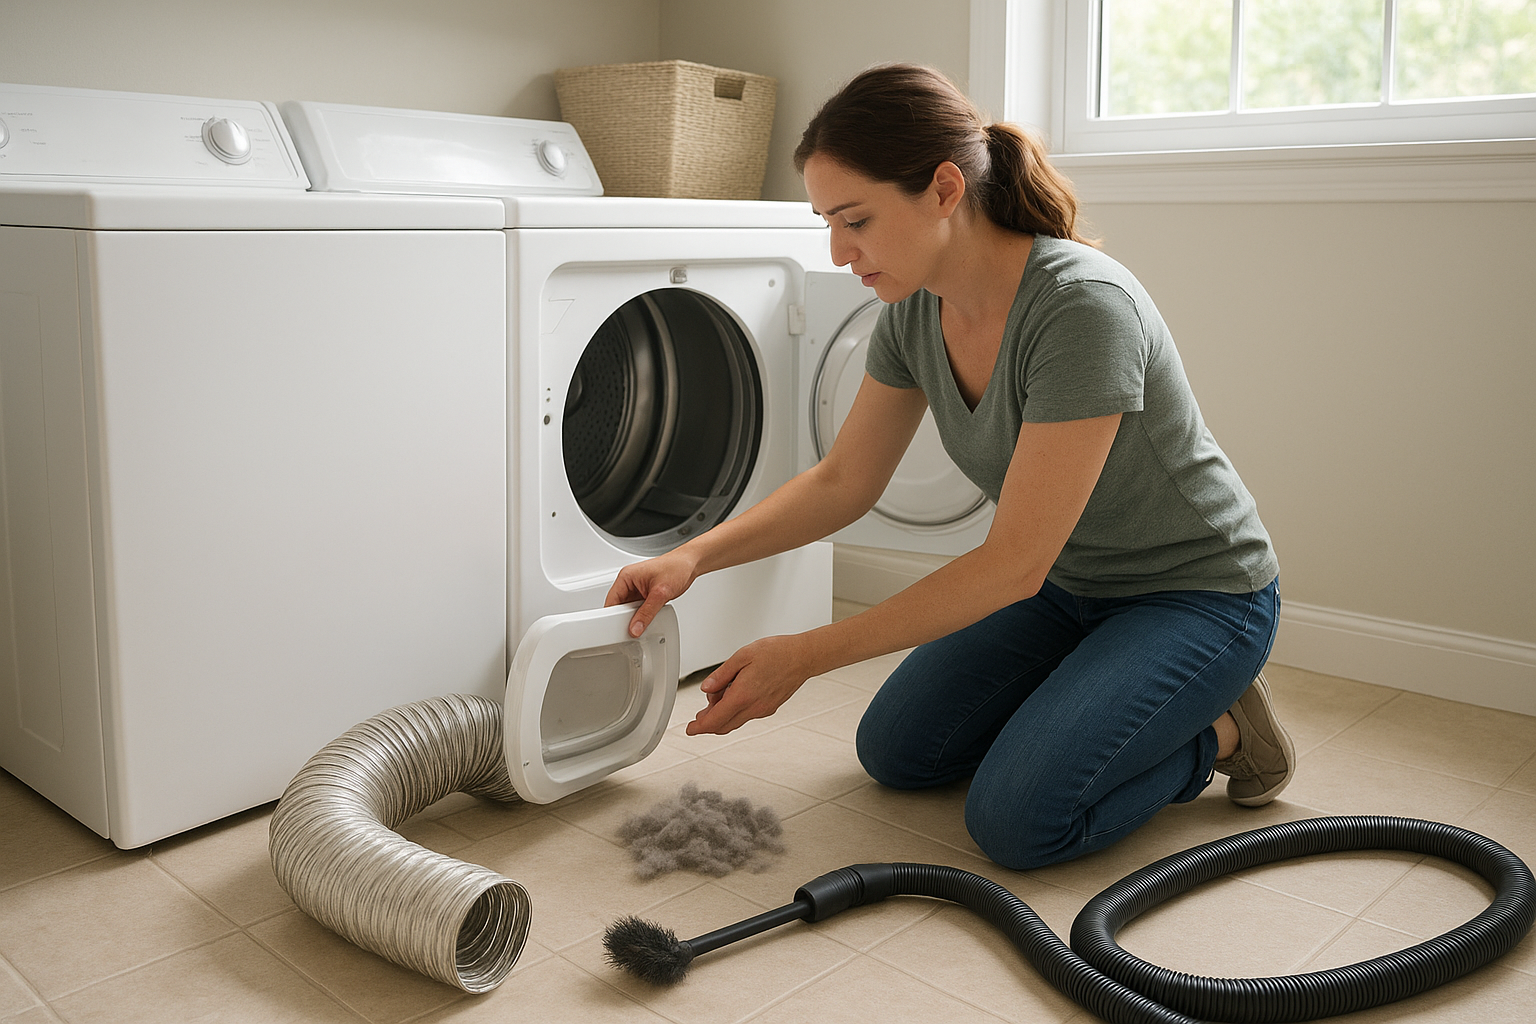
Loosen the clamp where the duct attaches to the dryer. Some clamps use a flathead screwdriver; others use a nut driver. Carefully remove the duct and set the clamp aside where it will not roll under the appliance.
3. Vacuum the dryer outlet
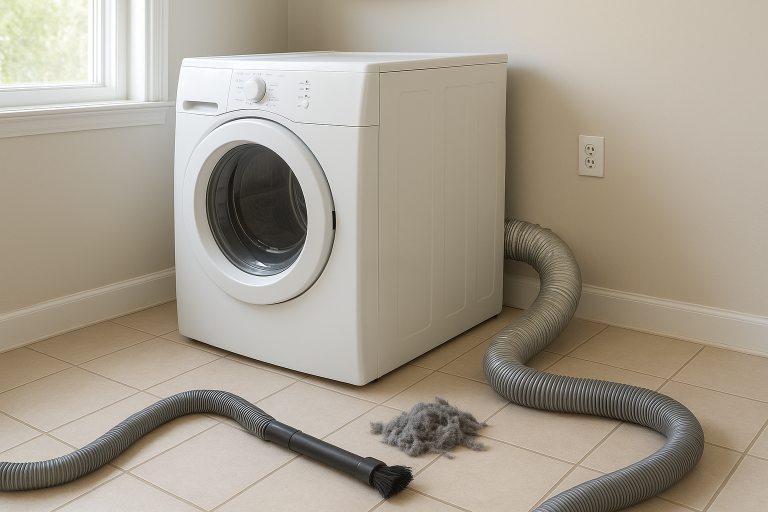
Use your vacuum hose to remove lint from the round outlet on the back of the dryer. Do not shove the vacuum deep into the machine. Just clean the reachable lint around the opening.
4. Clean the flexible duct
If your duct is short and removable, take it outside or to a garage and run the vent brush through it. Vacuum loose lint as it comes out. If the duct is crushed, ripped, or packed with lint that will not clear, replace it.
5. Brush the wall duct
Insert the dryer vent brush into the duct opening in the wall. Work slowly, adding rod sections as needed. Turn the brush as you feed it in, then pull it back out and vacuum the lint. Repeat until the brush comes out mostly clean.
If your vent run is very long, has several bends, exits on a roof, or the brush gets stuck, stop and call a professional. A simple clog is a DIY job; a complicated vent path can become a bigger problem if a brush head or rod gets lodged inside.
6. Clean the outside vent
Go outside and find the dryer vent exit. Remove lint from the cover and make sure the flap or louvers move freely. Clear leaves, mulch, snow, nests, or other debris around the opening. When the dryer is running, this cover should open with steady airflow.
7. Reconnect the duct
Reattach the duct to the dryer and wall connection. Tighten the clamp so it is snug, but do not crush the duct. Keep the duct as short and straight as practical; long loops and sharp bends collect lint faster and reduce airflow.
8. Test the dryer
Plug the dryer back in. For a gas dryer, turn the gas valve back on only after everything is reconnected. Run the dryer on an air-only or low-heat setting for a few minutes, then check outside. You should feel warm air moving strongly through the vent.
Do Not Forget the Lint Screen
The vent is only part of the system. The lint screen needs attention every time you dry a load. Pull the lint off by hand, then slide the screen back fully into place.
Once a month, especially if you use dryer sheets, wash the screen with warm water, a drop of dish soap, and a soft brush. Rinse and dry it completely before putting it back. This helps remove residue that can make the screen look clean while still blocking airflow.
When to Call a Pro
Call a dryer vent cleaning professional or appliance technician if:
- The vent exits through the roof.
- The duct run is long, hidden, or difficult to access.
- You cannot get strong airflow after cleaning.
- You smell burning after the vent has been cleared.
- The dryer keeps overheating or shutting off.
- You suspect lint buildup inside the dryer cabinet.
- You have a gas dryer and are uncomfortable moving or reconnecting it.
A professional cleaning is also smart if you just moved into a home and do not know when the vent was last cleaned.
Simple Habits That Keep the Vent Cleaner Longer
- Clean the lint screen after every load.
- Do not overload the dryer; heavy loads shed more lint and dry poorly.
- Shake pet hair from blankets and bedding before washing.
- Keep the area behind the dryer free of dust and stored items.
- Check the outside vent every few months.
- Avoid pushing the dryer so far back that the duct gets crushed.
The Bottom Line
Cleaning a dryer vent is not glamorous, but it is one of those small home jobs that pays off quickly. Your clothes dry faster, the dryer does not have to work as hard, and you remove lint from a place where heat and restricted airflow can become dangerous.
Put it on your calendar once a year, clean the lint screen after every load, and check the outside vent whenever drying times start creeping up. That simple routine will keep your laundry setup safer and more efficient.