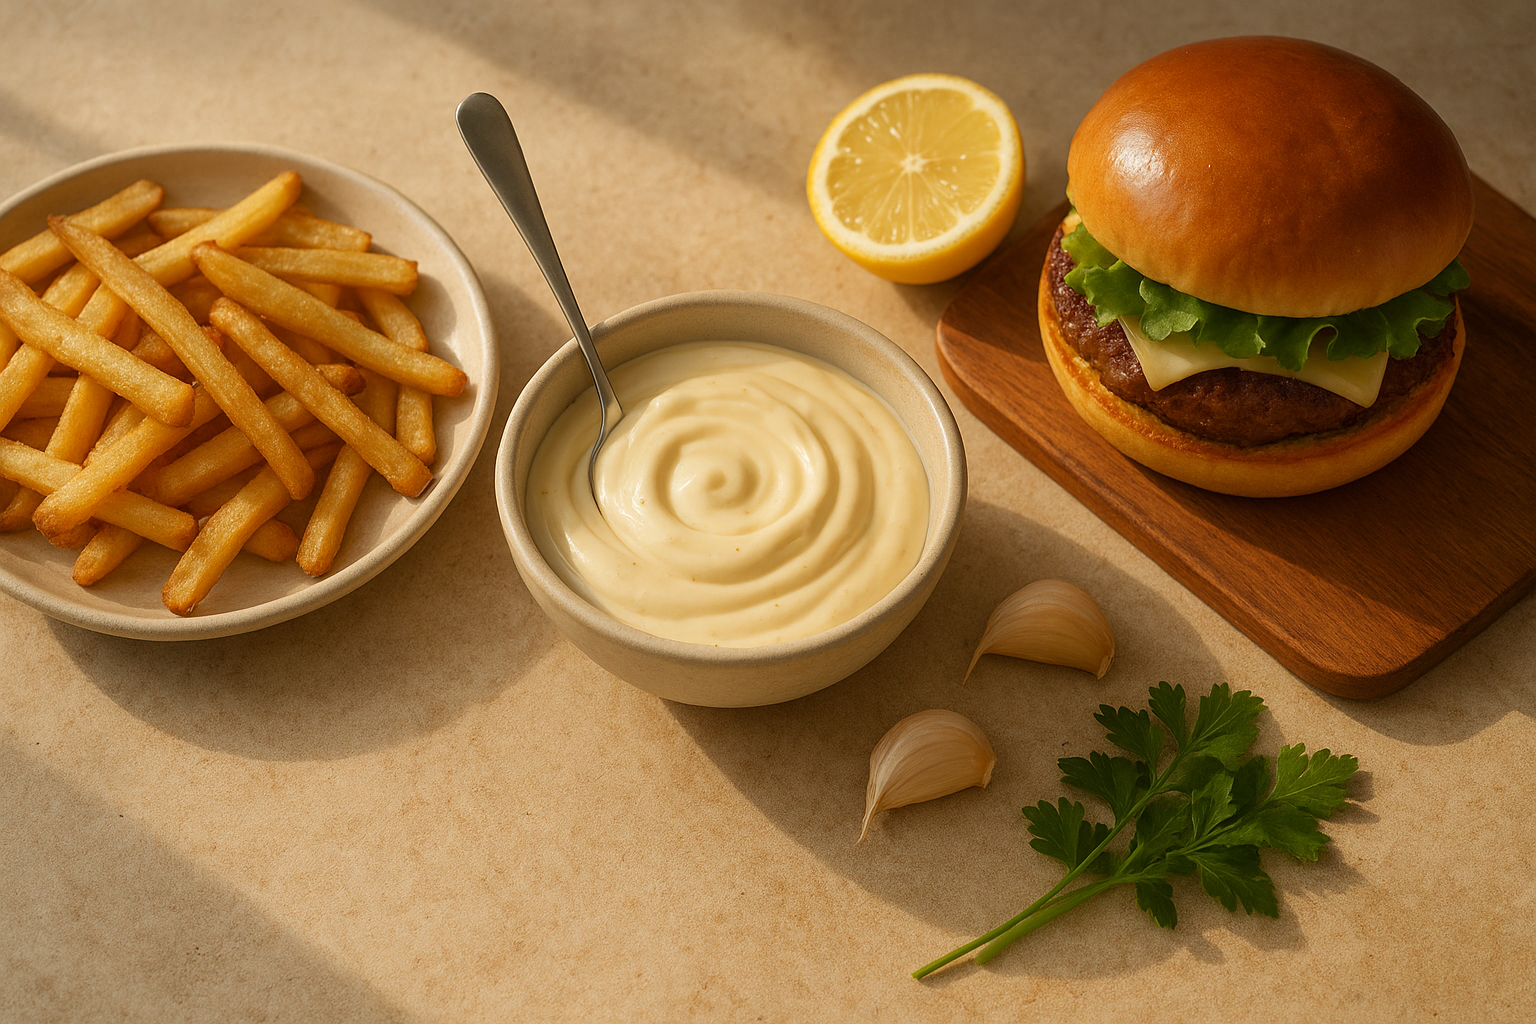
Easy Garlic Aioli Recipe for Fries, Burgers, and More
If you want a sauce that instantly makes everyday food taste restaurant-worthy, keep a batch of garlic aioli in the fridge. It’s creamy, garlicky, tangy, and versatile enough to drizzle, dip, or spread on just about anything.
The best part is that you do not need fancy ingredients or special skills. With a few basics and a food processor or blender, you can make a smooth garlic aioli that tastes fresh and homemade in just a few minutes.
What Garlic Aioli Is
At its simplest, aioli is a garlicky emulsion. That means oil and other ingredients are blended together until they become thick, stable, and creamy instead of separating. Traditional versions were much more rustic, but modern homemade aioli often uses egg to help create a smooth texture that feels close to a rich mayonnaise with a strong garlic flavor.
What makes this version so useful is the balance. The garlic brings bite, the lemon adds brightness, and a little Dijon helps round out the flavor while also supporting the emulsion. The result is a sauce that feels bold without being heavy.
Ingredients You’ll Need
You only need a handful of ingredients to make garlic aioli at home:
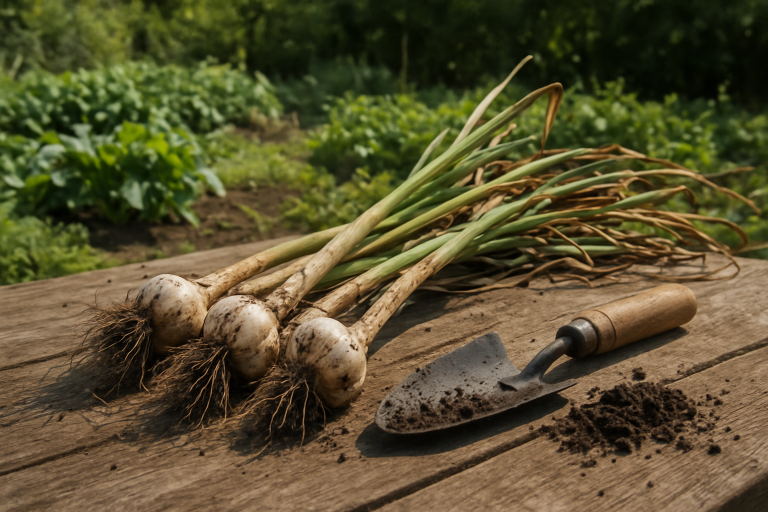
- Fresh garlic for the main flavor
- Egg to help create a creamy emulsion
- Dijon mustard for depth and stability
- Lemon juice to brighten the sauce
- Honey for a subtle touch of balance
- Neutral oil such as avocado, canola, or vegetable oil
- Salt to bring everything together
If you want a stronger garlic flavor, use a little extra garlic. If you prefer something milder, start with less and taste after blending.
How to Make Garlic Aioli
A food processor makes this process very easy, but a blender can also work. The key is to add the oil slowly so the mixture has time to thicken properly.
- Place the garlic, egg, Dijon, lemon juice, honey, and a pinch of salt in the food processor.
- Blend until the garlic is finely chopped and the mixture looks combined.
- With the machine running, drizzle in the oil slowly at first.
- As the mixture thickens, continue adding the oil in a steady stream.
- Stop once the aioli is thick, pale, and smooth.
That’s it. The sauce should look glossy and spoonable, not thin or watery. If it is too thick, you can whisk in a teaspoon of water or lemon juice to loosen it slightly.
Tips for the Best Texture
Aioli is all about emulsion, and a few small details make a big difference.
- Use room-temperature egg. Cold ingredients can make blending less stable.
- Start slowly with the oil. If you pour too fast, the sauce may separate before it thickens.
- Use neutral oil for the cleanest flavor. Strong olive oil can overpower the garlic and turn bitter when blended aggressively.
- Grate or finely chop the garlic first. Smaller pieces blend in better and create a smoother sauce.
If you want a smoother, less sharp result, let the finished aioli sit in the fridge for at least 20 to 30 minutes before serving. The garlic will mellow a bit as it rests.
How to Fix Aioli That Breaks
Sometimes the sauce looks separated or oily before it finishes thickening. That usually means the oil was added too quickly or the mixture needed a little more time to come together. The good news is that broken aioli can often be rescued.
Try this first
Add 1 teaspoon of cold water and blend again for a few seconds. This often helps the emulsion tighten back up.
If that does not work
In a clean bowl or food processor, add one fresh room-temperature egg yolk and blend it for a few seconds. Then slowly drizzle the broken mixture into the new yolk while blending. The sauce should thicken again.
If the aioli still will not come together, the oil may have been added too fast, or the ingredients may have been too cold. In that case, start fresh and drizzle the oil more gradually.
Ways to Use Garlic Aioli
This is one of those sauces you’ll reach for constantly once it’s in the fridge. It works especially well with foods that need a creamy, savory finish.
- Fries and potato wedges: Dip instead of using ketchup for a richer flavor.
- Burgers: Spread it on the bun for extra moisture and garlic punch.
- Sandwiches and wraps: Use it in place of mayo for a more flavorful spread.
- Roasted vegetables: Drizzle over broccoli, carrots, cauliflower, or Brussels sprouts.
- Grilled chicken or fish: Add a spoonful on the side as a quick sauce.
- Crudités: Serve with cucumbers, bell peppers, celery, and radishes.
You can also thin it slightly with a little lemon juice or water to make a drizzle for grain bowls or sheet-pan dinners.
Flavor Variations to Try
Once you know the basic method, it is easy to change the flavor to fit different meals.
- Roasted garlic aioli: Swap raw garlic for roasted garlic if you want a sweeter, more mellow sauce.
- Herb aioli: Blend in parsley, chives, dill, or basil for a fresher finish.
- Spicy aioli: Add a pinch of cayenne, smoked paprika, or a little hot sauce.
- Citrus aioli: Use lime juice instead of lemon for a sharper, brighter profile.
If you’re serving the sauce with seafood, roasted garlic and a little lemon zest work especially well. For burgers and fries, a touch of smoked paprika adds a nice savory edge.
Storage and Food Safety
Because this recipe contains egg, store it in an airtight container in the refrigerator. For the best flavor and texture, use it within 2 to 3 days. Always scoop out what you need with a clean spoon to help it stay fresh longer.
If you are serving it for a gathering, keep it chilled until just before mealtime. Do not leave it sitting at room temperature for long periods.
Simple Homemade Sauce, Big Everyday Payoff
Making garlic aioli at home is one of the easiest ways to make your meals feel more special without adding much work. It takes only a few minutes, uses straightforward ingredients, and keeps well enough to make weeknight dinners easier.
Once you start keeping a jar in the fridge, you may find yourself using it on everything from roasted potatoes to breakfast sandwiches. It’s the kind of recipe that quietly earns its place in regular rotation.