How to Remove Moldy Shower Caulk and Recaulk It
Black, spotty caulk around a tub or shower is more than a cosmetic nuisance. If the stains are sitting on top, you may be able to clean them; if they are under or inside the caulk, the best fix is usually to remove the moldy shower caulk and apply a fresh bead.
The good news is that this is a realistic weekend DIY job. You do not need special skills, but you do need patience, dry surfaces, and the right kind of bathroom caulk.
First: Is It Surface Mildew or Failed Caulk?
Before you start cutting, look closely at the caulk line. If the caulk is still smooth, firmly attached, and only lightly discolored on the surface, try cleaning first. If it is peeling, cracked, gummy, separated from the tub or tile, or black underneath the clear or white sealant, cleaning will not solve the real problem.
Caulk is supposed to keep water out of the joint. Once water gets behind it, mold stains can show through from underneath. At that point, more scrubbing often damages the caulk without making the shower truly cleaner.
What You’ll Need
- Plastic caulk removal tool or utility knife
- Razor scraper for tile or glass, if needed
- Needle-nose pliers
- Paper towels or clean rags
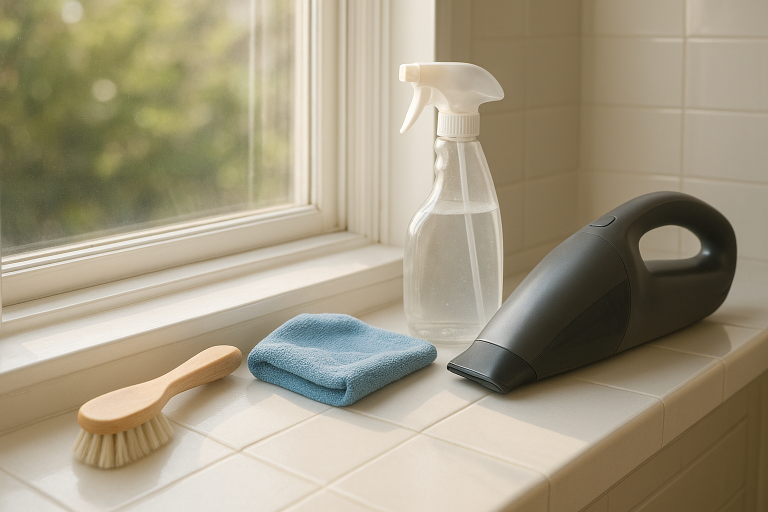
- Mild dish soap
- Household bleach or another appropriate mold cleaner, used safely
- Gloves and eye protection
- Painter’s tape
- 100% silicone kitchen and bath caulk, mold-resistant if possible
- Caulk gun, if using a standard tube
- Rubbing alcohol for final wipe-down, if allowed by the caulk label
For safety, ventilate the room well and never mix bleach with ammonia, vinegar, toilet bowl cleaner, or other cleaning products. The EPA notes that bleach is not recommended as a routine mold cleanup practice, and if it is used, it should never be mixed with ammonia-containing cleaners because toxic fumes can result. The CDC advises using no more than 1 cup of household bleach in 1 gallon of water for mold cleanup on hard surfaces. ([epa.gov](https://www.epa.gov/mold/should-i-use-bleach-clean-mold?utm_source=openai))
Step 1: Dry the Shower Completely
Do not start this project right after someone showers. The joint needs to be dry so you can remove caulk cleanly and so the new bead can bond well.
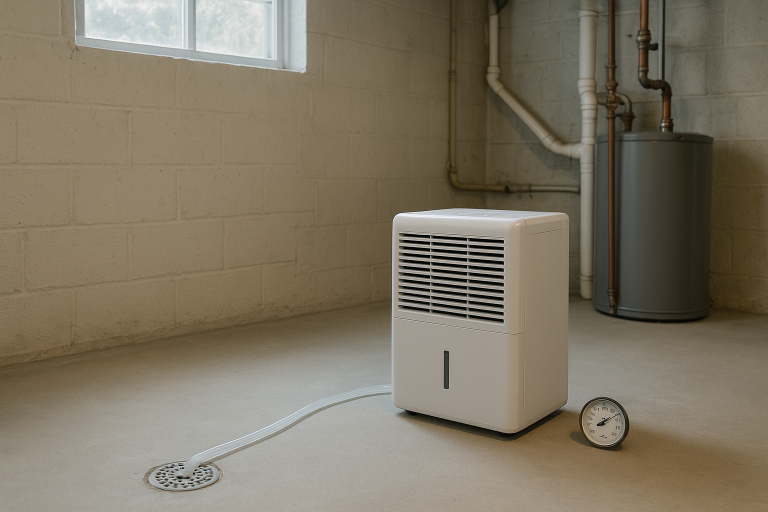
Wipe the area with a towel, then let it air-dry. If the bathroom is humid, run the exhaust fan, open a window if weather allows, or set up a small fan outside the wet zone to move air through the room. Give it several hours if water has been sitting in the joint.
Step 2: Cut and Peel Out the Old Caulk
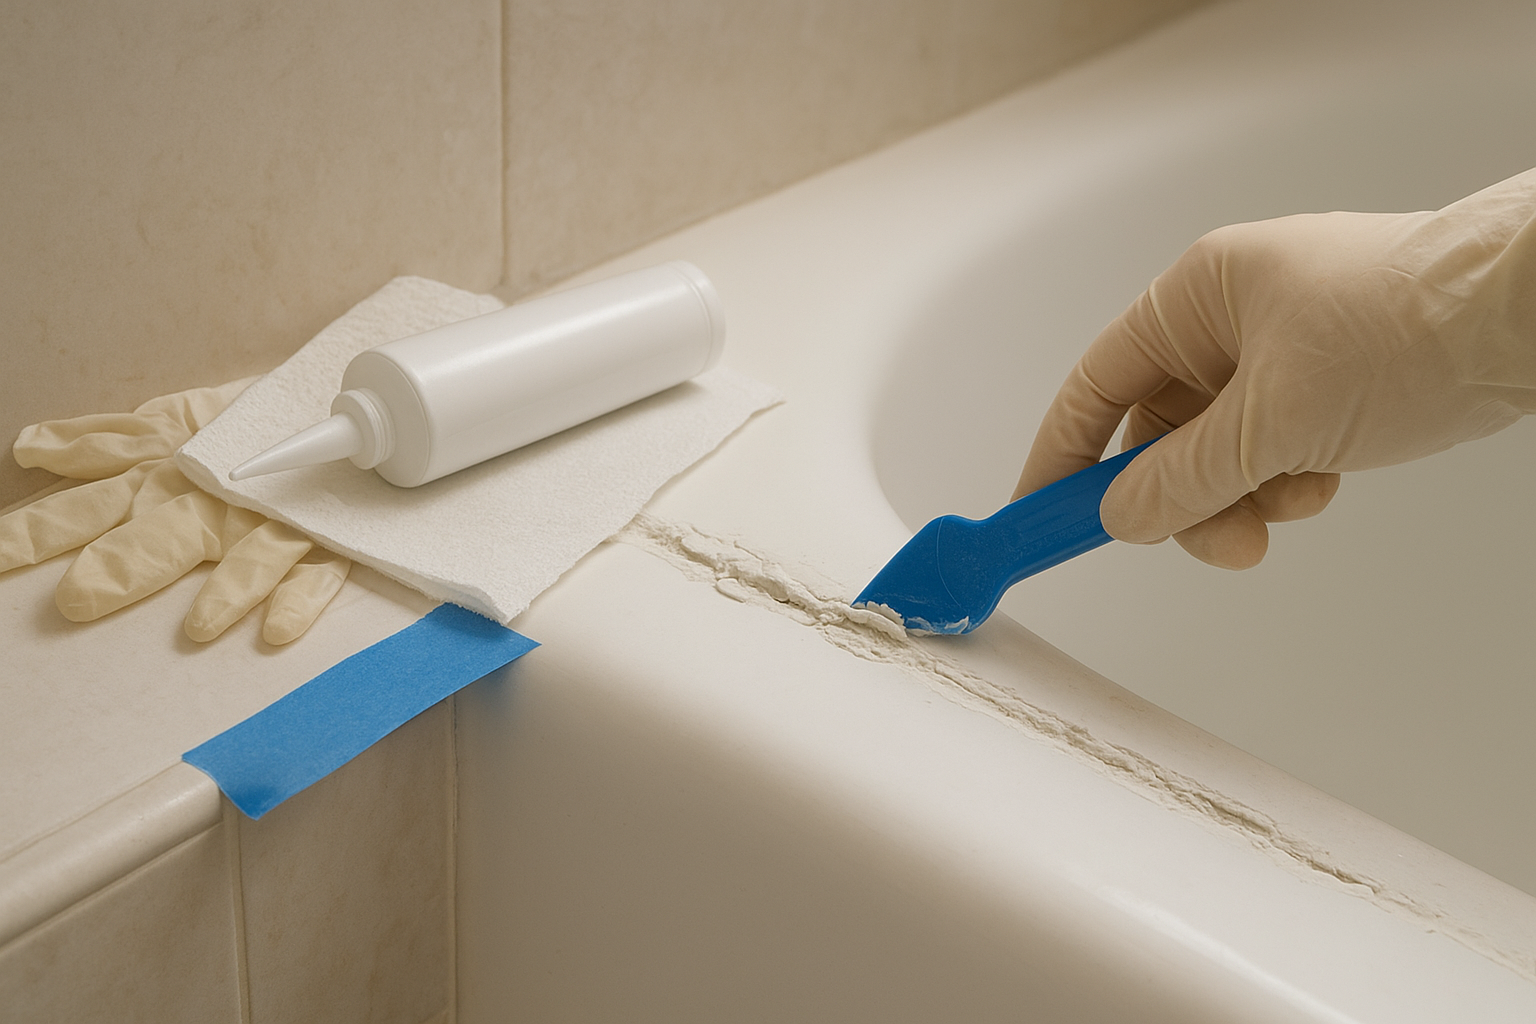
Use a plastic caulk removal tool first because it is less likely to scratch tile or a tub. Work along the top and bottom edges of the caulk bead to break its grip. If the caulk is stubborn, carefully use a utility knife, keeping the blade shallow and pointed away from your body.
Once you have a loose end, grab it with your fingers or needle-nose pliers and pull slowly. The goal is to remove long strips rather than tiny crumbs. Old silicone can be tedious, so take your time.
Be especially careful with fiberglass tubs, acrylic surrounds, natural stone, and painted surfaces. Metal blades can gouge or scratch them quickly. If you are unsure, test your scraper in a hidden spot before working across the whole seam.
Step 3: Remove the Residue
New caulk will not stick well to old caulk residue. After the main bead is gone, scrape or rub away the thin leftover film. Some caulk manufacturers sell caulk remover gel, which can soften residue; follow the product label exactly and make sure it is safe for your tub or tile material.
Wash the joint with warm water and a little dish soap, then rinse with a damp rag. This removes soap scum, body oils, and cleaner residue that can interfere with the new seal.
Step 4: Treat Any Mold Stains in the Joint
If you see dark staining after the caulk is removed, clean the exposed hard surfaces before sealing them back up. For a small bathroom joint on nonporous tile or porcelain, you can use a labeled mold and mildew cleaner, soap and water, or a properly diluted bleach solution. The CDC says mold can be removed from hard surfaces with household products, soap and water, or a bleach solution of no more than 1 cup of bleach per gallon of water. ([cdc.gov](https://www.cdc.gov/mold-health/?utm_source=openai))
Apply the cleaner with good ventilation, keep it off materials the label warns against, and do not soak drywall, wood, or porous backer material. If the wall feels soft, crumbles, smells strongly musty, or the moldy area is large, stop and consider calling a professional. That may be a moisture problem behind the wall, not just a caulk problem.
After cleaning, rinse if the product label calls for it, then let the joint dry completely. This is the step people rush, and it is one of the biggest reasons new caulk fails early.
Step 5: Tape for a Straighter Line
Painter’s tape is optional, but it helps if you want a crisp bead. Apply one strip above the joint and one below it, leaving the gap where the caulk should sit. Keep the spacing even.
Do not make the bead too wide. A huge smear of caulk may look like extra protection, but it can trap water and peel at the edges. You want a neat, continuous bead that bridges the joint.
Step 6: Apply Bathroom Silicone Caulk
Choose a caulk labeled for kitchen and bath use. In wet shower areas, 100% silicone is usually the better choice because it stays flexible and resists water well. Look for a product that says it is mold- or mildew-resistant, but remember that no caulk stays clean forever if it remains wet and soapy every day.
Cut the nozzle at a small angle. Start smaller than you think you need; you can always cut the opening larger. Hold the caulk gun at a steady angle and pull it along the joint with even pressure. Try to make one continuous pass along each side of the tub or shower rather than stopping and starting repeatedly.
Step 7: Smooth the Bead and Pull the Tape
Smooth the caulk right away, before it skins over. Use a caulk finishing tool or a gloved finger lightly dampened with water if the product allows it. Press just enough to shape the bead and help it contact both sides of the joint.
Remove the painter’s tape while the caulk is still wet. Pull it back slowly at an angle. If the tape leaves a small ridge, gently smooth the edge one more time.
Step 8: Let It Cure Before Using the Shower
Read the caulk label for cure time. Some products are water-ready quickly, while others need a full day or longer before getting wet. When in doubt, wait longer. Using the shower too soon can weaken the seal and put you right back where you started.
Keep the room ventilated while the caulk cures. Avoid touching the bead, wiping it, or letting shampoo bottles lean against it.
How to Keep New Shower Caulk from Getting Moldy
- Run the fan during every shower and leave it on afterward to clear humidity.
- Squeegee or towel the lower corners where water sits longest.
- Keep bottles off the caulk line so water and soap scum do not get trapped.
- Clean lightly and regularly instead of waiting for heavy buildup.
- Fix leaks quickly, including a dripping showerhead or splashy curtain gap.
If mold returns within a few weeks, the issue may be poor ventilation, a hidden leak, or moisture behind the surface. Recaulking helps only when the joint is sound and dry underneath.
When Cleaning Is Enough
If the caulk is intact and the staining is only on the surface, start with a gentler cleaning approach. Wash with dish soap and water, rinse, and dry. For remaining mildew on hard bathroom surfaces, use a product labeled for that purpose and follow the directions exactly.
But if the caulk is lifting or blackened from within, skip the repeated scrubbing. Removing moldy shower caulk and replacing it with a clean, properly cured bead is the more durable fix—and it makes the whole bathroom look fresher in an afternoon.