How to Clean a Dryer Vent Without a Big Mess
If your dryer is taking longer than usual, the problem may not be the dryer at all. A clogged dryer vent can slow down drying, waste energy, and create a fire risk, but this is a home maintenance job many people can handle with a few basic tools.
This guide shows you how to clean a dryer vent without spreading lint all over the laundry room. Plan on 30 to 60 minutes for a simple, reachable vent, and call a pro if your vent run is long, roof-mounted, damaged, or hard to access.
Why Dryer Vent Cleaning Matters
Lint does not all stay in the lint screen. Over time, it can collect inside the dryer duct, around bends, at the outside vent flap, and behind the dryer. When airflow is restricted, clothes stay damp longer and the dryer may run hotter than it should.
The U.S. Fire Administration notes that failure to clean is a leading factor in home clothes dryer fires, and it recommends cleaning the lint filter before or after each load and making sure the outdoor vent opens while the dryer is running. ENERGY STAR also recommends cleaning the lint filter after every load to improve airflow and dryer efficiency. ([usfa.fema.gov](https://www.usfa.fema.gov/prevention/home-fires/prevent-fires/appliance-and-electrical/?utm_source=openai))
Signs Your Dryer Vent Needs Cleaning
- Clothes need a second cycle to dry.
- Towels, jeans, or bedding feel hot but still damp.
- The laundry room feels unusually warm or humid.
- The top of the dryer gets hotter than normal.
- The outside vent flap barely opens when the dryer runs.
- You see lint collecting around the exterior vent cover.
- The dryer shows an airflow, vent, or check filter warning.
Even if you do not notice these signs, a yearly vent cleaning is a smart baseline for many households. Consumer Reports recommends removing potential blockages in the dryer vent system at least once a year; households that do lots of laundry, have pets, or use a long vent run may need to check it more often. ([consumerreports.org](https://www.consumerreports.org/home-garden/cleaning/spring-clean-your-laundry-room-in-20-minutes-a1099854041/?utm_source=openai))
Tools and Supplies
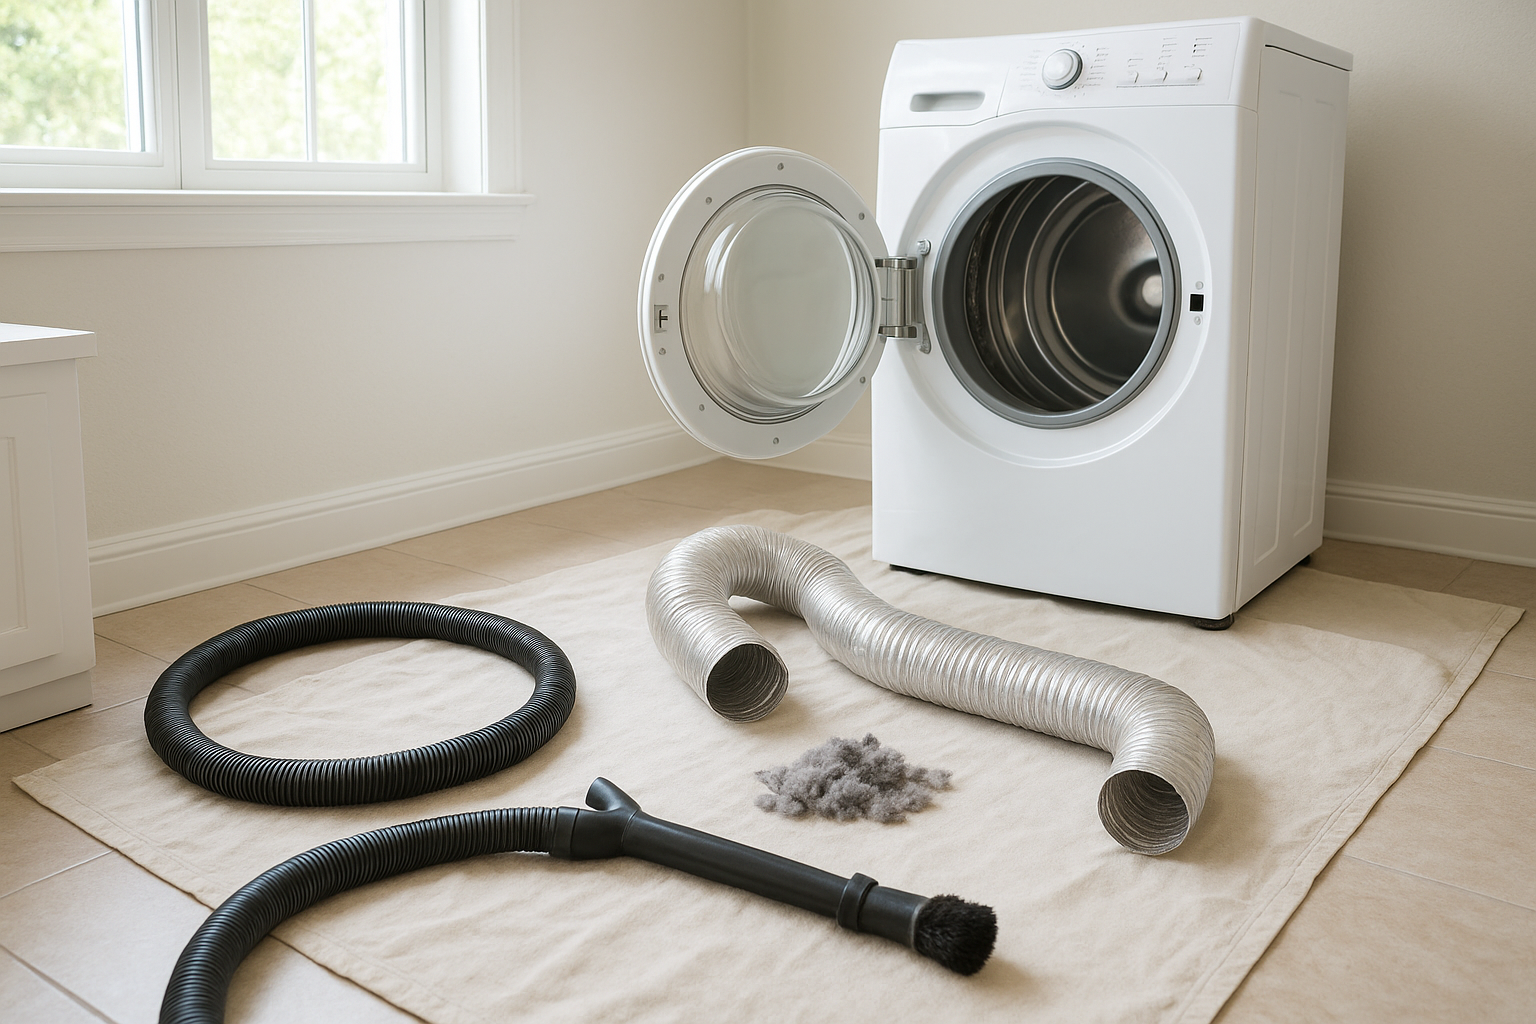
- Vacuum with hose attachment
- Dryer vent brush kit, preferably flexible rods made for dryer ducts
- Screwdriver or nut driver for the clamp
- Work gloves
- Dust mask, especially if you are sensitive to dust
- Drop cloth, old towel, or flattened cardboard
- Flashlight
- Foil HVAC tape, if you need to reseal duct joints
Avoid using a leaf blower indoors unless you know exactly where the duct exits and can control the mess outside. It can push lint into places you did not intend, especially if the duct is loose or partly disconnected.
Before You Start: Do These Safety Checks
- Unplug the dryer. If you have an electric dryer, pull the plug from the outlet.
- For a gas dryer, turn off the gas valve. If you are not comfortable moving a gas dryer, stop here and hire a qualified appliance technician or vent-cleaning pro.
- Do not crush the vent hose. Pull the dryer forward slowly so you do not kink, tear, or disconnect anything by force.
- Check the duct type. Rigid or semi-rigid metal duct is best. Plastic or thin foil accordion ducts can trap lint more easily and are more prone to damage.
The Department of Energy’s Building America guidance notes that spiral-style flexible ducts can trap lint and make the dryer work harder; proper dryer venting should be as smooth, short, and direct as practical. ([basc.pnnl.gov](https://basc.pnnl.gov/resource-guides/proper-clothes-dryer-venting?utm_source=openai))
How to Clean a Dryer Vent Without Making a Mess
1. Prepare the Area
Lay a drop cloth or old towel behind the dryer before you move it. Keep a trash bag nearby for lint. If your laundry area is tight, remove baskets, detergent bottles, and anything that will be in your way.
2. Pull the Dryer Forward
Ease the dryer away from the wall just far enough to reach the duct connection. Do not yank it. If the vent hose is short, you may only have a few inches to work with at first.
3. Disconnect the Vent Hose
Loosen the clamp where the hose connects to the dryer. Some clamps use a flathead screwdriver; others use a nut driver. Slide the hose off gently. If it is stuck, wiggle it rather than pulling hard.
4. Vacuum the Dryer Outlet
Use the vacuum hose to remove lint from the round outlet on the back of the dryer. Do not force the vacuum attachment deep into the dryer. The goal is to clear loose lint near the opening and around the back of the machine.
5. Brush the Duct from the Inside
Feed the dryer vent brush into the duct that leads through the wall. Turn it slowly as you push. If your kit attaches to a drill, use the lowest speed and follow the kit directions carefully. Keep the brush moving in the correct direction so the rods do not unscrew inside the duct.
Pull the brush back out often and remove lint into the trash bag. Vacuum around the opening as you go so lint does not drift across the room.
6. Clean the Vent Hose
If the short hose between the dryer and wall is removable, take it outside or hold it over the drop cloth. Run the brush through it, then vacuum both ends. Replace the hose if it is torn, crushed, brittle, or packed with lint you cannot remove.
7. Check the Outside Vent
Go outside and find the dryer exhaust. Remove lint from the vent cover and make sure the flap or louvers move freely. Do not leave a screen over the dryer vent; screens can catch lint and clog quickly. If a bird nest, pest nest, or heavy blockage is present, call a professional.
8. Reconnect Everything
Reattach the vent hose to the dryer and wall connection. Tighten the clamp firmly, but do not crush the duct. Use foil HVAC tape on metal duct joints if needed. Do not use regular cloth duct tape, which can dry out and fail.
9. Test the Airflow
Plug the dryer back in. If it is gas, turn the gas valve back on and check that you did not strain the line. Run the dryer on an air-only or low-heat setting for a few minutes, then check the outside vent. You should feel steady airflow and see the flap opening.
What Not to Do
- Do not ignore repeated drying problems. If cleaning does not help, the duct may be disconnected, crushed, too long, or blocked deeper inside.
- Do not use sharp tools inside the duct. They can puncture flexible ductwork.
- Do not push the dryer tight against the wall. Leave enough room so the hose is not flattened.
- Do not run the dryer with a loose vent connection. Moist air and lint can blow into the laundry room or wall cavity.
How Often Should You Clean a Dryer Vent?
Clean the lint screen every load. Check the outside vent every couple of months to make sure it opens and is not covered by lint, snow, leaves, or mulch. Clean the full vent about once a year for average use, and every six months if you do frequent laundry, have shedding pets, dry lots of towels, or have a long duct run.
When to Call a Professional
Hire help if your dryer vents through the roof, the vent run is very long, you cannot reach both ends, you smell gas, the duct is damaged inside the wall, or the dryer still performs poorly after cleaning. Professional cleaning is also worth considering if you just moved into a home and do not know when the vent was last serviced.
A clean dryer vent is one of those small home jobs that pays you back right away. Your dryer can breathe better, loads may dry faster, and you can cross an important safety task off your list.