How to Clean a Window AC Unit Without Taking It Apart
A window air conditioner works hard in summer, pulling room air through a filter and across cold coils day after day. When dust, lint, pet hair, and damp grime build up, the unit can smell musty, blow weakly, and run longer than it should.
The good news: you can do a useful cleaning without removing the whole air conditioner from the window or taking the cabinet apart. This guide focuses on the safe, practical maintenance most homeowners and renters can do with basic supplies.
Why Cleaning a Window AC Unit Matters
A dirty air conditioner is not just a cosmetic problem. ENERGY STAR recommends inspecting, cleaning, or changing air filters once a month in cooling systems because dirty filters make equipment work harder and can contribute to early failure. ([energystar.gov](https://www.energystar.gov/saveathome/heating-cooling/maintenance-checklist?utm_source=openai))
Window units also collect moisture as they cool. The EPA notes that cooling coils and condensate pans can become moisture trouble spots, and that drain pans should drain properly to help prevent moisture contamination. ([epa.gov](https://www.epa.gov/indoor-air-quality-iaq/should-you-have-air-ducts-your-home-cleaned?utm_source=openai))
In plain terms: regular cleaning helps airflow, reduces stale odors, and gives you a chance to spot small problems before they become leaks, moldy smells, or a unit that barely cools.
What You’ll Need
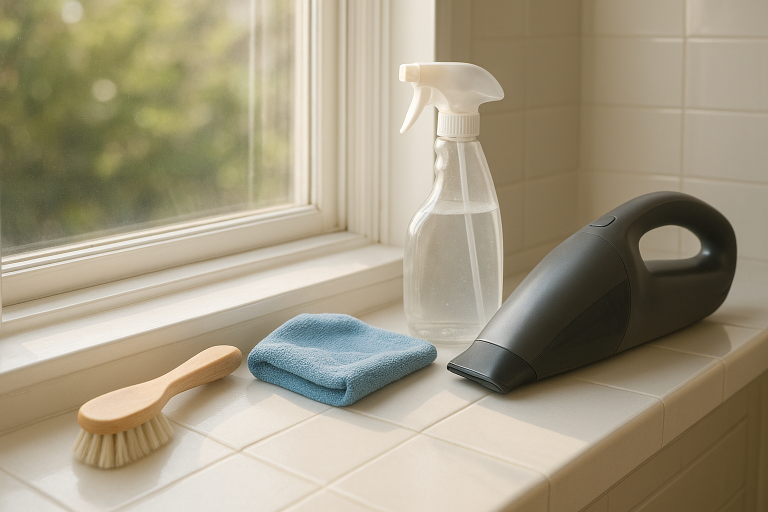
- Vacuum with brush attachment
- Microfiber cloths
- Soft brush, old toothbrush, or paintbrush
- Mild dish soap
- Spray bottle of water
- Fin comb, optional, for bent coil fins
- Towels to protect the floor and sill
- Gloves and a dust mask, optional but helpful
Avoid bleach, harsh degreasers, pressure washers, and soaking the electrical side of the unit. If your manual gives specific cleaning directions, follow those first.
Before You Start: Safety First
Turn the unit off and unplug it. Do not clean around a plugged-in air conditioner. If the plug is hard to reach, turn the circuit off at the breaker.
Put a towel under the front of the unit to catch dust and drips. If the air conditioner looks loose in the window, stop and secure it before cleaning. Do not lean on the unit, and do not remove support brackets or side panels unless you know how to reinstall them safely.
Step 1: Remove and Wash the Filter
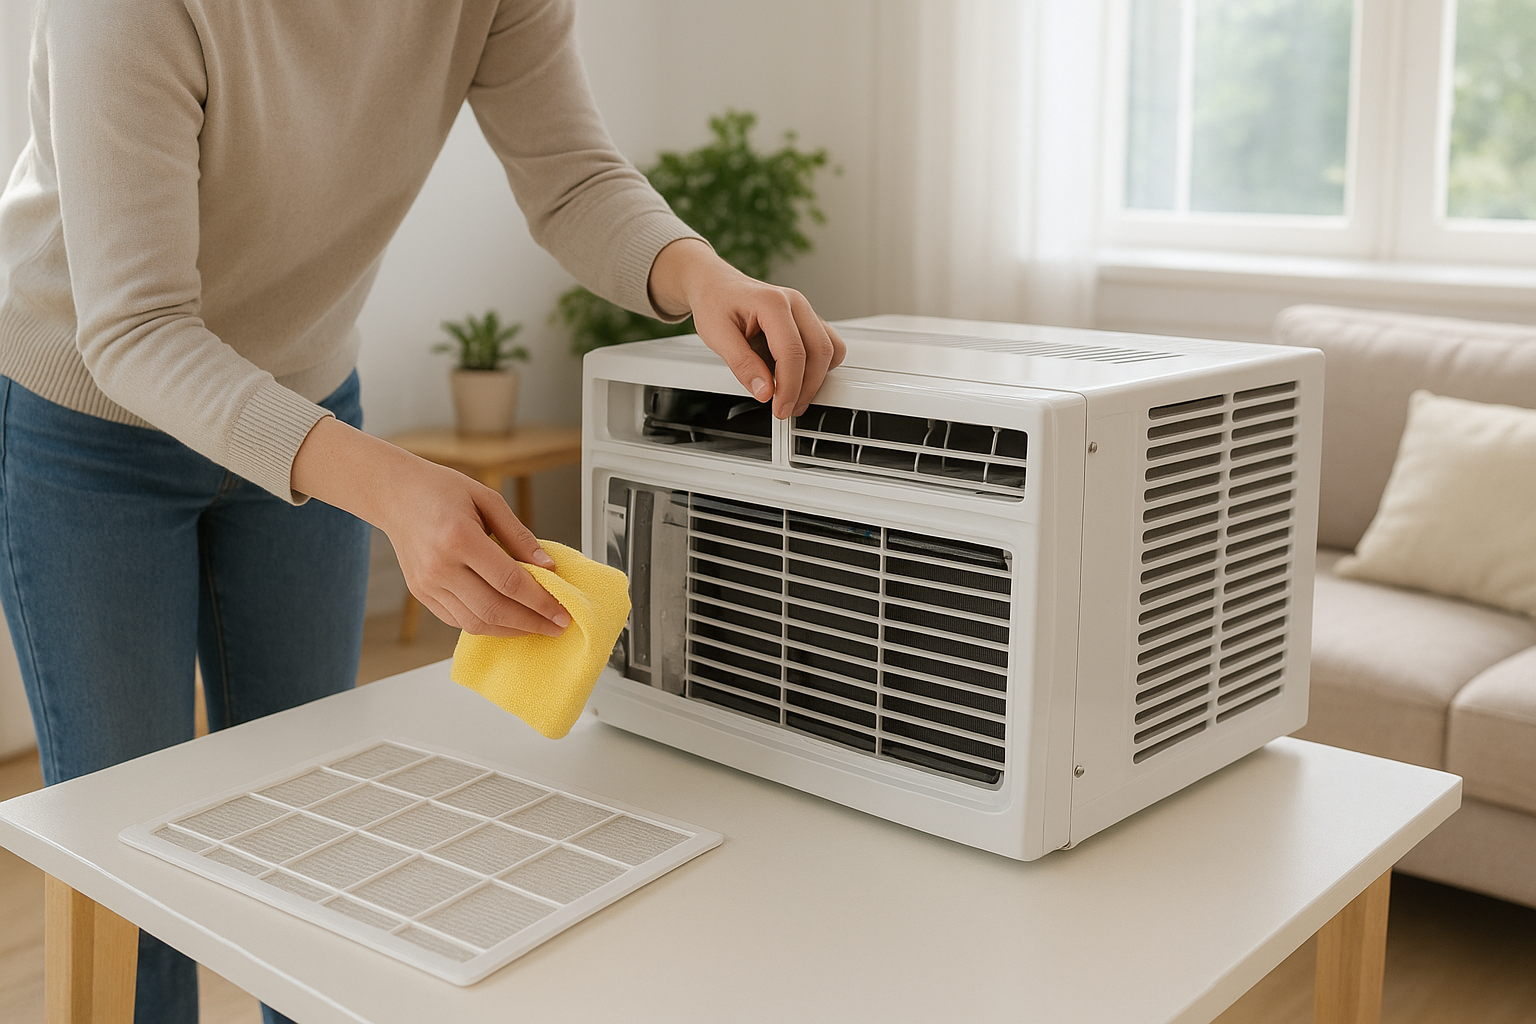
Most window AC filters sit behind the front grille. Open or pop off the grille according to your unit’s design, then slide the filter out gently.
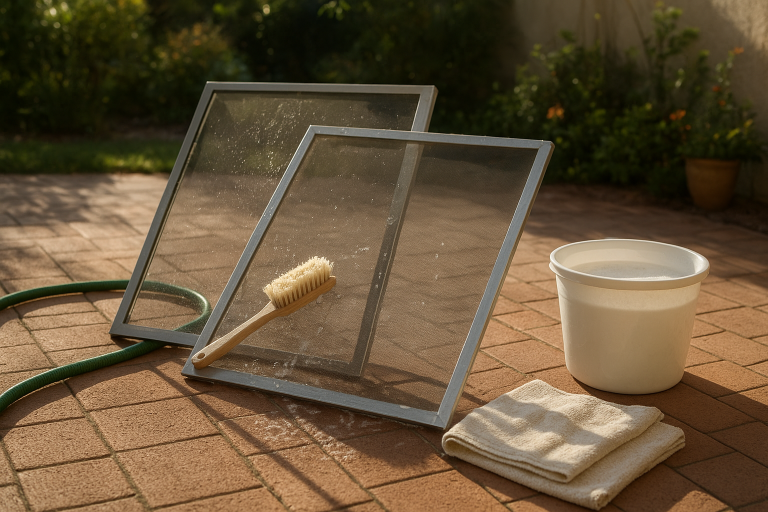
- Vacuum loose dust from both sides of the filter.
- Rinse the filter with lukewarm water.
- If it is greasy or grimy, wash it with a drop of mild dish soap.
- Rinse well so no soap film remains.
- Let it air-dry completely before reinstalling.
Never put a wet filter back into the unit. A damp filter can add moisture where you do not want it and may encourage musty odors.
Step 2: Clean the Front Grille and Louvers
The front grille catches a surprising amount of dust. Vacuum it first, then wipe it with a damp microfiber cloth. Use a toothbrush or small paintbrush to clean the louvers, corners, and little ridges where lint collects.
If the grille is removable and has no electronics attached, you can wash it in the sink with warm, soapy water. Dry it thoroughly before putting it back.
Step 3: Vacuum the Indoor Coils Gently
Behind the filter, you will usually see the indoor evaporator coil. It looks like a set of thin metal fins. These fins bend easily, so be patient and gentle.
- Use the vacuum brush attachment to lift loose dust from the coil surface.
- Brush in the same direction as the fins, not across them.
- Do not shove the vacuum nozzle into the fins.
- If fins are bent, straighten only the obvious spots with a fin comb.
If the coil is heavily matted with dirt, if you see fuzzy growth, or if the unit smells strongly musty after filter cleaning, it may need deeper service. The EPA’s indoor air guidance emphasizes that moisture problems and visible mold should be addressed rather than ignored. ([epa.gov](https://www.epa.gov/indoor-air-quality-iaq/should-i-have-air-ducts-my-home-cleaned?utm_source=openai))
Step 4: Wipe the Inside Edge and Drain Area
With the filter out, look along the lower inside edge of the unit. You may see dust, dead insects, or damp sludge near the bottom pan. Wipe what you can reach with a damp cloth.
Do not pour cups of water into the unit from indoors. A light mist on a cloth is fine; flooding the cabinet is not. Window air conditioners are designed to manage condensate, but electrical parts and controls should stay dry.
If water is dripping indoors, the unit may be tilted incorrectly, the drain path may be blocked, or the pan may be dirty. Many window units need a slight outdoor tilt so condensate moves away from the room, but always check your model’s installation instructions.
Step 5: Clean the Outdoor Side If You Can Reach It Safely
If the outside back of the unit is reachable from a porch, balcony, or first-floor exterior, brush away leaves, cottonwood fluff, and lint from the rear coil area. Keep plants, curtains, and furniture from blocking airflow around the unit.
Do not hang out of a window to clean the back of an AC unit. If you cannot reach it safely, leave that part for a professional or clean it when the unit is removed at the end of the season.
Step 6: Reassemble and Test
Once every part is dry, reinstall the filter and snap the grille back into place. Plug the air conditioner in, turn it on, and let it run for 10 to 15 minutes.
Check for three things:
- Stronger airflow: Air should move freely through the front vents.
- Cleaner smell: A dusty smell may fade quickly, but a persistent sour or moldy odor needs more attention.
- No indoor dripping: Water should not be running down the wall or sill indoors.
How Often Should You Clean It?
During heavy summer use, check the filter about once a month. ENERGY STAR notes that many room air conditioners include filter reminders to help users check, clean, or replace filters as needed for efficient operation. ([energystar.gov](https://www.energystar.gov/products/room_air_conditioners/key_product_criteria?utm_source=openai))
For most homes, a simple rhythm works well:
- Every month in cooling season: Wash or vacuum the filter.
- Mid-season: Vacuum the grille and indoor coil surface.
- End of season: Clean and dry the unit before storing or covering it.
If you have pets, nearby construction dust, wildfire smoke, pollen, or a kitchen-adjacent unit, you may need to clean the filter more often.
When to Call a Professional
Basic cleaning can solve many airflow and odor problems, but it cannot fix every issue. Call for service or consider replacement if you notice:
- Ice forming on the coils
- Burning smells or buzzing electrical sounds
- Water leaking indoors after cleaning and proper installation
- Weak cooling even with a clean filter
- Visible mold deep inside the unit
- A damaged cord, cracked plug, or tripping breaker
Do not open sealed refrigerant parts or try to recharge a window unit yourself. That is not routine cleaning, and it is not a safe DIY job.
A Simple End-of-Season Tip
Before storing a window AC, run it on fan-only mode for an hour on a dry day if your model allows it. Then unplug it, clean the filter, wipe away dust, and let everything dry fully. Store it upright in a dry place, covered loosely so dust stays off but moisture is not trapped inside.
A clean window AC unit will not magically make an old machine new again, but it can help it breathe better, smell fresher, and work more efficiently. Start with the filter, be gentle with the fins, keep water away from electrical parts, and make it a quick monthly habit during the hottest part of the year.