4 Smart Ways to Make Raised Beds Self-Watering
Raised beds make gardening easier on your back and better for your soil, but they can dry out quickly in hot weather. If you’re tired of watering every day—or worrying about your plants while you’re away—you can turn an ordinary bed into a much more forgiving system.
The best part is that you do not need fancy equipment or a plumbing background. With a few simple changes, a self-watering raised bed can hold moisture longer, send water where roots need it most, and help your garden stay productive through heat waves and dry spells.
Why raised beds dry out so fast
Raised beds warm up quickly and drain well, which is usually a plus. But that same open structure means water moves out faster than it does in ground-level soil. Sun, wind, and soil mixed for fast drainage can all speed up evaporation.
That is why a bed that looks fine in spring may start wilting by mid-summer. The solution is not always more watering. Often, the better answer is to make the bed hold water more efficiently and deliver it slowly.
1. Add a buried reservoir under the soil
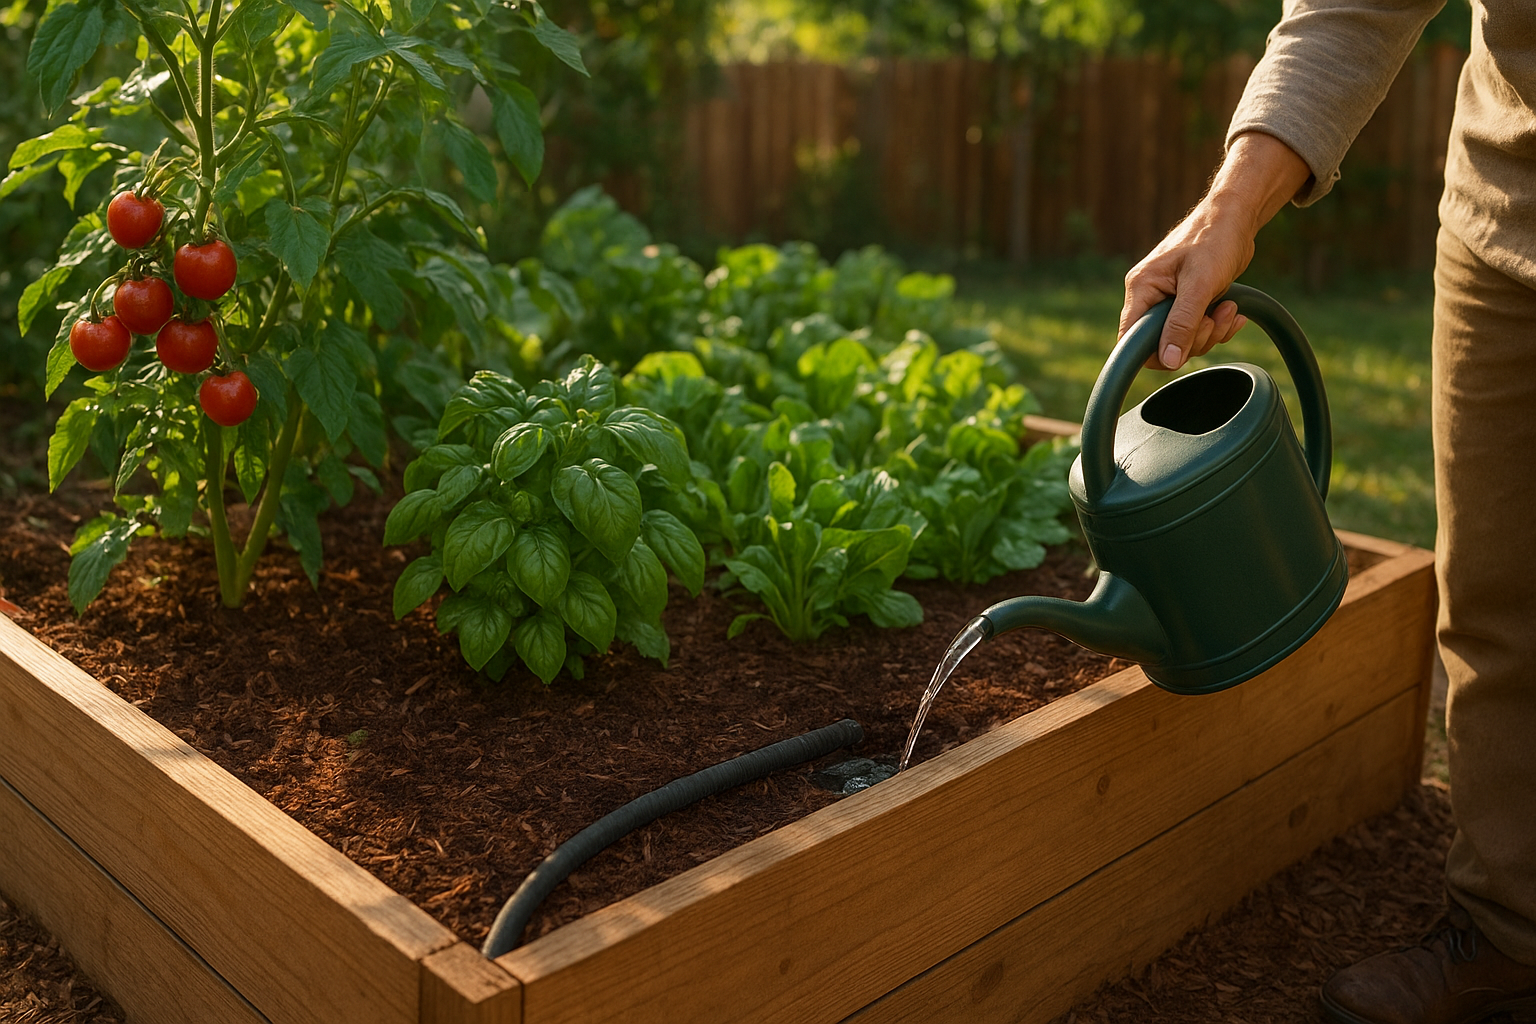
One of the most effective ways to build a self-watering system is to create a reservoir at the bottom of the bed. Instead of soaking the whole bed from above every day, you store water below and let it move upward as the soil dries.
This method works especially well for larger raised beds because it gives roots access to moisture for longer periods. You can buy beds with built-in reservoirs, but you can also retrofit an existing bed.
How it works
- A water-holding space is created at the base of the bed.
- A wicking layer helps moisture move upward into the root zone.
- A refill tube lets you top up the reservoir without disturbing plants.
What you’ll need
- A watertight liner or pond liner
- Landscape fabric or another wicking layer
- Gravel, clean stones, or a perforated pipe to form the reservoir space
- A PVC pipe or sturdy fill tube
For best results, make sure the liner is secure and the fill tube reaches the bottom section so you can add water directly to the reservoir. This method reduces the chance of runoff and helps keep moisture available between waterings.
Tip: Use a mulch layer on top of the soil to slow evaporation even more. Straw, shredded leaves, or fine bark can make a big difference in hot weather.
2. Use olla pots or watering spikes
If you want something simpler, olla pots and watering spikes are a low-tech option that works beautifully in smaller beds. These tools are made from porous terracotta, which slowly releases water into the surrounding soil.
To use them, bury the vessel near your plants and fill it with water. As the soil dries, moisture seeps out gradually. When the soil is damp enough, the flow slows down on its own.
Best uses for ollas
- Small raised beds
- Containers grouped inside a bed
- Plants with steady moisture needs, like peppers or leafy greens
Because one olla only reaches a limited area, you may need several for a larger bed. Space them where roots can spread toward them, usually near the center of a planting group.
Helpful rule: Place the olla before planting if possible. That way you avoid damaging roots later and can plan plant spacing around the watering zone.
3. Set up drip irrigation on a timer
Drip irrigation is one of the easiest ways to make watering more consistent. It delivers water slowly to the base of each plant instead of spraying the entire bed. That means less waste, less evaporation, and fewer wet leaves that can encourage disease.
When attached to a timer, drip irrigation becomes nearly hands-off. You can schedule shorter, deeper watering sessions instead of quick daily sprinkles. That encourages roots to grow downward, which helps plants cope better with heat.
A simple drip setup usually includes
- A hose connection or spigot adapter
- A pressure regulator
- Filter
- Drip tubing or soaker line
- Emitters or drip holes near each plant
- A timer
For raised beds, run the tubing along the bed and secure it with stakes. Position emitters near the root zone, not right against stems. Check the flow after installation so water is reaching the soil evenly.
Best practice: Water deeply but less often. A longer soak every few days is usually better than a shallow daily watering, especially once plants are established.
4. Improve the bed so it holds moisture longer
Sometimes the smartest self-watering upgrade is not a gadget at all. Soil quality, bed depth, and surface protection all play a major role in how long moisture lasts.
Make these changes for better water retention
- Add compost. Compost improves soil structure and helps the mix hold moisture without becoming soggy.
- Use a moisture-friendly blend. A raised bed mix with too much sand or lightweight filler can dry out quickly.
- Increase bed depth if possible. Deeper beds give roots more room to chase moisture.
- Mulch after planting. Keep 1 to 3 inches of mulch over the soil surface to reduce evaporation.
- Group plants by water needs. Put thirstier crops together so you can water efficiently.
If your bed dries out within a day or two, the issue may be soil that is too airy rather than a lack of watering tools. Improving the soil often makes every other method work better.
Which method should you choose?
The right approach depends on the size of your bed, your budget, and how much maintenance you want to do.
- For large beds: A buried reservoir or drip irrigation system is usually the most practical.
- For small beds: Ollas or watering spikes are simple and effective.
- For long-term soil health: Start with mulch, compost, and a good raised bed mix.
- For vacation coverage: Combine drip irrigation with mulch or a reservoir for the most reliable setup.
Many gardeners use more than one method. For example, a bed with improved soil and mulch may also have a drip line for backup during extreme heat. That layered approach is often the easiest way to keep plants healthy without constant attention.
Quick maintenance checks
Even self-watering systems need occasional attention. A few minutes of upkeep can prevent bigger problems later.
- Check that fill tubes are clear and accessible.
- Look for leaks or clogged emitters.
- Refill reservoirs before they run completely dry.
- Watch for signs of overwatering, like yellowing leaves or soggy soil.
- Inspect mulch and replace it as it breaks down.
If you’re leaving town, test your setup several days in advance. That gives you time to adjust watering frequency and make sure plants are getting enough moisture without sitting in water.
A better way to garden through summer
Hot weather does not have to mean constant hose duty. By building a self-watering raised bed or improving how your bed holds moisture, you can make summer gardening far less stressful and much more dependable.
Start small if you need to. Even one upgrade—like mulch, ollas, or a drip line—can make a noticeable difference. Over time, you can build a system that keeps your garden thriving with less effort and fewer emergency watering runs.