How to Clean a Dryer Vent the Safe, Simple Way
If your dryer is taking longer than usual, the problem may not be the machine. A lint-packed vent can slow airflow, leave clothes damp, and make the dryer run hotter than it should.
The good news: many dryer vents can be cleaned with a vacuum, a vent brush kit, and a little patience. Here is how to clean a dryer vent safely from the laundry room to the outside exhaust.
Why Dryer Vent Cleaning Matters
Every load sends tiny fibers into the lint screen, vent hose, and duct. The lint screen catches a lot, but it does not catch everything. Over time, lint can collect in the hose behind the dryer, inside the wall duct, and around the outside vent flap.
That buildup restricts airflow. ENERGY STAR recommends cleaning the lint filter after every load because better air circulation helps dryer efficiency. The U.S. Consumer Product Safety Commission also warns that blocked dryer vents and exhaust ducts can cause heat buildup, so keeping them clean is a practical home safety habit. ([energystar.gov](https://www.energystar.gov/products/clothes_dryers?utm_source=openai))
Signs Your Dryer Vent Needs Cleaning
You do not have to wait for a complete clog. Clean the vent if you notice any of these warning signs:
- Clothes take longer than one normal cycle to dry.
- Towels, jeans, or blankets come out hot but still damp.
- The top of the dryer feels unusually hot while running.
- The laundry room feels humid or smells musty after drying.
- The outside vent flap barely opens when the dryer is on.
- You see lint collecting around the outside vent cover.
- The dryer shuts off mid-cycle or seems to overheat.
If you smell burning, stop the dryer immediately, unplug it or turn it off at the breaker, and do not run it again until the cause is found.
How Often Should You Clean a Dryer Vent?
Clean the lint screen after every load. For the vent system, a good rule for many households is to inspect it every few months and clean it about once a year. Large families, pet owners, and anyone washing lots of towels, bedding, or fuzzy fabrics may need to clean it more often.
You should also clean the vent before moving into a new home, after replacing a dryer, or anytime drying time suddenly gets worse.
Tools and Supplies
- Vacuum with hose attachment
- Dryer vent brush kit or flexible lint brush
- Screwdriver or nut driver
- Work gloves
- Flashlight
- Microfiber cloth
- Foil HVAC tape, if you need to reseal a duct joint
- Broom or shop vacuum for loose lint
A dryer vent brush kit usually includes flexible rods that connect to a round brush. Choose one long enough to reach most or all of your duct run. Use it gently, especially if your duct has bends.
Before You Start: Safety Checks
First, unplug an electric dryer. For a gas dryer, turn the dryer off and avoid disturbing the gas line. If you need to move a gas dryer more than a few inches, or if the gas connector looks strained, stop and call a qualified appliance technician.
Next, look at the vent hose behind the dryer. Rigid or semi-rigid metal duct is generally preferred for dryer venting. Avoid plastic or thin foil-style ducts, which can crush easily and trap lint. The Building America Solution Center recommends inspecting and repairing dryer exhaust ducts to improve safety and performance. ([basc.pnnl.gov](https://basc.pnnl.gov/resource-guides/proper-clothes-dryer-venting?utm_source=openai))
Step-by-Step: How to Clean a Dryer Vent
1. Clean the lint screen and lint trap area
Pull out the lint screen and remove lint by hand. Wash the screen with warm water and a little dish soap if it has a waxy film from dryer sheets or fabric softener. Let it dry fully before putting it back.
Then use a long lint brush or vacuum crevice tool to reach into the lint trap slot. Move slowly so you do not push lint deeper into the dryer.
2. Pull the dryer away from the wall
Carefully slide the dryer forward just enough to reach the vent connection. Do not yank it. Watch the power cord, gas line, and vent hose as you move it.
If the floor scratches easily, place cardboard or a towel under the dryer feet before sliding.
3. Disconnect the vent hose
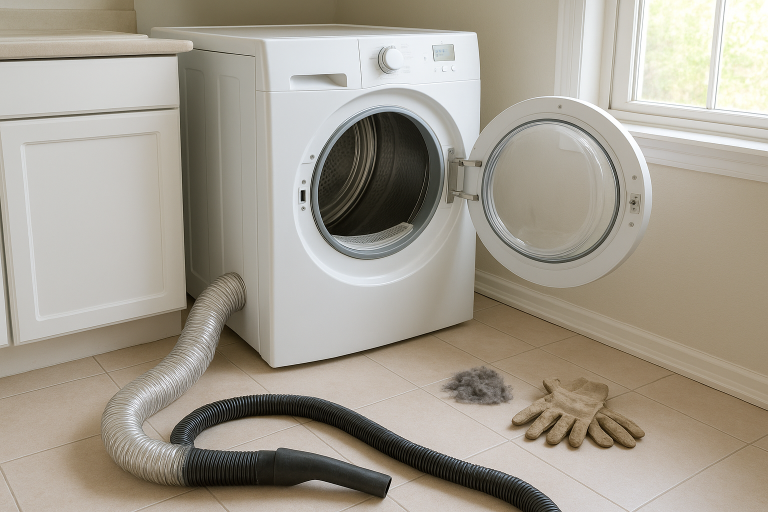
Use a screwdriver or nut driver to loosen the clamp that holds the vent hose to the back of the dryer. Remove the hose from the dryer outlet, then detach it from the wall duct if needed.
Take a quick look inside. If the hose is crushed, torn, full of holes, or made from flimsy plastic, replace it with proper metal dryer ducting rather than trying to reuse it.
4. Vacuum the dryer outlet and hose
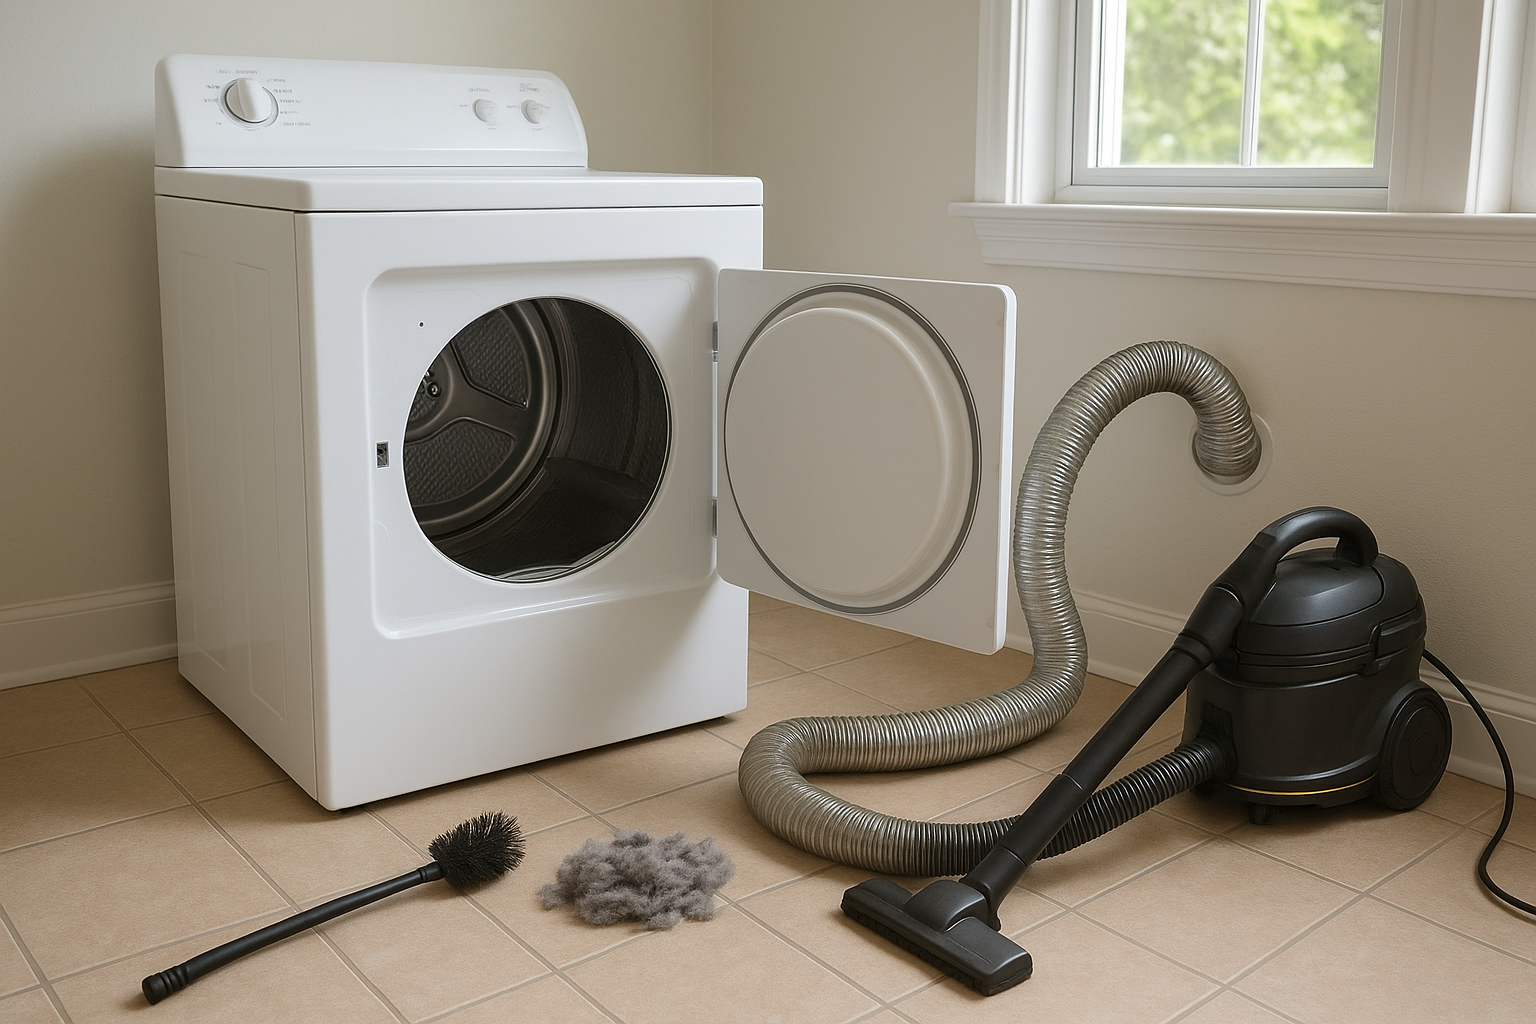
Vacuum around the dryer outlet first. Then vacuum inside the loose vent hose from both ends. If the hose is short, you may be able to remove most of the lint with the vacuum and a flexible brush.
Do not force a vacuum attachment into a tight duct. A cracked or disconnected duct inside the wall is a bigger problem than a little leftover lint.
5. Brush the wall duct
Insert the dryer vent brush into the wall duct and turn it gently as you push it forward. Pull it back often to remove lint from the brush. If your kit attaches to a drill, use the lowest speed and follow the kit directions. Aggressive spinning can separate flimsy duct joints or get the brush stuck.
For long vent runs, clean from both ends if possible: inside at the dryer connection and outside at the exterior vent.
6. Clean the outside vent flap
Go outside and find the dryer exhaust vent. Remove lint from the cover and make sure the flap or louvers open freely. Trim plants or grass that block airflow.
Do not install a screen over the dryer vent opening. Screens can trap lint and create a clog. The vent cover should keep pests and weather out while still allowing lint and moist air to escape.
7. Reconnect everything securely
Reconnect the vent hose to the dryer and wall duct. Tighten the clamps so the hose will not slip off. If a metal duct joint needs sealing, use foil HVAC tape rather than regular cloth duct tape, which can dry out and fail.
Push the dryer back carefully, leaving enough room so the vent hose is not crushed. A crushed hose restricts airflow almost as much as a clog.
8. Test the airflow
Plug the dryer back in. Run it on an air-only or low-heat setting for a few minutes. Go outside and check the vent flap. It should open while the dryer runs, and you should feel a steady stream of air.
If airflow is still weak after cleaning, the clog may be deep in the duct, the duct may be disconnected, or the dryer may need service.
When to Call a Professional
Some vents are easy: a short, straight duct through an outside wall. Others run through ceilings, crawl spaces, roofs, or several elbows. Call a professional if your vent is very long, exits through the roof, has a bird nest or pest problem, or still has poor airflow after cleaning.
You should also get help if you cannot safely move the dryer, if you have a gas dryer and are unsure about the connection, or if there are signs of scorching, melting, or a burning smell.
Simple Habits That Keep the Vent Clear Longer
- Clean the lint screen every load. This is the easiest way to protect airflow.
- Do not overload the dryer. Heavy loads shed more lint and take longer to dry.
- Shake out pet blankets before washing. Loose hair can quickly pack a lint screen.
- Check pockets. Tissues and paper scraps create extra lint.
- Look outside once a month. Make sure the vent flap opens and is not blocked by leaves, snow, mulch, or plants.
- Keep the area behind the dryer clean. Vacuum dust and lint when you sweep the laundry room.
A Quick Dryer Vent Cleaning Checklist
- Unplug the dryer or turn it off safely.
- Clean the lint screen and lint trap slot.
- Pull the dryer out carefully.
- Disconnect and vacuum the vent hose.
- Brush the wall duct from inside and outside if possible.
- Clear the exterior vent flap.
- Reconnect the duct without crushing it.
- Run the dryer and check for strong outside airflow.
Once you know how to clean a dryer vent, it becomes a simple maintenance job rather than a mystery. Put it on your yearly home checklist, and your dryer will have a much easier time doing its job.