How to Clean an AC Drain Line Before It Clogs
If your central air conditioner is running hard in summer, its drain line is quietly carrying away a surprising amount of water. When that little PVC line clogs with algae, dust, or slime, the result can be a shut-off system, a wet ceiling, or a musty smell around the air handler.
The good news: many AC drain lines can be cleaned as a basic home maintenance task if you can safely reach the cleanout and the outdoor drain outlet. Here is how to clean an AC drain line, what to use, and when to stop and call an HVAC pro.
What the AC Drain Line Does
Your air conditioner removes humidity from indoor air as it cools. That moisture collects on the evaporator coil, drips into a drain pan, and exits through a condensate drain line. ENERGY STAR includes checking the condensate drain as part of heating and cooling maintenance, and the EPA notes that AC drip pans should be kept clean with drain lines unobstructed and flowing properly.
In plain English: if the drain cannot drain, water has to go somewhere. Some systems have a safety float switch that shuts the AC off before the pan overflows. Others may leak into a closet, attic, basement, wall, or ceiling before anyone notices.
Signs Your AC Drain Line Needs Cleaning
Do not wait until water is dripping through drywall. Check the line if you notice any of these common warning signs:
- AC shuts off unexpectedly, especially during humid weather.
- Water around the indoor air handler or in the secondary drain pan.
- Musty odor near the unit or supply vents.
- Gurgling sounds near the drain line.
- No water dripping outside from the drain outlet when the AC has been running.
- Rust, staining, or algae buildup around the drain pan or PVC pipe.
A little water near the outdoor end of the drain can be normal. Standing water near the indoor unit is not.
Supplies You’ll Need
- Wet/dry vacuum
- Duct tape or a rag to seal around the vacuum hose
- Distilled white vinegar
- Measuring cup or small funnel
- Bucket or towels
- Flashlight
- Gloves and safety glasses
- Stiff bottle brush or pipe cleaner for the pipe opening, optional
Important: Use a wet/dry vacuum only. Do not use a regular household vacuum on a line that may contain water.
Step 1: Turn Off the AC
Set the thermostat to off, then turn off power to the indoor unit if you can do so safely. Many systems have a switch near the air handler that looks like a light switch. If you are not sure which switch controls the unit, use the breaker labeled for the air handler or furnace.
This is not just about comfort. You do not want the system making more condensate while you are working on the drain.
Step 2: Find the Drain Line and Cleanout
Look near the indoor air handler for a white PVC pipe, often three-quarter-inch pipe, coming from the coil area or drain pan. Many systems have a vertical tee with a removable cap. That is usually the cleanout or access point.
Then find the other end of the drain line. It may exit outside near the condenser, drip near a foundation wall, drain into a utility sink, or run to a condensate pump. If your system drains into a pump, check the pump reservoir and tubing too, because slime can collect there.
If you cannot find either end, do not start taking panels apart blindly. A quick HVAC service call is cheaper than damaging wiring, coils, or a sealed cabinet.
Step 3: Check for Standing Water
Use a flashlight to inspect the drain pan area if it is visible. If there is standing water in the pan, place towels nearby and work slowly. A full secondary pan in an attic is a sign the primary drain may be clogged or the safety switch may be involved.
If water is already leaking into a ceiling, wall, or insulation, shut the system off and call for help. The EPA’s basic mold guidance is built around moisture control, and hidden wet materials can become a bigger problem if ignored.
Step 4: Vacuum the Outdoor Drain Outlet
Go to the drain outlet. Remove any leaves, mud, mulch, or insect debris from the pipe opening. If the opening is crusted with algae, gently loosen what you can reach with a small brush.
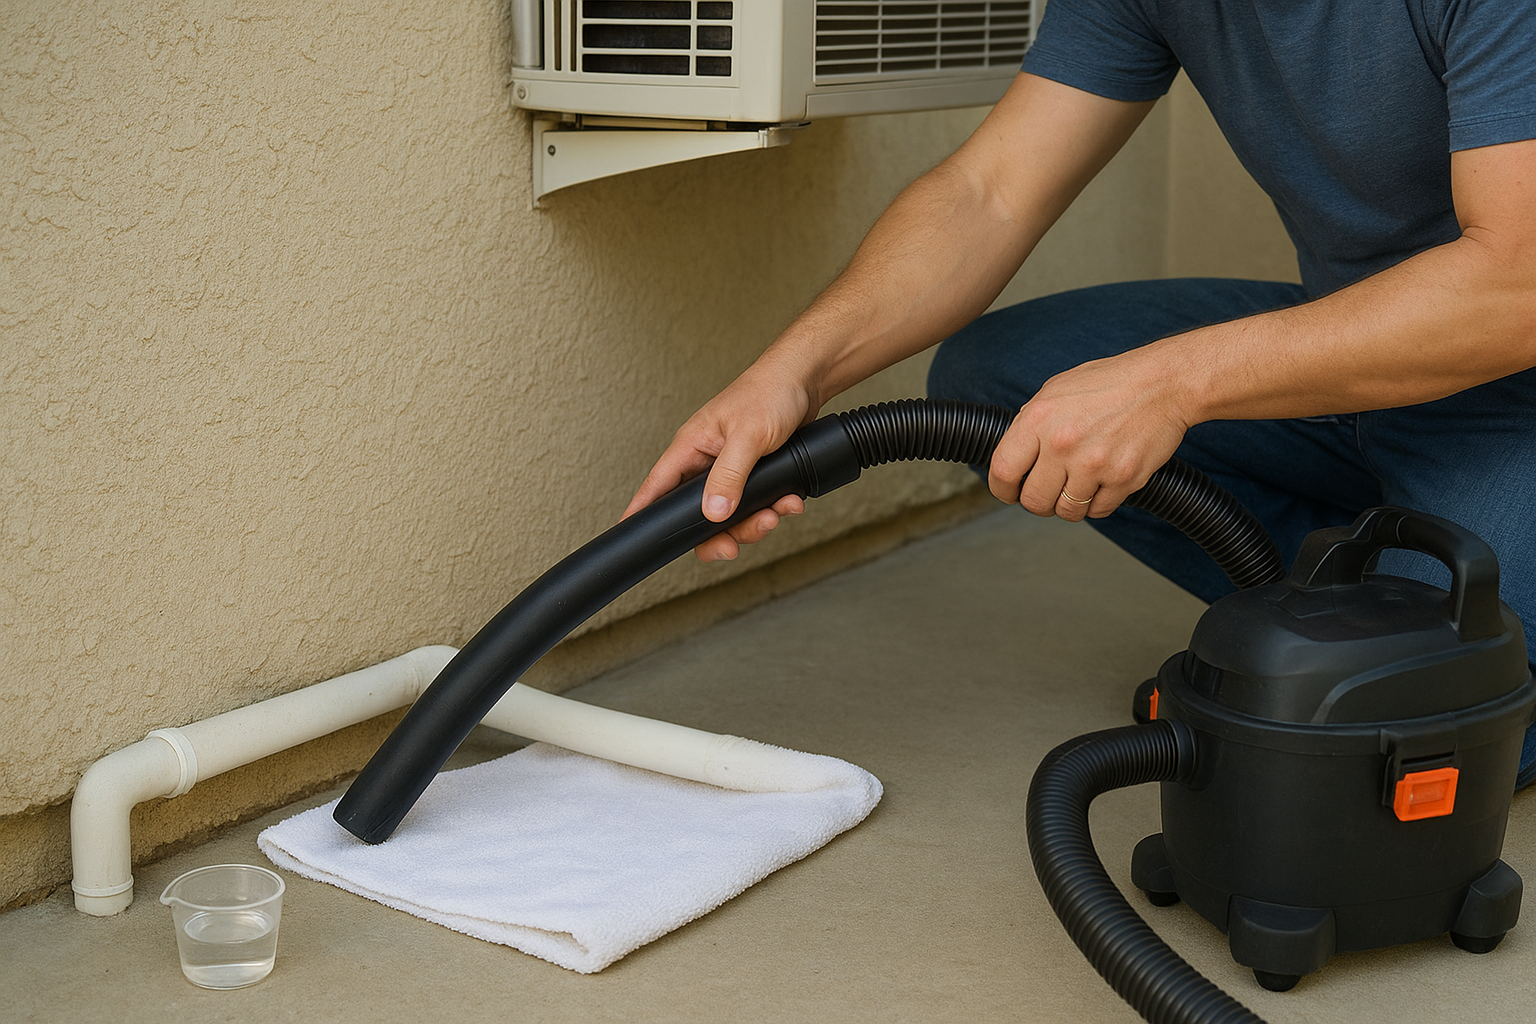
Attach the wet/dry vacuum hose to the end of the pipe. Use a rag or duct tape to make a snug seal around the hose and PVC pipe. Run the vacuum for about one to three minutes. You may hear a rush of water or see dark, stringy sludge collect in the vacuum canister.
Turn off the vacuum, remove the hose, and check what came out. If you pulled out a lot of water and slime, repeat once more. Empty the vacuum as needed so you are not working with an overfilled canister.
Step 5: Flush the Line with Vinegar
Once the clog is pulled loose, go back to the indoor cleanout. Remove the cap. Slowly pour about one cup of distilled white vinegar into the drain line. A small funnel helps keep the vinegar in the pipe instead of on the floor.
Let the vinegar sit for about 20 to 30 minutes. Then flush with a cup or two of clean water. Have someone watch the outdoor outlet if possible. You want to see water draining freely.
Many homeowners ask whether bleach is better than vinegar. Some HVAC technicians use bleach in certain situations, but vinegar is the safer default for a simple homeowner maintenance flush because it is less harsh around metal parts and fumes. Never mix bleach and vinegar, and do not pour random drain chemicals into an AC condensate line.
Step 6: Restart and Watch the Drain
Replace the cleanout cap, restore power, and turn the thermostat back to cooling. Let the AC run for 15 to 30 minutes. Check the indoor unit for leaks, then check the drain outlet for a steady drip or trickle.
If the drain pan stays dry and water exits the line, you are in good shape. If the pan refills, the AC shuts off again, or no water drains outside, the clog may be deeper than a home vacuum can clear.
How Often to Clean an AC Drain Line
For many homes, flushing the AC drain line at the start of cooling season and again during peak summer is enough. In humid climates, homes with long drain runs, or systems that have clogged before, a monthly vinegar flush during heavy AC use may help prevent buildup.
Add it to your summer home checklist along with replacing or cleaning the air filter, clearing debris around the outdoor condenser, and checking that supply vents are open. Good airflow and good drainage work together to keep the system from struggling.
When to Call an HVAC Pro
Call a professional if:
- The air handler is in a hard-to-reach attic or crawl space.
- The drain pan is rusted, cracked, or overflowing.
- The line keeps clogging after cleaning.
- You see mold-like growth inside the air handler or ductwork.
- The float switch trips repeatedly.
- The drain line runs inside walls and you suspect a hidden leak.
- You are not comfortable turning off power or opening the access cap.
A pro can clear the line with the right tools, check the slope of the drain, inspect the pan, clean the coil area if needed, and make sure the safety switch is working.
Simple Prevention Tips
- Keep the cleanout capped. An open tee can let dust, bugs, and warm air into the line.
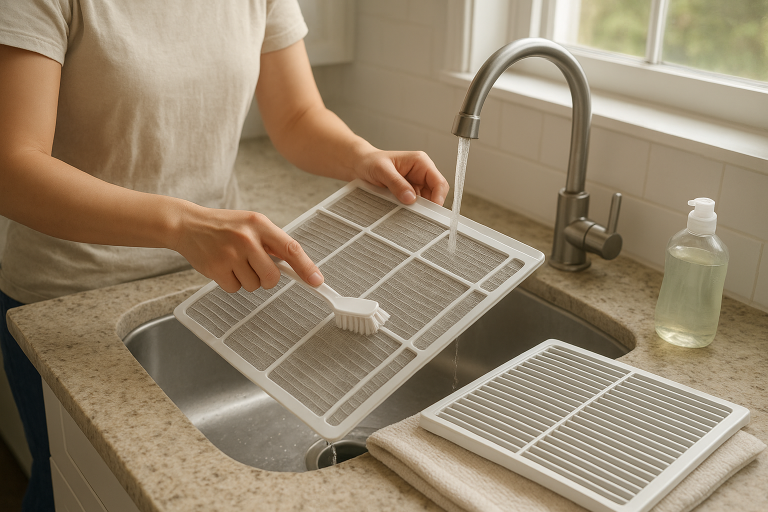
- Change the air filter regularly. Less dust in the system means less muck washing into the drain.
- Keep the outdoor outlet visible. Do not bury it under mulch or landscaping.
- Check after very humid weeks. More humidity means more condensate.
- Do not ignore musty smells. Moisture problems are easier to fix early.
Cleaning an AC drain line is not glamorous, but it is one of those small maintenance jobs that can save a major headache. With a wet/dry vacuum, a cup of vinegar, and a few careful checks, you can help your air conditioner drain properly through the hottest part of the year.