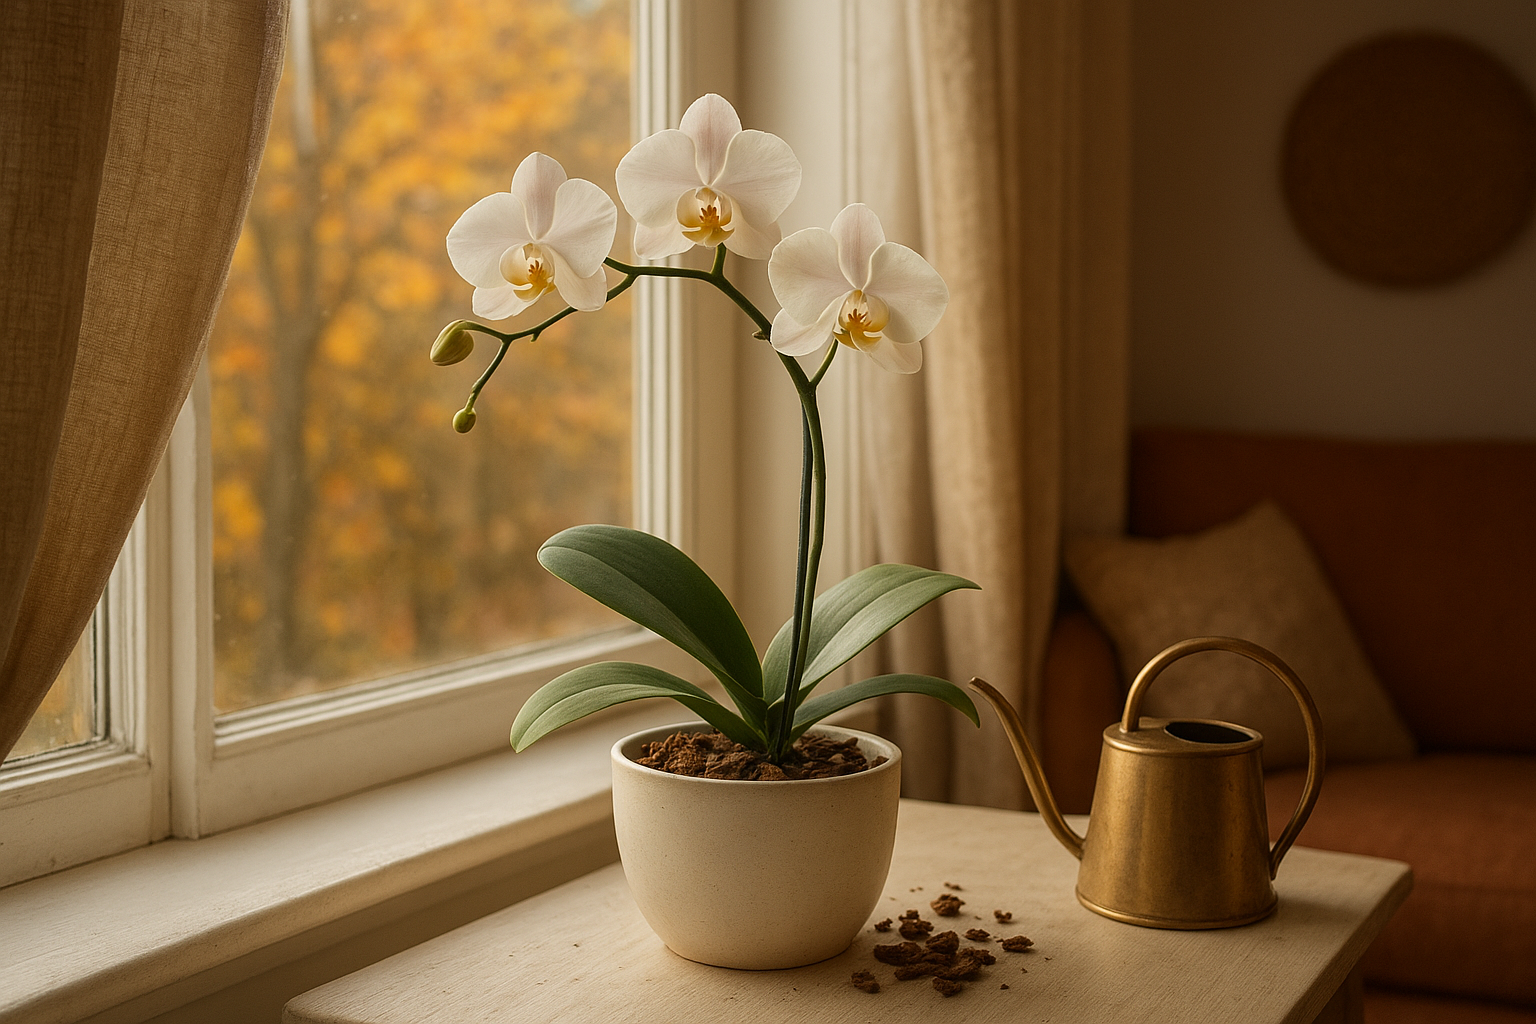
October Orchid Care: 6 Simple Checks for Better Blooms
October is a turning point for many orchids. The days are shorter, indoor air gets drier, and the plant’s growth slows down just enough to start preparing for its next bloom cycle. That means a few small changes now can make a big difference later.
If your orchid has looked fine all summer but is suddenly stalling, don’t panic. This is usually a sign that it needs a seasonal tune-up, not a rescue mission. Use this quick October checklist to keep it healthy through fall and set it up for stronger growth in winter and beyond.
1. Give Your Orchid the Brightest Safe Light
Light becomes more limited in autumn, especially if your orchid has been sitting in the same spot all year. In October, it often helps to move the plant closer to a window or into a brighter room.
Best option: an east-facing window for gentle morning light. A south-facing window can also work in cooler months if the sun is filtered or not too intense. If your windows are dim or shaded, a small grow light can help bridge the gap.
Watch the leaves for clues:
- Too little light: deep green leaves and slow growth
- Too much light: yellowing or reddish tones, especially near the edges
- Good light: bright, medium-green leaves with steady, healthy growth
Try to keep leaves from touching cold glass on chilly nights. A cold pane can damage foliage, especially if temperatures drop suddenly after sunset.
2. Water Less Often, But Water Well
Orchids usually need less water in fall because they grow more slowly and the potting mix stays damp longer. Overwatering is one of the most common mistakes this time of year, especially for orchids potted in bark.
The goal is to water only when the mix is close to dry, then soak thoroughly and let the pot drain completely. Never let an orchid sit in standing water.
Useful ways to tell when it’s time:
- The pot feels noticeably lighter
- Roots inside the pot look silvery gray
- The bark feels nearly dry when you slip a finger into the top layer
After watering, empty any saucer or outer cachepot so excess moisture doesn’t linger around the roots. In cool weather, wet roots can stay soggy for too long and become prone to rot.
3. Check the Roots Before Problems Start
Fall is a great time for a quick root inspection. Healthy orchid roots are usually firm and plump, even if some of them are exposed above the potting mix.
Look for these signs:
- Healthy roots: green when wet, silvery when dry, firm to the touch
- Unhealthy roots: brown, mushy, hollow, or shriveled roots that don’t recover after watering
If you notice rot, remove the plant from its pot, trim away the damaged roots with clean scissors, and repot in fresh orchid mix. A quick check now can prevent bigger issues later in the season.
4. Cut Back on Feeding
Many orchids need less fertilizer in October because their growth naturally slows. If you’ve been feeding every week or every other week during the active growing season, it’s usually time to scale back.
A simple approach is to fertilize at a weaker rate once a month, or pause feeding entirely if your plant is not actively producing new leaves or roots. Too much fertilizer in low light can build up in the potting mix and stress the roots.
When you do feed, use a balanced orchid fertilizer and water the plant first if the mix is very dry. That helps reduce the chance of root burn.
5. Tidy Up Spent Blooms and Old Growth
October is a good month to remove fading flowers and keep the plant neat. This doesn’t just improve appearance; it also helps you focus energy on the parts of the plant that matter most.
If the flower spike has turned brown and dry, it can usually be cut off near the base. If the spike is still green, some orchids may produce a side branch later. In that case, leave it in place unless it is clearly damaged or declining.
Also remove any dead leaves or dried flower debris from the pot surface. A clean plant is easier to inspect and less likely to harbor pests or mold.
6. Watch for Seasonal Stress and Pests
As indoor conditions change, orchids can become more vulnerable to pests and stress. Dry heating air, reduced light, and cooler windows can all add up.
Take a minute to check under leaves and around the base of the plant for:
- Mealybugs: white, cottony clusters
- Scale: small brown bumps that cling to stems or leaves
- Spider mites: fine webbing and speckled leaves
If you spot pests early, isolate the plant and treat it promptly with a gentle method such as wiping leaves with a damp cloth or using insecticidal soap as directed. It’s much easier to handle a small issue before it spreads.
A Simple October Orchid Care Routine
If you prefer a quick checklist, here’s an easy seasonal routine to follow:
- Move the orchid to brighter indirect light.
- Check whether the potting mix is nearly dry before watering.
- Inspect roots for rot or crowding.
- Reduce fertilizer to a light monthly feeding, or pause if needed.
- Remove dead blooms and tidy the plant.
- Look for pests and stress from dry indoor air.
That’s really the heart of good October orchid care: less guesswork, more observation. Orchids don’t need constant fussing in fall, but they do benefit from small adjustments that match the season.
What to Expect After the October Reset
Don’t expect dramatic growth right away. Orchids often slow down before they bloom again, and some will seem to do very little for a while. That’s normal. The real goal in October is to keep the plant stable, healthy, and rooted well enough to support flowers later on.
If you give your orchid brighter light, slightly less water, lighter feeding, and a quick health check, you’ll be working with its natural rhythm instead of against it. That’s often the difference between a plant that merely survives winter and one that puts out a fresh flower spike when the time is right.