How to Grow Garlic for Bigger Bulbs This Fall
Garlic is one of the easiest crops to plant in the fall, and a few small choices at planting time can make a surprising difference in the size of your harvest. If your goal is plump, well-formed bulbs instead of small, scrappy ones, the key is to give the cloves the right depth, good drainage, and a strong start before winter settles in.
The good news is that you do not need any fancy equipment or advanced gardening skills. With the right bed prep and a little patience, even a first-time grower can harvest garlic that looks and tastes far better than what you buy at the store.
Why planting depth matters
Most gardeners know the basic rule: plant garlic cloves a few inches deep. That advice usually comes from older growing methods, when garlic was often planted in heavier ground that stayed wet through winter. In modern raised beds or improved garden soil, you can often tuck cloves a little deeper without risk, and that extra cover can help produce larger bulbs.
Here’s why it works. A deeper planting depth gives the cloves better insulation from cold snaps, which helps roots keep growing for longer in autumn. The more established the root system before winter, the better the plant can jump into growth in spring. A deeper planting also helps reduce frost heaving, where repeated freezing and thawing can push shallow cloves upward and expose them to drying out or damage.
For most home gardens, planting cloves about 2 to 3 inches below the soil surface is a practical sweet spot. In especially loose, well-drained beds, you may go slightly deeper. The aim is not to bury them so far down that they struggle to emerge, but to give them enough cover to settle in securely.
Start with the right kind of soil
Garlic hates soggy feet. If the soil holds too much water, cloves can rot before they ever get established. This is why raised beds are such a great option, especially in areas that get wet winters or have clay-heavy soil.
Before planting, loosen the bed to a good depth and mix in plenty of compost. Compost improves drainage in heavy soil while also feeding the crop as it grows. A friable, crumbly texture is what you want: not compacted, not waterlogged, and not full of large sticks or fresh manure.
If your garden soil is poor or has been heavily cropped through summer, consider adding a balanced, slow-release organic fertilizer at planting time. Garlic benefits from nutrients that support root growth early on, especially phosphorus. Just avoid overdoing nitrogen, which can push leafy growth at the expense of bulb development.
Quick soil checklist
- Soil should drain freely after rain
- Compost should be mixed in, not left in layers
- The bed should be loosened at least several inches down
- Fresh manure should be avoided right before planting
Choose healthy cloves and plant them the right way
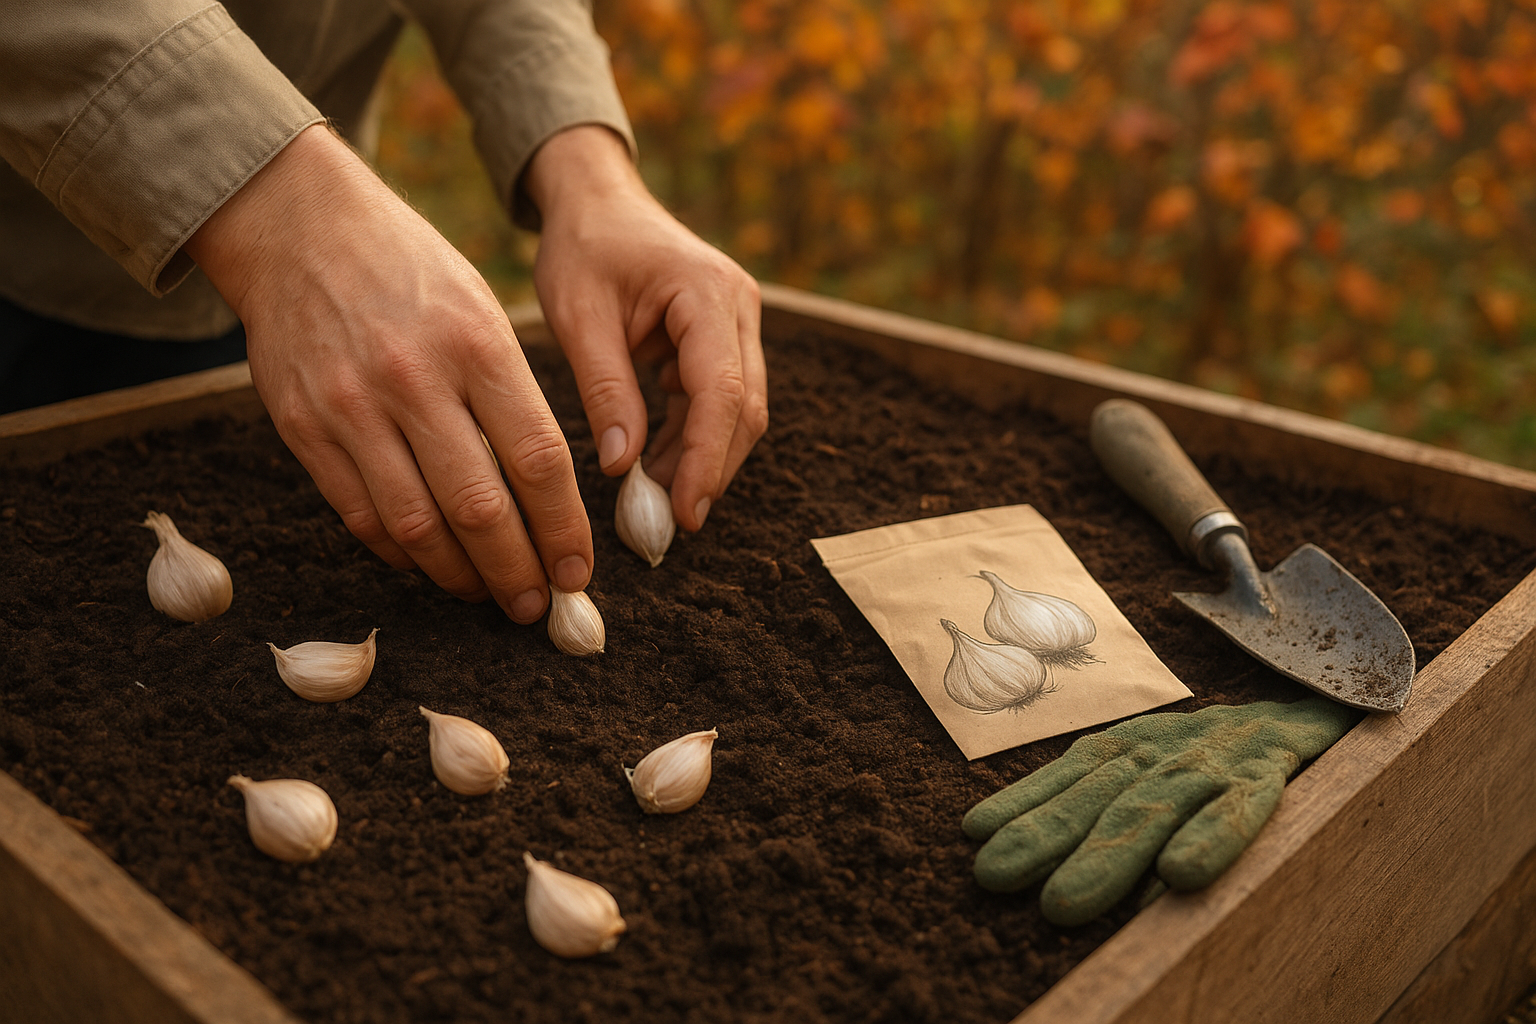
To get the best results, start with large, firm garlic bulbs and separate them into individual cloves just before planting. Choose the biggest cloves from the outer ring for planting, since these usually produce the strongest plants and largest bulbs. Keep the papery skins on each clove, and plant them with the pointed end facing up and the flat root end facing down.
Space cloves about 4 to 6 inches apart in rows or blocks. Garlic planted too closely competes for light, water, and nutrients, which can lead to smaller bulbs. A little breathing room makes it easier for each plant to develop fully.
After placing the cloves in the soil, cover them gently and firm the surface just enough to remove large air pockets. Water once after planting if the soil is dry, but do not keep the bed soggy. Garlic needs moisture to settle in, yet too much water can undo all your good soil prep.
When to plant for the best harvest
Fall is the ideal time to plant garlic in most climates. The exact timing depends on where you live, but the goal is usually to plant after the hottest weather has passed and before the ground freezes solid. In many regions, that means planting from mid-autumn into late autumn.
Planting in fall gives the cloves time to develop roots before winter. Then, when temperatures warm in spring, the plants are already established and ready to grow fast. That head start is one of the reasons fall-planted garlic usually forms larger bulbs than spring-planted garlic.
If your winters are mild, you may have a wider planting window. In colder areas, try to plant early enough that the cloves can root in before deep freezes arrive. The more settled they are going into winter, the better they will perform later.
Mulch to protect the bed
Once planting is finished, apply a light layer of mulch over the bed. Straw, shredded leaves, or similar organic material can help moderate soil temperature, reduce moisture loss, and limit weed growth. Mulch also adds a bit of protection if winter weather swings between freezing and thawing.
Keep the mulch layer airy rather than packed down tightly. Garlic shoots need to emerge through it in spring, so avoid piling it on too thick. In very cold regions, mulch becomes especially useful as insulation. In milder areas, a lighter layer is usually enough.
What to do during winter and spring
One of the simplest things you can do for garlic is not overmanage it. Once the cloves are planted and mulched, they mostly need time. If autumn is dry, water just enough to help roots get established. After that, natural rainfall is often enough until spring growth begins.
In spring, watch for new green shoots and remove weeds early. Garlic does not like competition, and weeds can quickly steal moisture and nutrients from young plants. If the weather turns dry while bulbs are sizing up, water deeply rather than frequently shallow watering. That encourages strong root growth below the surface.
As the season progresses, keep an eye on the foliage. Healthy garlic should stay upright and green for much of the growing season. When the lower leaves begin to yellow later on, that usually means the bulbs are maturing and getting close to harvest.
Common mistakes that lead to smaller bulbs
Even an easy crop like garlic can disappoint if a few basic needs are overlooked. To improve your chances of a generous harvest, avoid these common problems:
- Planting in heavy, wet soil: This raises the risk of rot and weak growth.
- Using shallow planting depth: Cloves may heave out of the soil in winter and form smaller bulbs.
- Skipping compost: Garlic does better in loose, fertile soil.
- Planting too late: Cloves need time to root before winter.
- Overcrowding the bed: Tight spacing reduces bulb size.
Harvesting and curing for the best flavor
When the leaves are mostly brown but a few are still green, it is usually time to harvest. Use a garden fork or spade carefully so you do not slice into the bulbs. Lift them gently and brush off excess soil rather than washing them.
After harvesting, garlic needs to cure in a dry, airy place out of direct sun. Hang the bulbs or lay them on a rack with good airflow for a couple of weeks, until the skins are papery and the necks are dry. Proper curing helps the bulbs store well and improves flavor.
Once cured, trim the roots and tops if desired, then store the bulbs somewhere cool, dark, and dry. Save your best bulbs for cooking, and set aside the largest cloves for next season’s planting if you want to keep improving your harvest year after year.
Simple recipe for garlic success
If you want the short version of how to grow garlic for bigger bulbs, it is this: plant at the right time, give the soil plenty of organic matter, tuck the cloves a little deeper than the old rule suggests, and let the roots settle in before winter. That combination can make a real difference in bulb size without adding much extra work.
Garlic rewards patience. A few minutes spent planting carefully in fall can pay off with bigger, better bulbs months later, all from a crop that practically takes care of itself.