7 Smart Things to Do Before Pulling Tomato Plants
When tomato season winds down, it’s tempting to pull every vine in one quick cleanup session and call it done. But a few minutes of extra attention can turn those tired plants into next year’s seeds, healthier soil, and a tidier garden bed.
Good tomato plant cleanup is less about throwing everything away and more about sorting what can be saved, what should be composted, and what needs to go in the trash. Here’s a practical end-of-season routine that helps you finish strong and set up a better harvest next year.
1. Start with a careful disease check
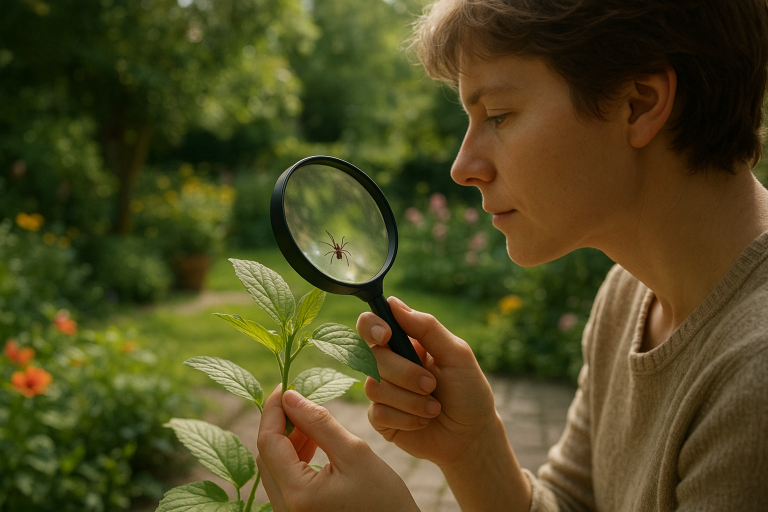
Before you cut or pull anything, slow down and look closely at the plant from top to bottom. Examine the leaves, stems, fruit, and even the soil surface around the base. Spots, wilting, blackened stems, unusual molds, and rapidly yellowing foliage can all signal trouble.
This matters because not every plant belongs in the compost pile. If you notice signs of serious disease, especially fungal blights, bacterial issues, or virus-like symptoms, dispose of the plant according to local guidance. Home compost piles usually do not stay hot enough for long enough to kill many pathogens reliably.
Common warning signs to watch for
- Dark or water-soaked leaf spots
- White, fuzzy, or dusty growth on leaves and stems
- Blackened stems or collapsing branches
- Fruit with sunken lesions or rot
- Plants that suddenly wilt despite moist soil
If the plant looks healthy overall, it may be fine to compost. If it looks sick, keep it out of the compost and clean up the area afterward.
2. Pick the fruit that still has value
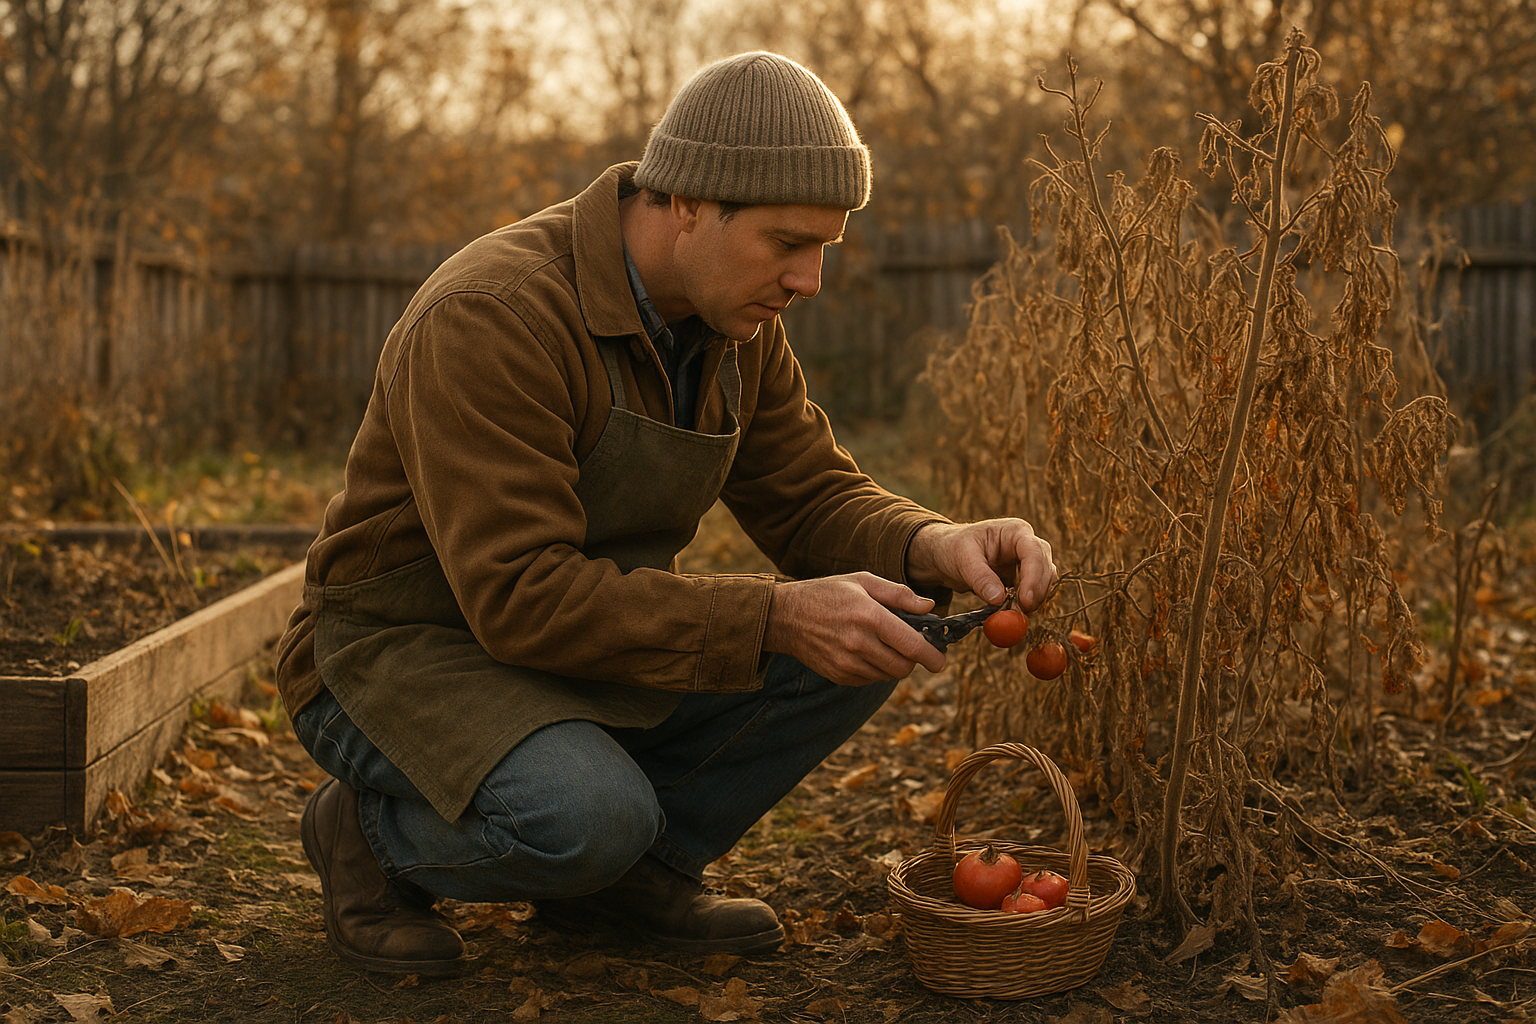
Tomato plants often hold more useful fruit than people realize. Some may still be ripening on the vine, while others can finish indoors. Harvest any mature green tomatoes that are full-sized and firm, plus any fruit that is close to turning color.
You can ripen tomatoes indoors by placing them in a single layer in a shallow box or paper bag. Keep them at room temperature, out of direct sun, and check them every day or two. Adding a ripe banana or apple can help speed the process because they release ethylene gas.
Do not expect every green tomato to become good eating quality indoors. Smaller, underdeveloped fruit usually won’t improve much after harvest, but larger, nearly mature ones often do well.
3. Save seeds from your best open-pollinated tomatoes
If you grew heirloom or other open-pollinated varieties, the end of the season is a great time to save seeds from your strongest plants. Choose fruit from plants that were productive, healthy, and true to the variety you liked best.
Seed saving does not work the same way with hybrid tomatoes. Hybrid seeds may grow into plants with mixed traits, so they often won’t resemble the parent fruit. If you want reliable results, focus on open-pollinated varieties.
Simple seed-saving method
- Slice a fully ripe tomato in half.
- Scoop the seeds and surrounding gel into a clean jar.
- Add a small splash of water.
- Let the mixture sit at room temperature for a few days, stirring once or twice a day.
- When a thin layer of fermentation forms and the good seeds sink, pour off the floating pulp.
- Rinse the seeds well in a fine sieve.
- Spread them on a coffee filter, plate, or screen to dry completely.
Label the dried seeds with the variety name and year. Store them in a cool, dry place in a paper envelope or sealed container with a desiccant packet.
4. Decide what can go into compost
Healthy tomato vines can be a useful addition to the compost pile. They break down into organic matter that helps improve soil structure over time. Cut larger vines into smaller pieces so they decompose faster and take up less space.
That said, composting tomato plants works best when you maintain a balanced pile. Tomato vines are mostly green material, so pair them with dry browns like shredded leaves, straw, or torn cardboard. This helps the pile stay aerated and avoids a slimy, compact mass.
As a rule of thumb, compost healthy plants only. If the plant had a disease problem, skip the compost and remove it from the garden entirely.
Good compost mix-ins after tomato season
- Chopped healthy tomato vines
- Dry leaves
- Shredded newspaper or plain cardboard
- Straw or untreated plant debris
- Spent annual flowers without disease
5. Clean and store cages, stakes, and ties
One of the easiest ways to carry problems into next year is to store dirty garden supports without cleaning them first. Tomato cages, stakes, trellises, clips, and twine can all hold onto soil and disease spores.
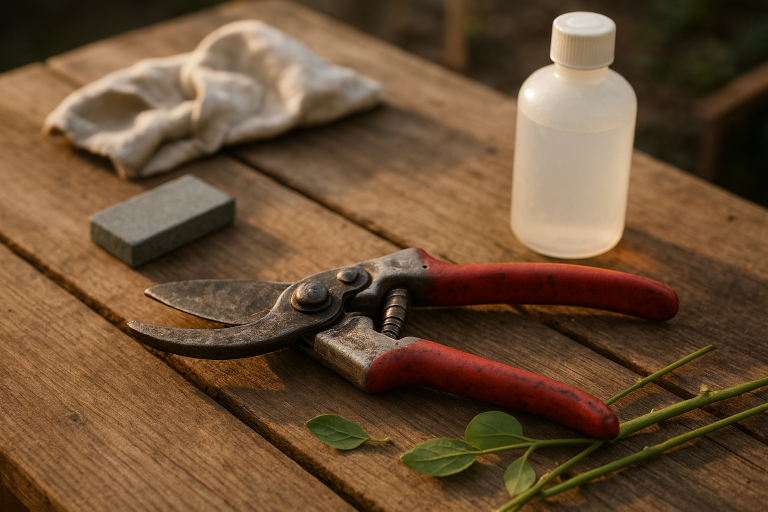
Shake off loose dirt, then wash hard surfaces with soap and water. For extra protection, especially if you saw disease this season, disinfect tools and supports before storage. Let everything dry thoroughly before putting it away so you do not trap moisture and encourage rust or mildew.
Take a few minutes to sort what you’ll keep. Bent stakes can be straightened or discarded, and broken cages are better repaired now than discovered in spring when you’re in a hurry.
6. Refresh the bed while the season is still fresh in your mind
After the plants are out, the bed may need more than a quick rake. This is a good time to remove fallen leaves, old fruit, weeds, and string or clips that were missed during harvest. Cleaning now makes spring planting easier and reduces hiding spots for pests.
If the soil looks compacted, gently loosen the top few inches with a garden fork, being careful not to disturb healthy roots from nearby plants. Then top the bed with compost or leaf mulch if your garden schedule allows. Leaving bare soil exposed all winter can lead to erosion, weed seeds, and nutrient loss.
If you live in a cold climate, consider covering the bed with shredded leaves or another winter mulch. In milder climates, you may be able to plant a cool-season crop after tomatoes are removed.
7. Make notes for next year’s tomato plan
It’s easy to forget which plants performed well once the season is over. Before you move on, jot down a few notes while everything is still fresh in your mind. Record what variety you planted, where it grew, how many fruits it produced, and whether you had trouble with disease, cracking, pests, or blossom-end rot.
These notes can help you make better decisions next season. For example, if one bed got too little sun or a certain variety split after heavy rain, you can adjust before planting time arrives. A little recordkeeping now can save a lot of frustration later.
Helpful notes to keep
- Tomato variety names
- Planting dates
- Harvest performance
- Pest or disease issues
- Which plants were worth saving seeds from
A cleaner finish leads to a better start
Tomato plants may look spent by the end of the season, but they still have something to offer. With a little sorting, you can save seed, salvage usable fruit, enrich your compost, and avoid carrying problems into next year’s garden.
The key is to treat cleanup as part of the harvest, not just an afterthought. Once you get into the habit, tomato plant cleanup becomes one of the most useful jobs you do all season.