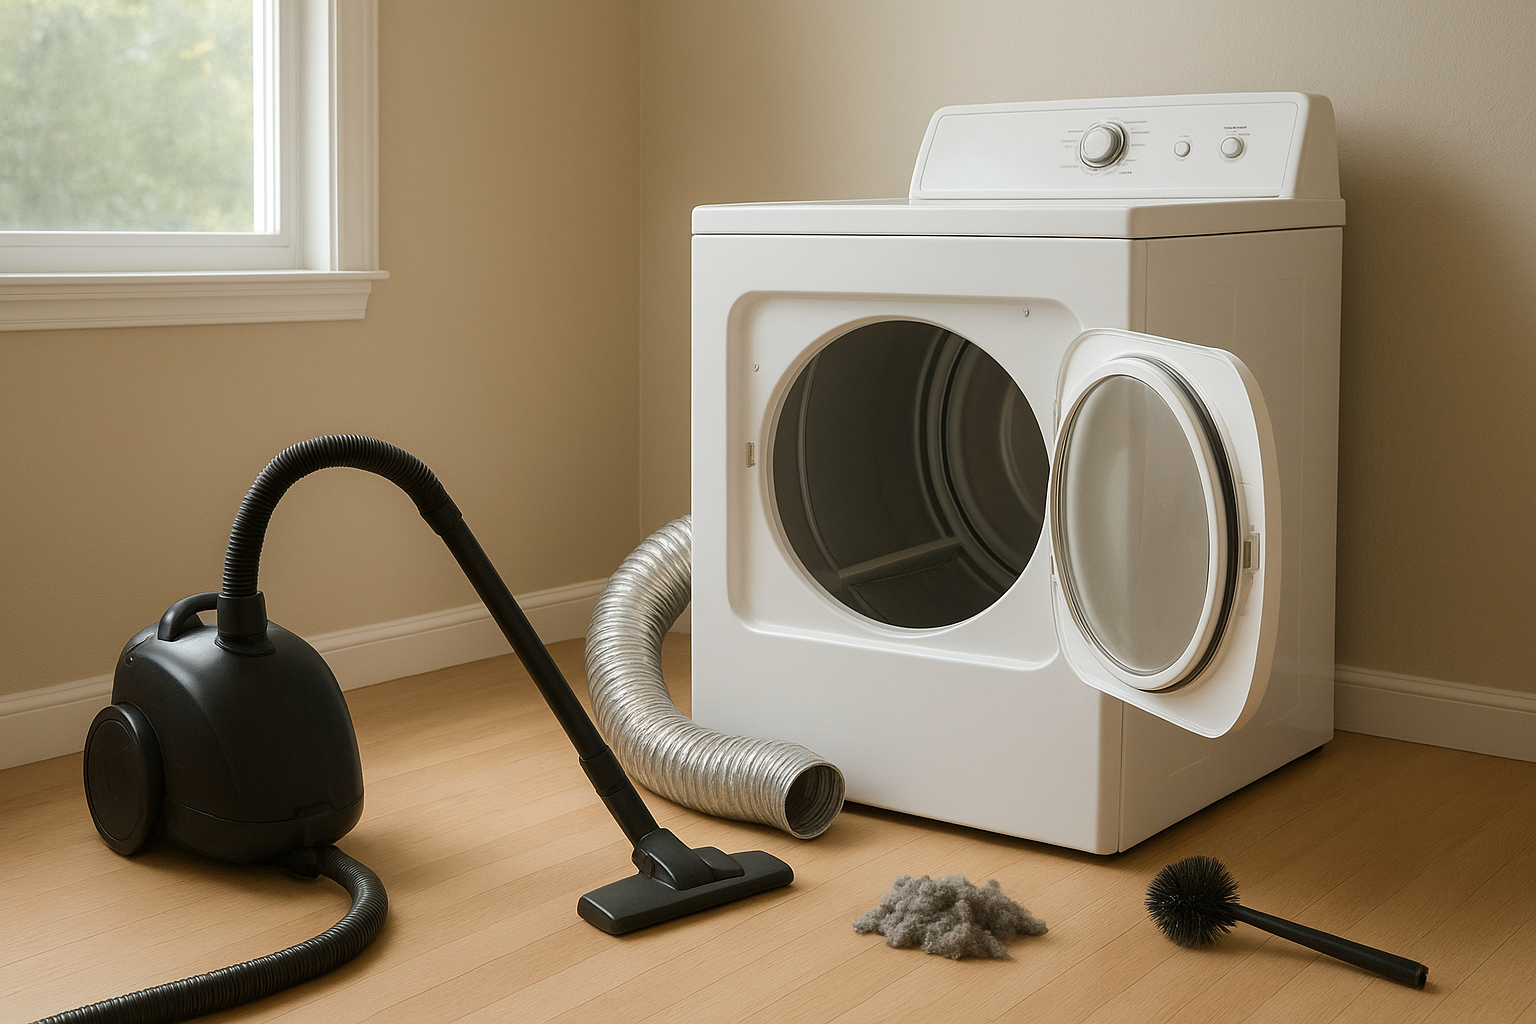
How to Clean a Dryer Vent Before It Becomes a Fire Risk
If your towels need two cycles to dry or the laundry room feels unusually hot, your dryer may be asking for help. Learning how to clean a dryer vent is one of those simple home tasks that can improve drying time, reduce lint buildup, and lower a real fire risk.
The U.S. Fire Administration advises cleaning the lint filter before and after each load and cleaning the vent pipe at least once a year, or sooner if clothes are taking longer than normal to dry. Here is a practical, homeowner-friendly way to do it safely.
Why Dryer Vent Cleaning Matters
A dryer works by tumbling clothes while pushing warm, moist air out through the vent duct and outdoors. When lint collects inside that duct, airflow slows down. The dryer then runs hotter and longer, which wastes energy and can create a dangerous buildup of heat around lint.
This is not just about convenience. Federal fire safety guidance has long identified failure to clean as a leading factor in home clothes dryer fires. The lint screen catches plenty, but it does not catch everything. Fine lint can slip past the filter, collect in bends, cling to ridged foil hose, and build up at the outside vent cover.
Signs Your Dryer Vent Needs Cleaning
You do not need to wait for a total blockage. Clean the vent if you notice any of these warning signs:
- Clothes take longer than usual to dry, especially towels, jeans, or bedding.
- The dryer feels very hot on top or along the front panel.
- The laundry room feels warm or humid while the dryer is running.
- You smell a hot, dusty, or slightly burning odor. Stop using the dryer until you check it.
- The outside vent flap barely opens when the dryer is on.
- Lint is collecting behind the dryer or around the exterior vent hood.
- The dryer shuts off mid-cycle, which can happen when heat builds up.
If you see birds nesting near the exterior vent or your vent exits through the roof, the job may be more complicated. In that case, skip to the section on when to call a professional.
Tools and Supplies
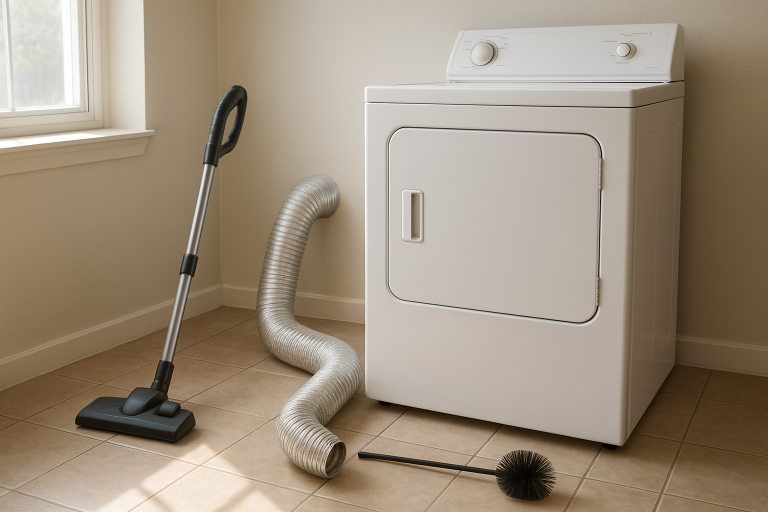
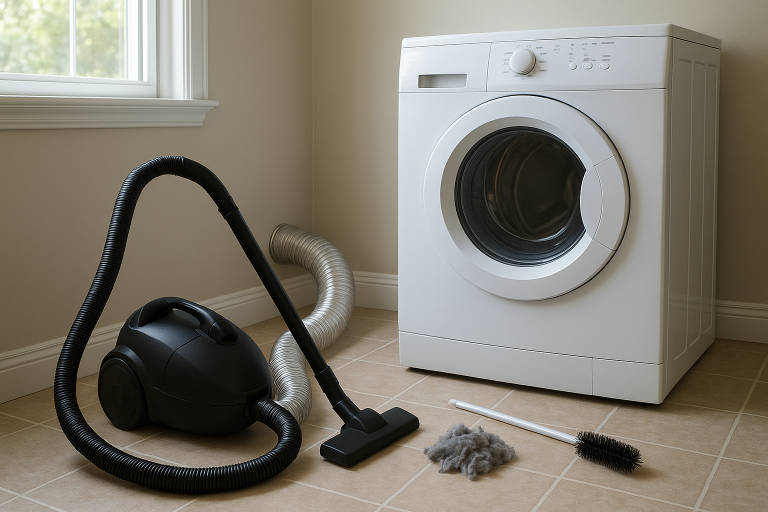
Most homes can be handled with a few basic tools. Gather these before you start:
- Vacuum with a hose attachment
- Dryer vent cleaning brush kit, preferably with flexible rods
- Screwdriver or nut driver for hose clamps
- Work gloves
- Flashlight
- Microfiber cloth
- Replacement metal clamp, if the old one is loose
- Rigid or semi-rigid metal duct, if your current hose is crushed or unsafe
Avoid using flimsy plastic vent hose. If you discover plastic ducting behind the dryer, replace it with a dryer-approved metal duct. Smooth metal allows better airflow and is less likely to trap lint than deeply ridged, sagging material.
How to Clean a Dryer Vent Step by Step
1. Unplug the dryer
For an electric dryer, unplug it from the wall. For a gas dryer, unplug the electrical cord and be careful not to disturb the gas line. If you need to move a gas dryer more than a few inches, or if the gas line seems tight, stop and call a qualified technician.
2. Pull the dryer away from the wall
Slide the dryer out slowly so you can reach the vent hose. Do not yank it forward. The goal is enough space to work without crushing the duct or straining any connections.
3. Disconnect the vent hose
Use a screwdriver or nut driver to loosen the clamp where the vent hose connects to the back of the dryer. Gently twist and pull the hose free. If lint spills out, that is a good clue the cleaning is overdue.
4. Vacuum the dryer outlet
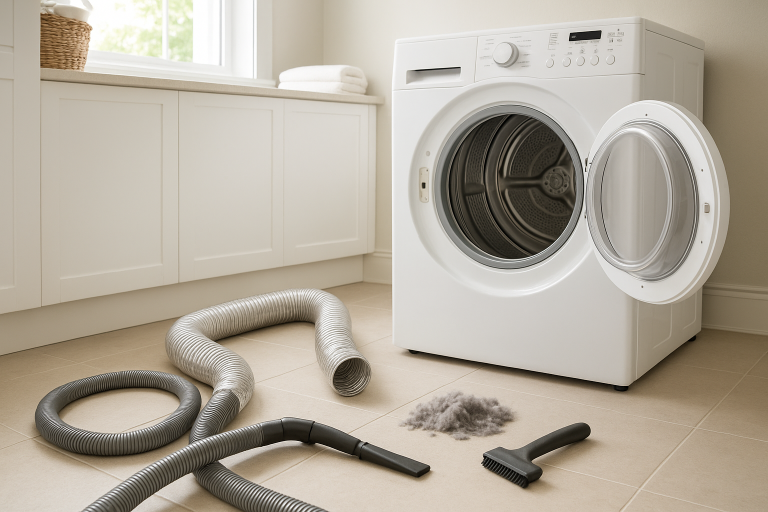
Use the vacuum hose to clean the opening on the back of the dryer. Do not force anything deep into the dryer body. Remove the loose lint you can reach, then wipe around the outlet with a dry cloth.
5. Clean the vent hose or duct
Run the dryer vent brush through the duct, turning it as you go. Pull it back slowly and remove lint from the bristles. Repeat until you are no longer pulling out heavy clumps. If your brush kit attaches to a drill, use the lowest setting and follow the kit directions carefully so the rods do not disconnect inside the duct.
If the hose is torn, badly kinked, packed with lint, or made from plastic, replace it instead of trying to save it. Keep the new run as short and straight as possible. Long runs and sharp bends make it harder for the dryer to move air.
6. Clean from the outside vent
Go outdoors and find the dryer vent cover. Remove lint from the hood and flap. The flap should move freely. If it is stuck open, cold air, pests, and debris can get in. If it is stuck shut, moist air and lint can back up into the duct.
Feed the brush in from the outside, again turning as you go. Vacuum or sweep up the lint that comes out. Never cover a dryer vent with screen mesh, because lint can catch on it quickly and block airflow.
7. Reconnect the duct
Reattach the vent hose to the dryer outlet and tighten the clamp. Make sure the hose is not crushed when you push the dryer back. A crushed duct can undo your cleaning work immediately.
8. Test the airflow
Plug the dryer back in and run it on an air-only or low-heat setting for a few minutes. Check the outside vent. You should feel steady airflow, and the flap should open while the dryer runs. If airflow is still weak, there may be a blockage deeper in the wall, under the floor, or at a roof exit.
How Often Should You Clean a Dryer Vent?
For most households, clean the full dryer vent once a year. Clean it more often if you do a lot of laundry, have pets, wash lint-heavy items like fleece blankets, or have a long vent run with several bends.
The lint filter is different: clean that before every load. If you use dryer sheets, occasionally wash the lint screen with warm water, mild dish soap, and a soft brush. Dryer sheet residue can form an invisible film that slows airflow even when the screen looks clean. Let it dry completely before putting it back.
When to Call a Professional
DIY cleaning works well for short, accessible vents. Call a dryer vent cleaning professional or appliance technician if:
- Your vent exits through the roof.
- The duct run is long, hidden, or hard to access.
- You cannot get strong airflow after cleaning.
- You smell burning when the dryer runs.
- The dryer is gas-powered and must be moved far from the wall.
- You find a bird nest, heavy moisture, or damaged ductwork.
Also call for help if your dryer still takes too long after the vent is clear. The problem could be a failing heating element, thermostat, moisture sensor, blower wheel, or another appliance issue.
Simple Habits That Keep the Vent Clear Longer
- Clean the lint screen before every load.
- Do not overload the dryer; packed clothes shed lint and dry poorly.
- Shake out pet beds, rugs, and fleece items before drying.
- Check the outside vent every month for lint, leaves, snow, or nests.
- Keep the area behind the dryer free of dust, cardboard, and stored items.
- Use rigid or semi-rigid metal duct and avoid unnecessary bends.
A clean dryer vent is not a glamorous chore, but it is one of the most useful maintenance jobs in the house. Give it an hour once a year, and your dryer will run more safely, dry clothes faster, and stop working so hard every laundry day.