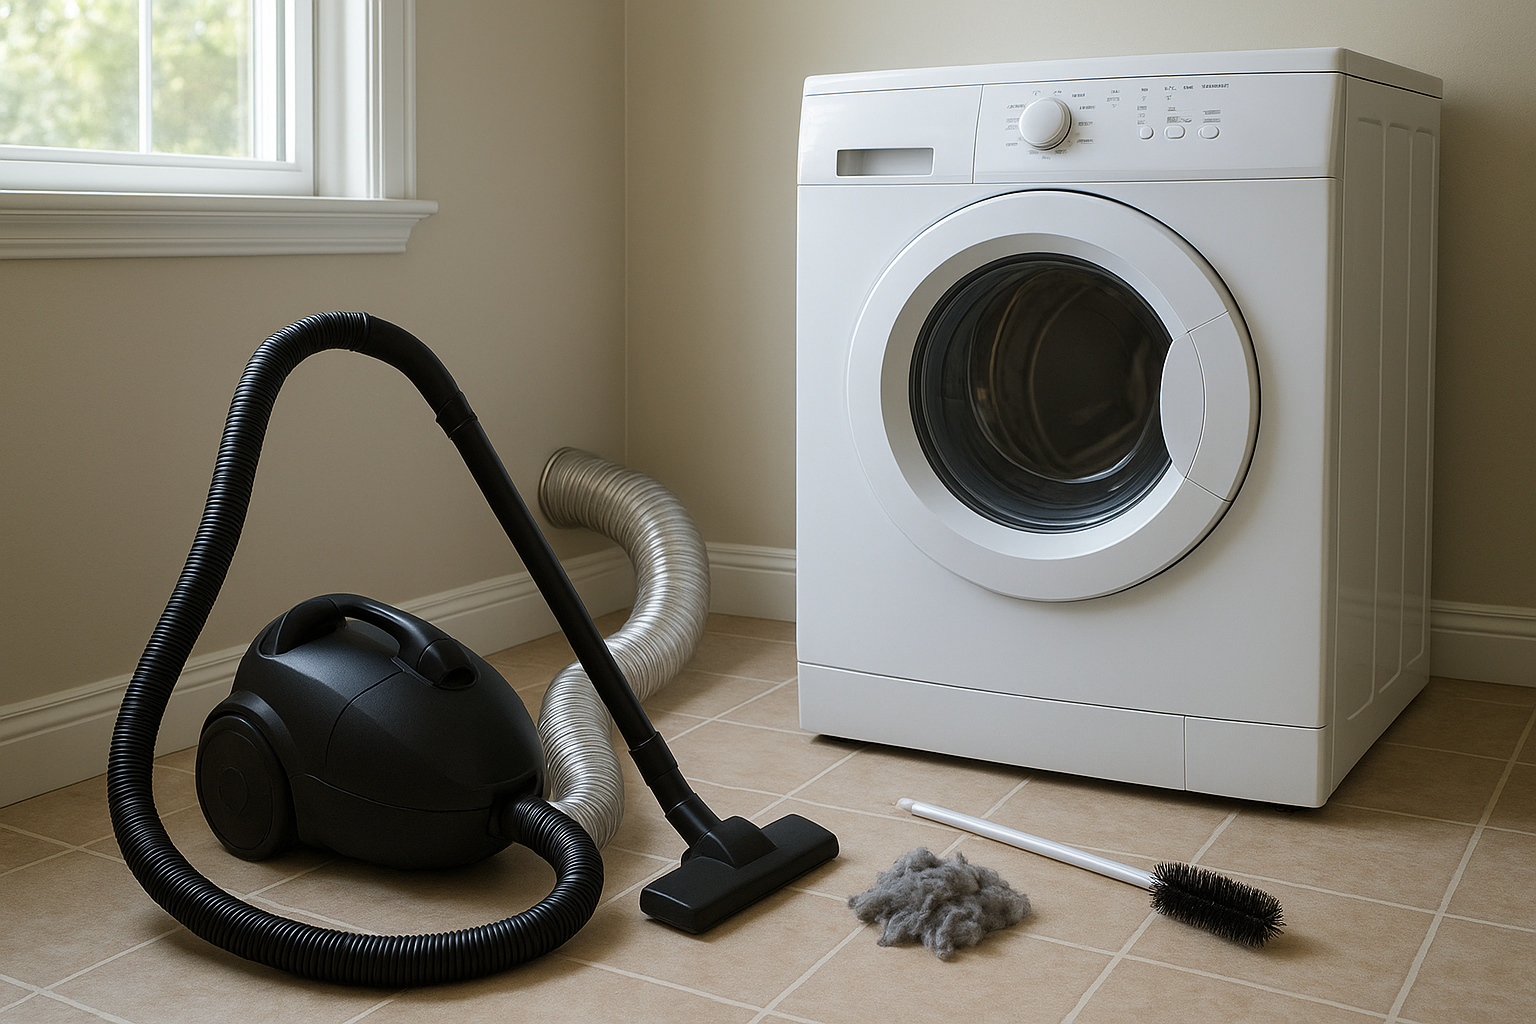
How to Clean a Dryer Vent from Inside and Outside
If your towels take forever to dry or the laundry room feels unusually warm, your dryer vent may be packed with lint. Learning how to clean a dryer vent is one of those small home jobs that can make your dryer work better and help reduce a real fire risk.
The U.S. Fire Administration has reported that failure to clean was the leading factor contributing to residential clothes dryer fires, and ENERGY STAR recommends cleaning the lint filter after every load to improve airflow and efficiency. A deeper vent cleaning once a year is a smart habit for most households, especially if you do a lot of laundry. ([usfa.fema.gov](https://www.usfa.fema.gov/downloads/pdf/statistics/v13i7.pdf?utm_source=openai))
Signs Your Dryer Vent Needs Cleaning
A clogged dryer vent usually gives you a few warnings before it becomes a bigger problem. Watch for these signs:
- Clothes take longer than one cycle to dry, especially towels, jeans, and bedding.
- The dryer or laundry room feels hot while the machine is running.
- There is a burning or dusty smell when the dryer heats up.
- The outside vent flap barely opens while the dryer is running.
- Lint collects around the dryer, behind the machine, or near the outdoor vent.
- The dryer shuts off mid-cycle or seems to be overheating.
If you notice a burning smell, stop the dryer right away and do not keep running it “just to finish the load.” Let it cool, unplug it if safe to do so, and inspect for lint buildup before using it again.
Tools and Supplies You’ll Need
You do not need fancy equipment for a basic dryer vent cleaning, but the right tools make the job much easier.
- Vacuum with hose attachment
- Dryer vent brush kit with flexible rods
- Screwdriver or nut driver
- Work gloves
- Flashlight
- Microfiber cloth or shop towel
- Foil HVAC tape, if you need to reseal duct joints
- Broom or dustpan for loose lint
A dryer vent brush kit is usually the most useful tool because it can reach farther into the duct than a vacuum hose alone. Avoid using anything sharp that could puncture the duct.
Before You Start: Safety First
Start by turning the dryer off. For an electric dryer, unplug it from the outlet. For a gas dryer, turn the dryer off and be careful not to pull or kink the gas line when moving the appliance. If you are uncomfortable moving a gas dryer, it is safer to clean what you can reach and call a professional for the rest.
Pull the dryer away from the wall slowly. You only need enough room to access the transition duct behind it. Do not yank the dryer forward, because that can crush the vent hose, loosen connections, or strain a gas line.
Step-by-Step: How to Clean a Dryer Vent
1. Clean the lint screen and lint trap area
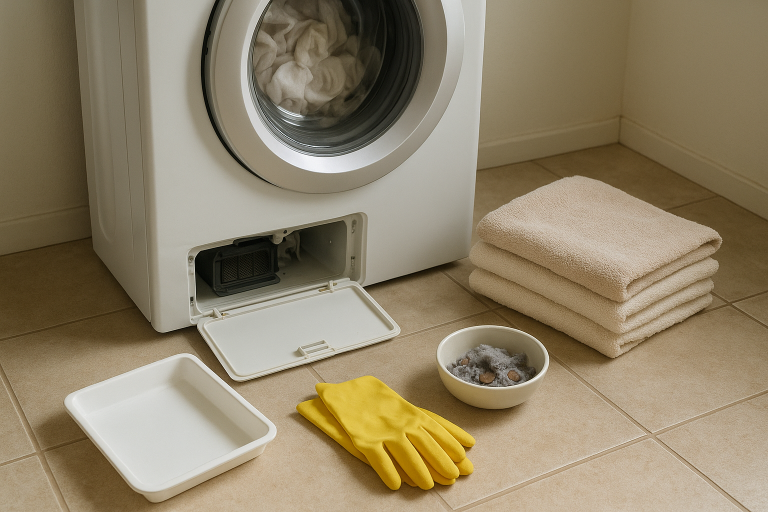
Remove the lint screen and clear it by hand. Then use a vacuum hose or a narrow dryer lint brush to clean down inside the lint trap slot. This area often holds more lint than you expect, even if you clean the screen every load.
If your lint screen looks waxy or slow to pass air, wash it with warm water and a small amount of dish soap. Fabric softener residue can coat the mesh. Let it dry completely before putting it back.
2. Disconnect the vent hose behind the dryer
Use a screwdriver or nut driver to loosen the clamp that holds the vent hose to the back of the dryer. Slide the hose off gently. If the duct is held with tape, remove the tape carefully.
Look inside the dryer outlet with a flashlight. Vacuum loose lint from the opening, being careful not to force the hose too far into the dryer. Wipe the rim clean so the hose can reseal well later.
3. Clean the transition duct
The transition duct is the short section between your dryer and the wall. If it is flexible foil or semi-rigid metal and in good condition, vacuum both ends and run the dryer vent brush through it.
If the duct is crushed, torn, full of holes, or made from flimsy plastic or vinyl, replace it. Smooth or semi-rigid metal transition duct is easier to keep clear and holds up better than thin plastic-style hoses.
4. Brush the duct inside the wall
Insert the dryer vent brush into the wall duct and work it in slowly. Twist the rod as you push, then pull it back out and remove the lint. Repeat in sections until the brush comes back mostly clean.
If your kit is designed for drill use, follow the manufacturer’s directions carefully and run the drill at a slow speed. Always keep the brush moving in the direction that keeps the rods tightened, so they do not unscrew inside the duct.
5. Clean from the outside vent
Go outside and find the dryer exhaust vent. Remove lint from the vent cover and make sure the flap or louvers move freely. The Building America Solution Center notes that dryer vent caps should not have screening that traps lint, so if you see a mesh screen packed with fuzz, that is a problem to correct. ([basc.pnnl.gov](https://basc.pnnl.gov/diy-guides/clean-dryer-exhaust?utm_source=openai))
Run the vent brush in from the outside as far as it will comfortably reach. Pull lint out in small batches. Vacuum around the opening if you have access to an outdoor-safe vacuum or extension hose.
6. Reconnect everything securely
Slide the transition duct back onto the dryer outlet and wall connection. Tighten the clamps so the duct is snug but not crushed. If you need tape, use foil HVAC tape rather than cloth duct tape, which can dry out and fail from heat.
Push the dryer back carefully, leaving enough room so the hose does not kink. A crushed vent hose can block airflow almost as badly as lint.
7. Test the airflow
Plug the dryer back in. Run it on an air-only or low-heat setting for a few minutes, then check the outside vent. You should feel steady airflow and see the flap opening properly.
If the airflow is still weak after cleaning both ends, the blockage may be deep in a long duct run, inside a roof vent, or at a hidden bend. That is a good time to call a professional dryer vent cleaner.
How Often Should You Clean a Dryer Vent?
For most homes, clean the dryer vent about once a year. Clean it more often if you have a large family, wash a lot of pet bedding, use the dryer daily, or have a long vent run with several turns. Building America’s homeowner guidance recommends annual dryer duct cleaning to help clothes dry faster, save energy, and reduce fire risk. ([basc.pnnl.gov](https://basc.pnnl.gov/diy-guides/clean-dryer-exhaust?utm_source=openai))
The lint screen is different: clean that after every load. It takes only a few seconds and helps maintain airflow every time you use the dryer.
When to Call a Professional
A DIY cleaning is great for short, easy-to-access vents. Call a pro if:
- Your dryer vents through the roof.
- The vent run is long, hidden, or has multiple elbows.
- You cannot move the dryer safely.
- You have a gas dryer and are worried about disturbing the gas line.
- Airflow is still poor after cleaning.
- You find a bird nest, damaged duct, or disconnected vent inside a wall or crawl space.
Professional cleaners have longer rotary tools and stronger vacuums, which can be worth it for difficult duct layouts.
Simple Habits That Keep the Vent Cleaner Longer
- Clean the lint screen after every load.
- Do not overload the dryer; packed loads shed more lint and dry poorly.
- Shake out blankets and pet beds before drying.
- Check the outdoor vent seasonally for lint, leaves, snow, or nesting material.
- Keep the area behind and around the dryer free of dust, boxes, and laundry clutter.
A clean dryer vent is not a glamorous chore, but it pays you back with shorter drying times, better airflow, and a safer laundry area. Put it on your yearly home maintenance list, and if your dryer starts slowing down before then, treat that as your reminder to check the vent again.