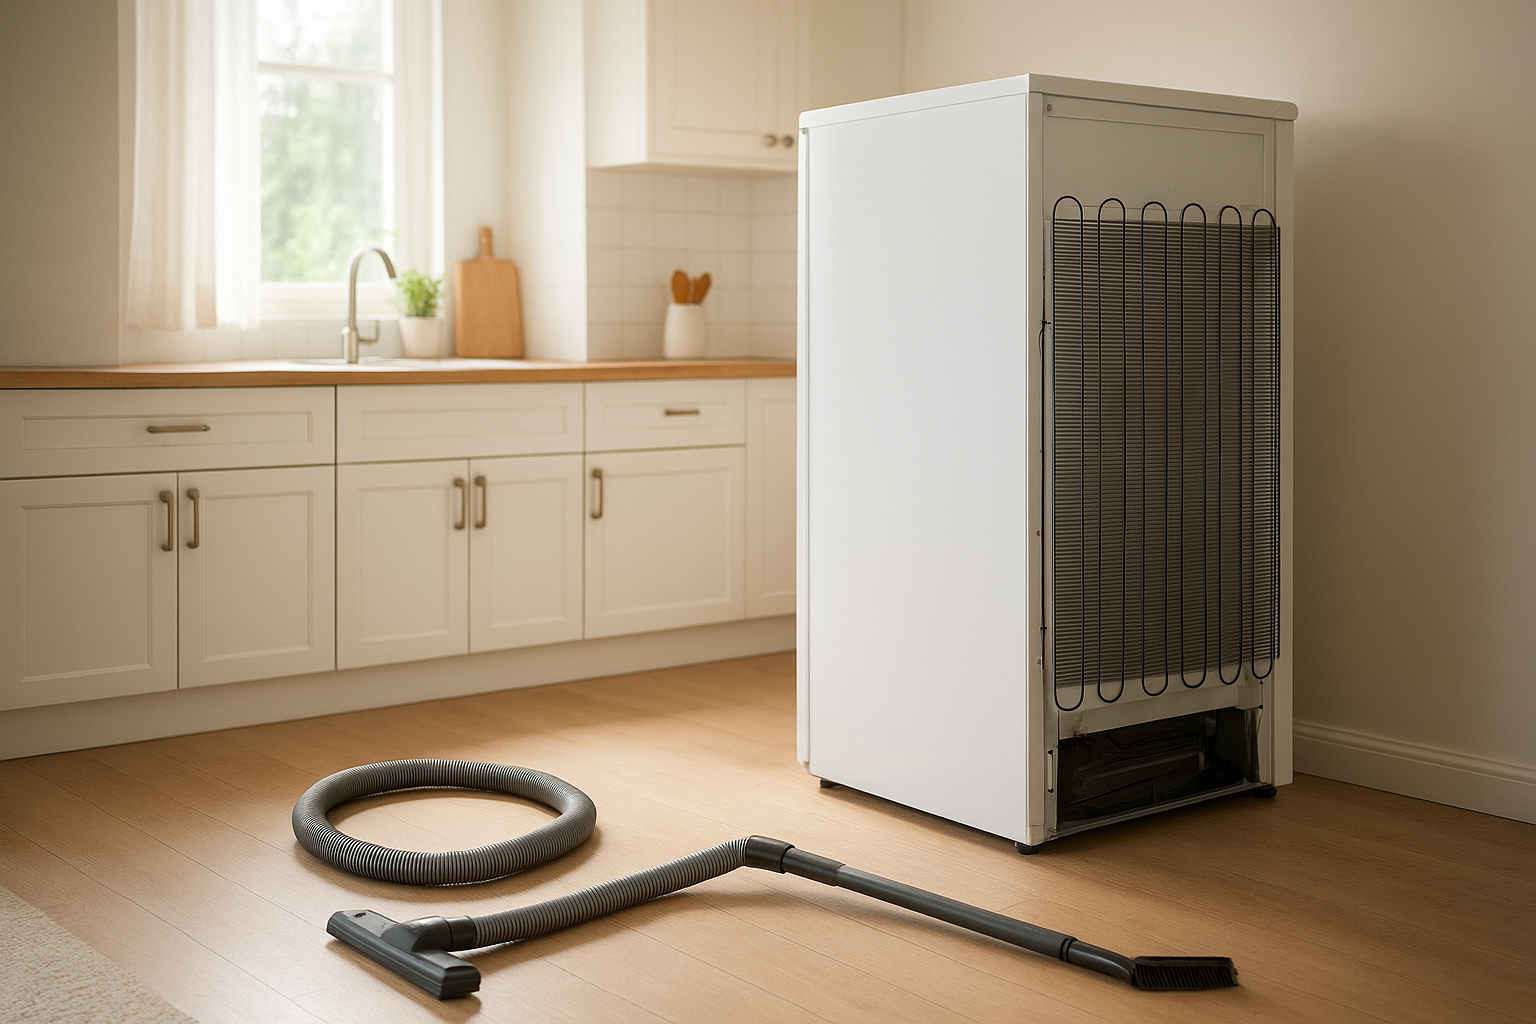
How to Clean Refrigerator Coils in 20 Minutes
If your refrigerator seems to run constantly, feels warm around the base, or has gathered a little tumbleweed of pet hair underneath, the coils may be overdue for cleaning. Learning how to clean refrigerator coils is a simple home maintenance job that usually takes about 20 minutes and can help your fridge move heat more efficiently.
Refrigerator brands vary, so always check your owner’s manual first. But for many homes, the basic process is the same: unplug, remove the grille or access panel, loosen dust with a coil brush, vacuum thoroughly, and put everything back securely.
Why Refrigerator Coils Need Cleaning
Condenser coils help your refrigerator release heat. When those coils are coated with dust, lint, grease, or pet hair, the appliance has to work harder to stay cold. ENERGY STAR specifically recommends keeping condenser coils clean on older refrigerators and leaving a few inches of space between the wall and the refrigerator for airflow. ([energystar.gov](https://www.energystar.gov/products/refrigerators?utm_source=openai))
GE Appliances notes that if a refrigerator is running but not cold enough, dirty condenser coils may be one possible cause. GE also says coil cleaning may be needed more often in dusty areas or homes with shedding pets. ([products.geappliances.com](https://products.geappliances.com/appliance/gea-support-search-content?contentId=16266&utm_source=openai))
How Often Should You Clean Refrigerator Coils?
A good rule for most households is to clean refrigerator coils every 6 to 12 months. If you have pets, a dusty kitchen, a garage refrigerator, or a fridge tucked tightly into a cabinet opening, check the coils every 3 to 6 months instead.
Some newer refrigerators have covered or “never clean” condenser designs, but that does not mean the area around the machine should be ignored. Dust can still collect on grilles, vents, toe-kicks, fans, and the floor behind or underneath the appliance. If your manual says the coils are not user-serviceable, do not force panels open; clean accessible vents and call an appliance technician if performance problems continue.
Tools and Supplies
- Vacuum with hose and crevice tool
- Long refrigerator condenser coil brush
- Flashlight or headlamp
- Work gloves
- Microfiber cloth
- Small bowl or magnetic tray for screws, if needed
- Dust mask, optional but helpful
A refrigerator coil brush is inexpensive and worth having. ENERGY STAR notes that coil cleaning brushes are available at most hardware stores. ([energystar.gov](https://www.energystar.gov/products/refrigerators?utm_source=openai))
Before You Start: Safety First
Always unplug the refrigerator before cleaning coils or working near the compressor area. If your refrigerator is built-in, very heavy, connected to a short water line, or difficult to move safely, do not wrestle with it. Clean what you can reach from the front and consider calling a pro.
If you need to pull the refrigerator forward, go slowly. Avoid yanking the water line for the ice maker, scratching the floor, or tipping the appliance. If possible, have a second adult nearby to help guide it.
Step-by-Step: How to Clean Refrigerator Coils
1. Empty the Floor Area
Move rugs, trash cans, pet bowls, and storage bins out of the way. You will need room to work at the front and possibly behind the refrigerator.
2. Unplug the Refrigerator
Pull the plug from the wall outlet. Keep the doors closed while you work so the food stays cold. This job is quick, so you should not need to unload the fridge unless you are also doing a deep clean.
3. Find the Coils
Refrigerator coils are commonly found in one of three places: behind the lower front grille, behind a rear access panel, or across the back of an older refrigerator. Whirlpool explains that condenser coil location varies by model, so your manual is the best guide for your exact appliance. ([producthelp.whirlpool.com](https://producthelp.whirlpool.com/Refrigeration/Full-Size_Refrigerators/Product_Info/Cleaning_and_Care/How_and_When_to_Safely_Clean_the_Condenser_Coils?utm_source=openai))
Look for a removable toe grille at the bottom front first. Many grilles pull straight off, while others have tabs or screws. If the coils are behind the unit, carefully roll or slide the refrigerator forward just enough to access the back.
4. Vacuum Loose Dust First
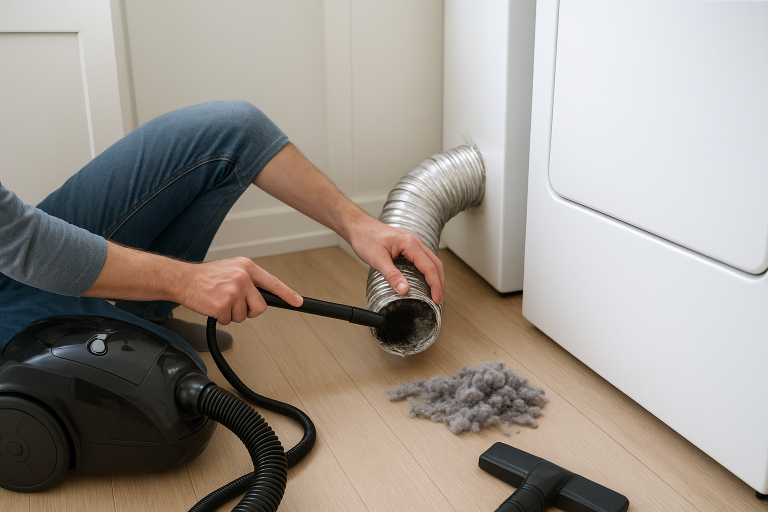
Use the vacuum hose and crevice tool to remove loose dust from the grille, floor, and easy-to-reach areas. This keeps the mess from spreading once you start brushing.
5. Brush Between the Coils
Gently work the coil brush into the condenser area. Use short strokes to loosen packed dust, lint, and pet hair. Do not jab or bend thin metal fins. GE recommends using a refrigerator condenser cleaning coil brush to remove dirt, dust, and pet hair from coils. ([products.geappliances.com](https://products.geappliances.com/appliance/gea-support-search-content?contentId=16266&utm_source=openai))
Pull the brush out often and vacuum the debris from the bristles. This is usually the dirtiest part of the job, especially if the coils have not been cleaned in years.
6. Vacuum Again Thoroughly
After brushing, vacuum the coils, fan area, grille, wall, and floor. If the refrigerator sits in a cabinet opening, vacuum the side gaps and the top if you can reach them safely. Good airflow matters, so do not push dust bunnies right back into place.
7. Wipe the Grille and Floor
Use a dry or barely damp microfiber cloth to wipe the toe grille and the floor where the refrigerator sits. Let any damp spots dry before plugging the refrigerator back in.
8. Replace Panels and Plug In
Snap the grille back on or reinstall the rear panel. Plug the refrigerator in, then carefully slide it back into place. Leave breathing room behind the fridge if your kitchen layout allows; ENERGY STAR recommends leaving a few inches between the wall and refrigerator or cooler. ([energystar.gov](https://www.energystar.gov/products/refrigerators?utm_source=openai))
What Not to Do
- Do not spray household cleaner into the coil area. Moisture and electrical parts are a bad combination.
- Do not use a stiff wire brush. It can damage delicate fins or wiring.
- Do not force a panel open. If it does not come off easily, check the manual.
- Do not work with the refrigerator plugged in. Unplug first, even for a quick vacuum.
- Do not block the front grille. Avoid storing trays, pet bowls, or baskets directly against the vent area.
Signs Your Refrigerator Needs More Than Cleaning
Clean coils can help with efficiency and airflow, but they will not fix every refrigerator problem. Call an appliance technician if you notice any of these issues after cleaning:
- The refrigerator stays above 40°F even after several hours.
- The freezer is thawing or food is soft.
- You hear clicking, buzzing, grinding, or repeated start-and-stop sounds.
- There is water leaking from the appliance.
- The compressor area is extremely hot.
- The fan is not running when it should.
For food safety, keep an appliance thermometer in the refrigerator and freezer. If temperatures rise and you are unsure how long food has been warm, it is safer to follow current food safety guidance rather than guessing.
Make It Part of a Simple Kitchen Maintenance Routine
The easiest way to remember this job is to tie it to seasonal cleaning. Clean refrigerator coils in spring and fall, or whenever you change smoke detector batteries, replace HVAC filters, or deep clean behind appliances.
While you are there, check the door gaskets for crumbs and sticky spots, make sure the fridge is sitting level, and vacuum the floor behind it. Those small chores take only a few extra minutes and help your refrigerator do its job without fighting dust, heat, and poor airflow.
If you have never cleaned your refrigerator coils before, expect the first round to be the worst. After that, a twice-a-year pass with the vacuum and coil brush is usually quick, tidy, and well worth adding to your home maintenance list.