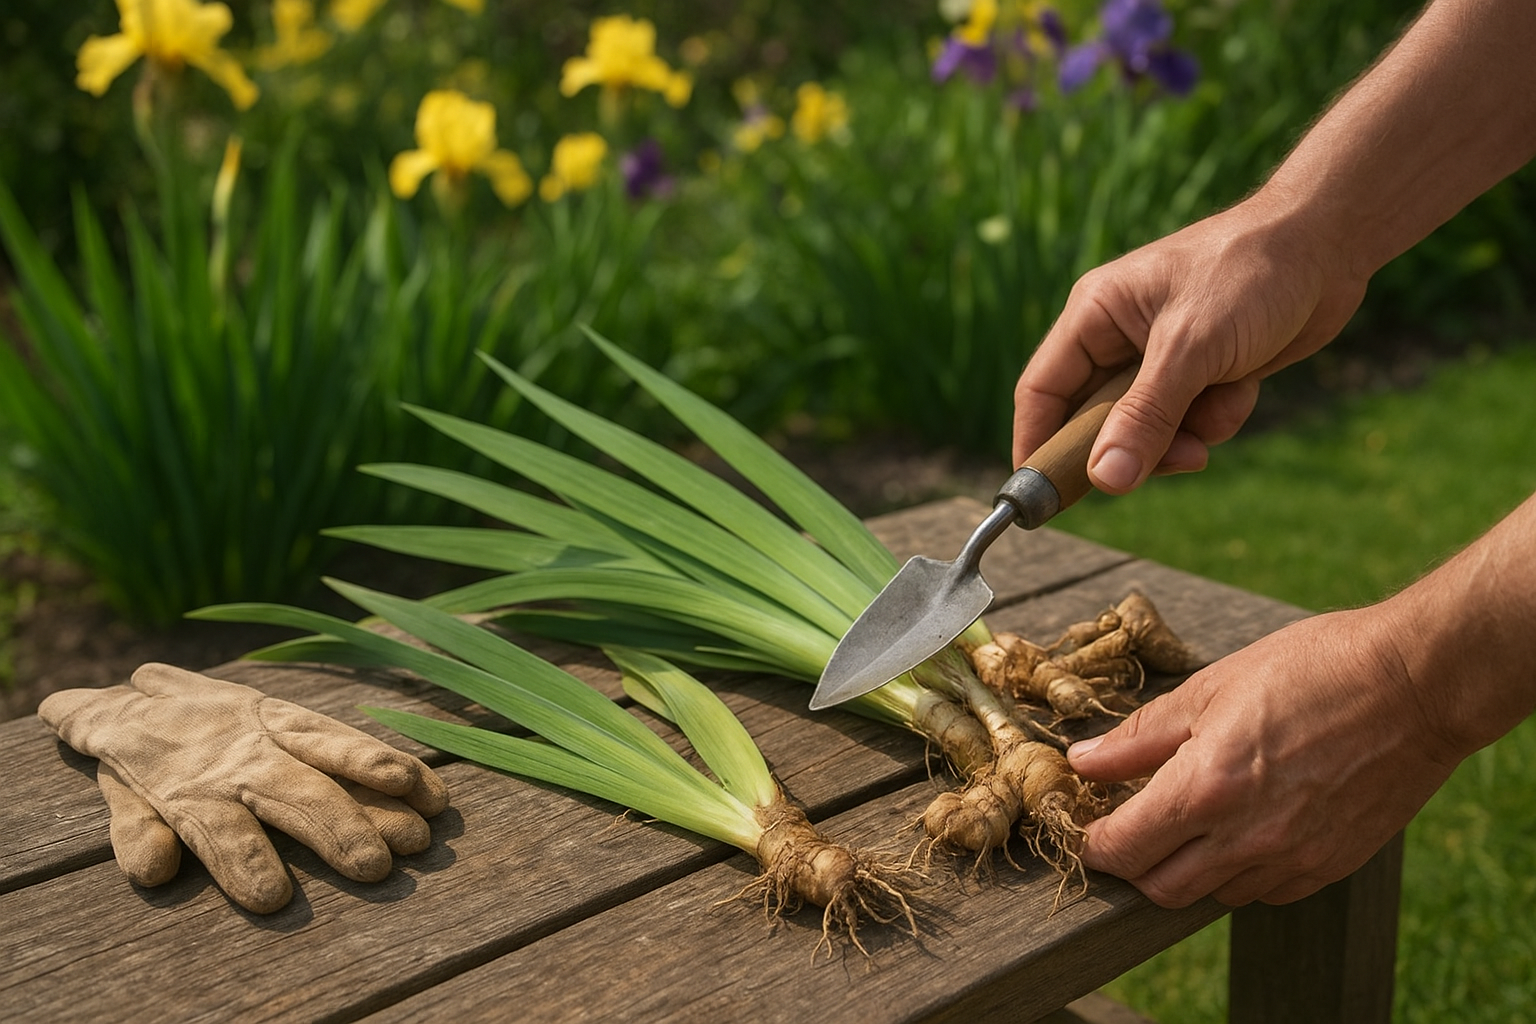
How to Divide Bearded Irises for Better Blooms
If your bearded irises bloomed less this year or the clump has turned into a crowded ring with a bare middle, it is probably time to divide them. The good news is that dividing bearded irises is a straightforward summer garden chore, and it gives you healthier plants plus extras to move around the yard or share.
Bearded irises grow from thick, fleshy rhizomes that like sun, air, and good drainage. The main trick is not burying them too deeply when you replant.
When to Divide Bearded Irises
The best time to divide bearded irises is after they finish blooming, usually in mid to late summer. Many extension sources recommend dividing every three to five years, or sooner if flowering drops off, the center of the clump thins out, or the rhizomes are packed on top of each other. ([extension.psu.edu](https://extension.psu.edu/dividing-irises?utm_source=openai))
A practical timing window for many U.S. gardens is July through September, as long as you finish at least several weeks before your first hard frost so the plants can root in. Clemson Cooperative Extension recommends dividing bearded irises six to eight weeks after bloom, or from July through September, but not later than six weeks before first frost. ([hgic.clemson.edu](https://hgic.clemson.edu/give-your-bearded-irises-some-space-divide-them/?utm_source=openai))
Signs Your Irises Need Dividing
- Fewer flowers than usual: Crowded rhizomes often produce plenty of leaves but fewer blooms.
- A dead or empty center: Older clumps may grow outward and leave a bare middle.
- Rhizomes stacked on top of each other: Bearded irises need room for new growth.
- Soft, smelly, or damaged pieces: Dividing gives you a chance to remove rot or pest-damaged rhizomes.
- Plants are spreading into paths or nearby perennials: Division helps you reset the bed neatly.
What You’ll Need
- Garden fork or spade
- Sharp knife, pruners, or hori hori
- Bucket or tarp for sorting rhizomes
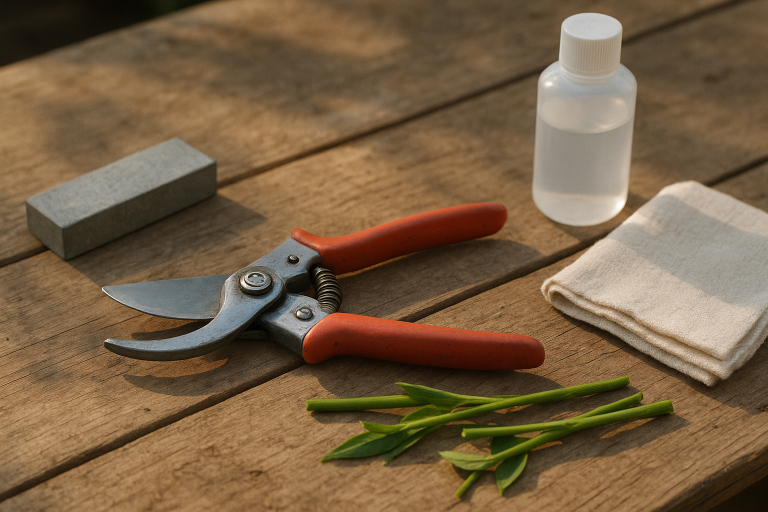
- Rubbing alcohol or disinfecting wipes for tools
- Gloves
- Compost, if your soil needs improvement
- Watering can or hose
Start with clean, sharp tools. If you cut into a soft or diseased rhizome, wipe or disinfect the blade before moving on to healthy pieces.
How to Divide Bearded Irises Step by Step
1. Cut the leaves back
Trim the leaf fans to about 6 inches tall before or after lifting the clump. This makes the plant easier to handle and reduces top-heaviness while new roots settle in. Iowa State Extension also recommends cutting foliage back to 6 to 8 inches when dividing in late summer. ([yardandgarden.extension.iastate.edu](https://yardandgarden.extension.iastate.edu/how-to/transplanting-and-dividing-iris?utm_source=openai))
2. Lift the whole clump
Slide a garden fork or spade several inches away from the clump and lift gently. Try not to spear the rhizomes, but do not worry if a few roots break. Shake or rinse off loose soil so you can clearly see the rhizomes.
3. Separate the healthy younger rhizomes
Look for firm rhizomes with a fan of leaves and healthy roots. These are the pieces worth keeping. Older center rhizomes that are shriveled, hollow, leafless, or soft can go to the trash rather than the compost if disease or pests are present.
Cut the clump apart so each division has at least one firm rhizome, one fan of leaves, and a decent root system. Penn State Extension notes that bloom production often slows after several years and recommends removing and replanting the smaller rhizomes when division is needed. ([extension.psu.edu](https://extension.psu.edu/dividing-irises?utm_source=openai))
4. Check for iris borers and rot
As you sort, inspect each rhizome. Discard anything mushy, foul-smelling, or tunneled. Iris borers can damage rhizomes and contribute to rot; University of Maryland Extension recommends lifting and dividing irises about every three years to improve vigor and help reduce iris borer problems. ([extension.umd.edu](https://extension.umd.edu/resource/dividing-iris?utm_source=openai))
5. Let cut surfaces dry briefly
If you made fresh cuts, let the rhizomes sit in a shady, airy spot for a few hours before replanting. This helps the cut surfaces dry slightly. Do not leave them baking in a hot driveway all day; you just want them dry to the touch, not shriveled.
How to Replant Bearded Iris Rhizomes
Choose a spot with full sun and well-drained soil. Bearded irises dislike soggy ground, and planting too deep can lead to rot. University of Illinois Extension specifically warns not to plant the rhizome too deep because it can cause root rot. ([extension.illinois.edu](https://extension.illinois.edu/blogs/good-growing/2021-08-20-how-divide-and-plant-bearded-iris?utm_source=openai))
- Prepare a shallow planting hole. Loosen the soil and make a small mound in the center.
- Set the rhizome on the mound. Spread the roots down and outward.
- Keep the top of the rhizome exposed. The rhizome should sit at or just below soil level, with the top visible in most climates.
- Point the fan where you want growth to go. New growth comes from the fan end, so face it outward if you are resetting a clump.
- Space plants about 12 to 18 inches apart. Wider spacing gives better airflow and delays the next round of crowding.
- Firm the soil around the roots. Do not pack soil over the top of the rhizome.
- Water well once. Then water lightly as needed while roots establish, avoiding constantly wet soil.
If you are planting several divisions together for a fuller look, arrange three rhizomes in a loose triangle with the leaf fans pointing outward. This helps the clump expand without crowding the center right away.
Common Mistakes That Keep Irises from Blooming
- Burying the rhizome: This is the big one. Bearded iris rhizomes need to be near the surface where they can get warmth and air.
- Planting in too much shade: Irises may survive in partial shade, but they bloom best with plenty of sun.
- Keeping too many old pieces: Save firm, vigorous rhizomes with leaf fans. Toss exhausted center pieces.
- Overwatering after transplanting: Water to settle the soil, then let the bed drain. Soggy soil invites rot.
- Mulching over the rhizomes: Mulch nearby weeds if needed, but keep it off the rhizome tops.
- Waiting too long between divisions: Once clumps are overcrowded, flowers often decline.
Aftercare for Newly Divided Irises
For the first few weeks, check the bed regularly. Water if the soil is dry several inches down, especially during a hot spell, but avoid daily soaking. Pull weeds by hand so the shallow rhizomes are not disturbed.
Do not be surprised if newly divided irises bloom lightly the following spring. Some divisions bloom right away, while others spend the first season rebuilding roots. By the second spring, well-planted divisions should be stronger and more settled.
What to Do With Extra Iris Divisions
A mature clump can produce more divisions than you expect. Replant the best pieces in sunny gaps, start a new border, pot a few temporarily, or share labeled divisions with neighbors. If you do not know the variety name, label them by color and bloom time, such as “tall purple, mid-spring.”
Avoid sharing any rhizomes that look soft, tunneled, or diseased. It is better to throw questionable pieces away than spread a pest or rot problem to another garden.
Quick Iris Dividing Checklist
- Divide after bloom, usually mid to late summer.
- Lift the whole clump and separate firm, healthy rhizomes.
- Keep divisions with a leaf fan and good roots.
- Trim leaves to about 6 inches.
- Discard soft, hollow, smelly, or borer-damaged pieces.
- Replant shallowly with the top of the rhizome exposed.
- Water to settle, then keep the bed well drained.
Dividing bearded irises is one of those garden jobs that looks messy for an afternoon but pays off for years. Give the rhizomes sun, space, and a shallow planting, and your irises will have a much better chance of returning with strong fans and showy spring blooms.