How to Winterize Outdoor Faucets Before a Freeze
Outdoor faucets are easy to forget until the first hard freeze is in the forecast. A few minutes of fall prep can help prevent cracked hose bibs, split hoses, and frozen supply lines inside the wall.
The good news: learning how to winterize outdoor faucets is simple, and most homes only need a short checklist. Do it before temperatures settle below freezing, and repeat the hose-draining step any time you water during a warm winter spell.
Why Outdoor Faucets Freeze So Easily
Outdoor faucets, also called hose bibs or spigots, sit right where cold air meets your plumbing. Water left in a hose, faucet body, or short section of pipe can freeze, expand, and put pressure on fittings. Extension and municipal winter-prep guidance commonly recommends disconnecting hoses, shutting off supply valves when available, and draining the line before freezing weather arrives. ([site.extension.uga.edu](https://site.extension.uga.edu/forsyth/protect-water-pipes-from-freezing/?utm_source=openai))
Even frost-free faucets are not completely worry-free. They are designed so the shutoff point sits farther inside the heated wall, but they still need to drain. If a hose stays attached, trapped water can keep the faucet from draining properly.
Supplies You May Need
- Bucket or towel for drips
- Foam outdoor faucet covers
- Adjustable wrench, only if a hose is stuck
- Pipe insulation or old towels for exposed pipes
- Weatherproof tape or zip ties for securing insulation
- Permanent tag or painter’s tape to label shutoff valves
You do not need fancy tools for most faucets. The most important “tool” is knowing whether your home has indoor shutoff valves for the outdoor lines.
Step 1: Disconnect Every Garden Hose
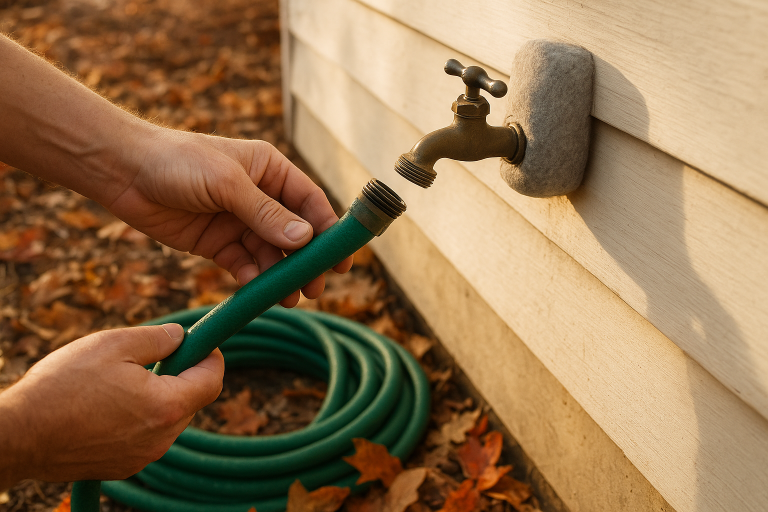
Start outside. Unscrew every hose from every outdoor faucet, including side-yard spigots, patio faucets, garage hose bibs, and any faucet hidden behind shrubs. This matters because a connected hose can hold water against the faucet and increase the chance of freezing damage. State Farm, UGA Extension, and Portland Water Bureau all include hose removal in their freeze-prevention guidance. ([newsroom.statefarm.com](https://newsroom.statefarm.com/winter-prep-101-2024/?utm_source=openai))
If a hose coupling is stuck, try hand pressure first. If you use a wrench, hold the faucet steady with your other hand so you do not twist the pipe in the wall. Once removed, drain the hose completely by walking it downhill or lifting it section by section.
What to do with the hose
Store hoses loosely coiled in a garage, shed, or basement if you can. If they must stay outside, drain them well and keep them disconnected from the faucet all winter.
Step 2: Find the Indoor Shutoff Valve
Many homes have a dedicated indoor shutoff valve for each outdoor faucet. Look in the basement, crawl space, utility room, under a sink, or along the inside wall opposite the outdoor spigot. It may be a round handle or a small lever valve.
Turn the valve off. Then label it with painter’s tape so you can find it quickly next fall. If you have several outdoor faucets, test one at a time so you know which valve controls which spigot.
If you cannot find an indoor shutoff, do not panic. Some newer frost-free hose bibs may not have a separate shutoff, and some homes simply were not plumbed with one. You can still disconnect hoses and add faucet covers.
Step 3: Open the Outdoor Faucet to Drain the Line
After the indoor valve is shut off, go back outside and open the faucet fully. Water should run briefly and then slow to a drip as the line drains. Guidance from UGA Extension, NC State Extension, and Portland Water Bureau recommends shutting off and draining pipes leading to outside faucets when possible. ([site.extension.uga.edu](https://site.extension.uga.edu/forsyth/protect-water-pipes-from-freezing/?utm_source=openai))
Leave the outdoor faucet open for the winter if the indoor shutoff valve is closed. This gives any remaining water a place to expand and helps you notice if the indoor valve is leaking. If water continues to run steadily after several minutes, the shutoff valve may not be fully closed or may need repair.
Step 4: Add a Foam Faucet Cover
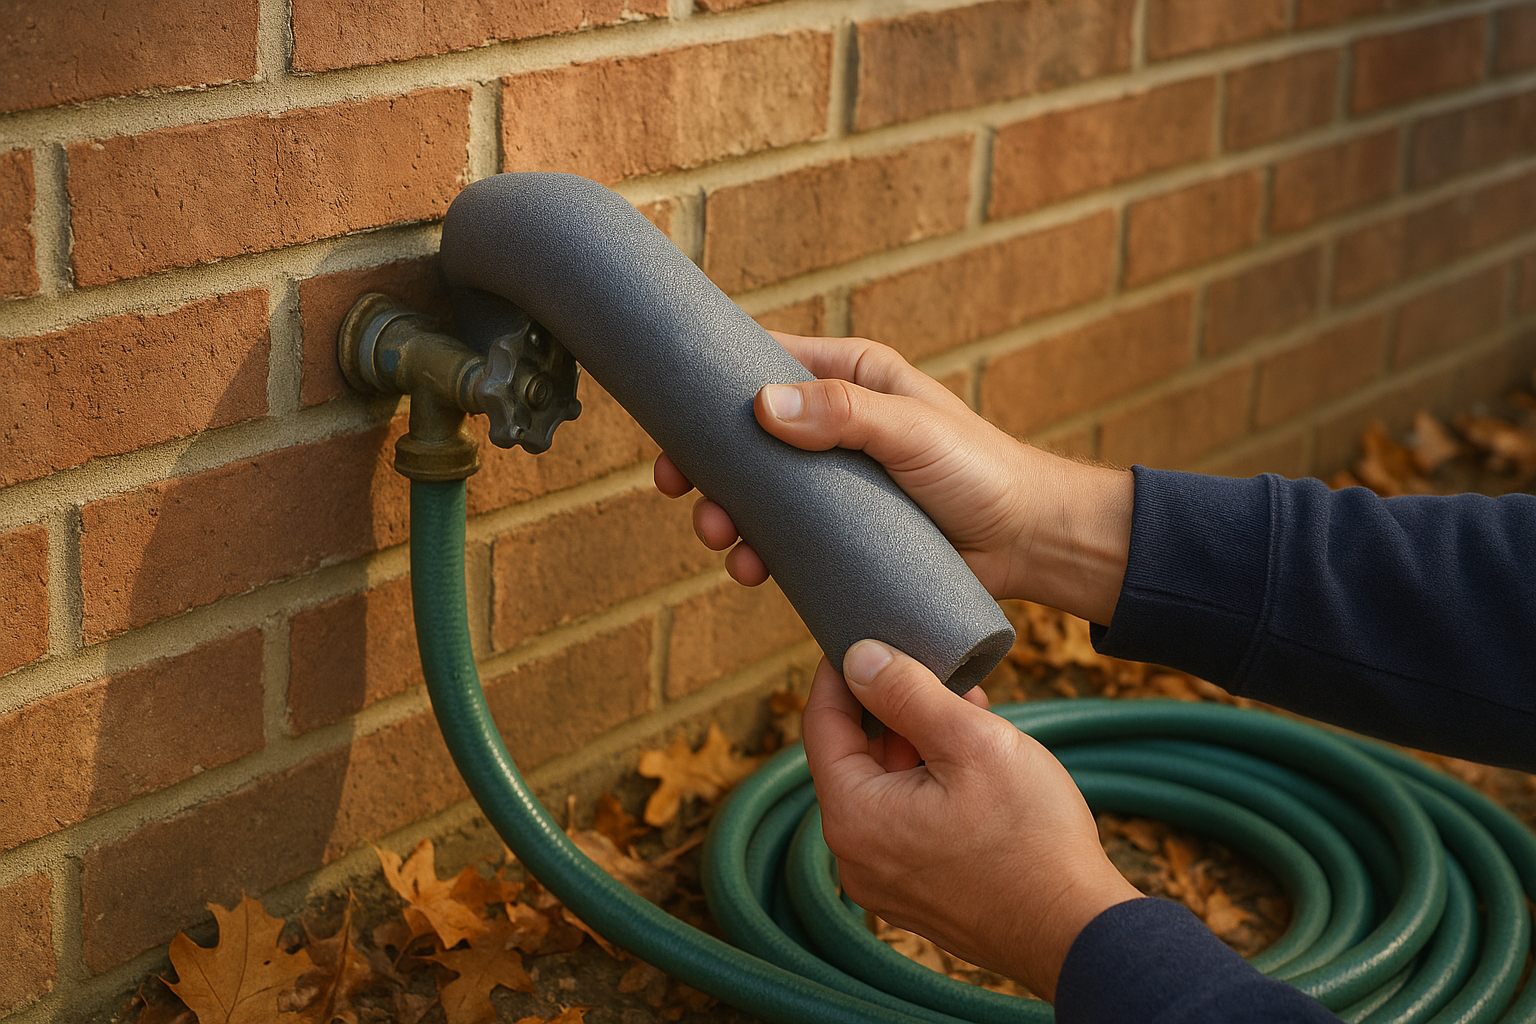
Foam faucet covers are inexpensive, reusable, and worth installing, especially on windy walls, unheated garages, crawl spaces, and older homes. Slide the loop or cord around the faucet, fit the foam cover snugly against the wall, and tighten it so cold air cannot easily blow behind it.
A cover is not a substitute for draining a line with an indoor shutoff, but it adds a helpful layer of protection. Portland Water Bureau specifically recommends covering outdoor faucets and hose bibs with insulating covers to reduce freezing risk. ([portland.gov](https://www.portland.gov/water/prepare-winter?utm_source=openai))
Step 5: Protect Exposed Pipes and Problem Spots
If you can see water pipes in an unheated garage, crawl space, basement rim joist, or exterior wall cabinet, insulate them before cold weather. Use foam pipe sleeves where they fit, or wrap short awkward sections with insulation and secure it so it stays dry and in place.
During severe cold, open cabinet doors under sinks on exterior walls so warm indoor air can circulate around plumbing. Several freeze-prevention guides also recommend letting a faucet drip during very cold spells when pipes are vulnerable, because moving water is less likely to freeze. ([site.extension.uga.edu](https://site.extension.uga.edu/forsyth/protect-water-pipes-from-freezing/?utm_source=openai))
What If You Have Frost-Free Faucets?
A frost-free faucet has a long stem that shuts off water several inches inside the house rather than right behind the handle. That helps, but only if the faucet can drain after use.
- Always remove the hose. A connected hose can trap water in the faucet.
- Check the slope. The faucet should angle slightly downward toward the outside so water drains out.
- Do not rely on the name alone. If the faucet is old, poorly installed, or left connected to a hose, it can still freeze.
Common Mistakes to Avoid
- Leaving a splitter attached: Hose splitters, timers, quick-connect fittings, and spray nozzles can trap water just like a hose.
- Covering a faucet without draining it: A foam cover helps, but it will not remove water sitting in the pipe.
- Forgetting the garage faucet: Attached garages can get cold enough to freeze plumbing near outside walls.
- Using heat unsafely: Do not use an open flame to thaw pipes. If a pipe freezes, use gentle heat and start near the open faucet, or call a plumber.
- Skipping repairs: A shutoff valve that does not fully stop water should be fixed before winter deepens.
Quick Outdoor Faucet Winterizing Checklist
- Disconnect hoses, splitters, timers, and nozzles.
- Drain hoses and store them out of freezing weather if possible.
- Find and close the indoor shutoff valve for each outdoor faucet.
- Open the outdoor faucet to drain the remaining water.
- Leave the outdoor faucet open if the indoor valve is shut off.
- Install a snug foam faucet cover.
- Insulate exposed pipes in cold areas.
- Check the setup again before the first hard freeze.
When to Call a Plumber
Call a plumber if you cannot locate a shutoff valve, the valve will not close, the outdoor faucet keeps dripping after the supply is shut off, or you see signs of a previous freeze break, such as water stains, soft drywall, or a faucet that wiggles in the wall.
It is also worth asking about adding dedicated shutoff valves if your home does not have them. That small upgrade can make future winter prep much easier.
The Bottom Line
To winterize outdoor faucets, disconnect hoses, shut off the indoor supply if you have one, drain the line, and add an insulated cover. It is a small fall chore, but it protects one of the most freeze-prone parts of your home’s plumbing.
Do it once before winter, then stay alert during sudden cold snaps. A five-minute check before freezing weather is far easier than dealing with a burst pipe behind a finished wall.