How to Save Tomato Seeds for Next Year’s Garden
If you have a tomato plant that produced especially flavorful fruit this year, you can turn that success into next season’s garden. Learning how to save tomato seeds is simple, budget-friendly, and satisfying, and it lets you keep growing tomatoes that already perform well in your own space.
The basic process is to choose a ripe tomato, remove the seeds, ferment them briefly, then dry and store them properly. A little care at each step helps improve germination and gives you seeds that are ready when spring planting time arrives.
Which Tomatoes Are Best for Seed Saving?
Start with the right kind of tomato. Seed saving works best with open-pollinated or heirloom varieties because they grow true to type more reliably than hybrids. If you save seed from a hybrid tomato, the next plant may not look or taste the same as the parent.
Good candidates include tomatoes that are healthy, productive, and fully ripe. Look for fruit from a plant that handled your local weather well, resisted disease, and produced steadily through the season. Those traits are often worth preserving.
- Choose open-pollinated or heirloom varieties for dependable results.
- Pick fully ripe or slightly overripe fruit for mature seed.
- Avoid damaged, diseased, or moldy tomatoes.
- Save seeds from your best-performing plant if you want to improve your harvest over time.
What You’ll Need
You do not need much equipment. A few basic kitchen items are enough.
- One or more ripe tomatoes
- A clean knife and spoon
- A small glass jar or bowl
- Water
- Paper towel, coffee filter, or fine mesh strainer
- Paper envelope or labeled seed packet
- Permanent marker
Step 1: Scoop Out the Seeds
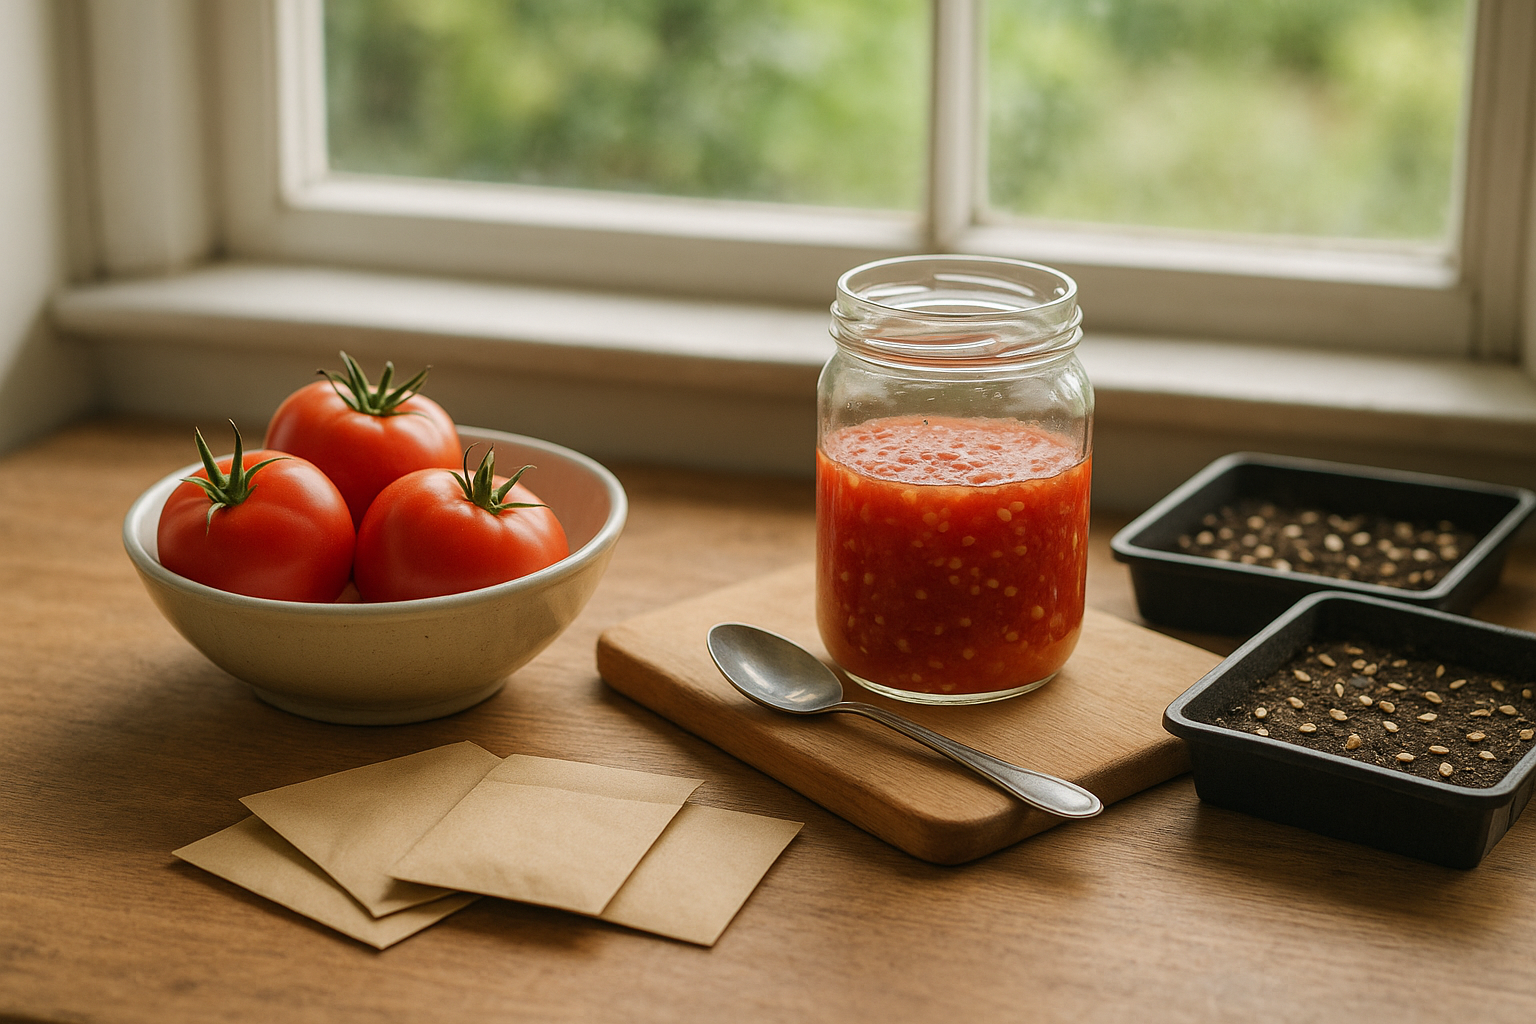
Cut the tomato in half across the middle so the seed chambers are easy to access. Use a spoon to scoop the seeds and surrounding gel into a clean jar or bowl. For smaller tomatoes, you can squeeze the seeds and pulp directly into the container.
If you are saving several varieties, label each container right away. Tomato seedlings can look very similar at first, so good labeling prevents confusion later.
Step 2: Ferment the Seeds
Tomato seeds are coated in a gel that can inhibit germination. A short fermentation helps break down that coating and separates the good seeds from the pulp. This step also helps reduce some seed-borne disease.
Add a little water to the jar so the seed mixture is loose but not too diluted. Stir once, then set the jar in a warm spot out of direct sun. A kitchen counter works well.
Let it sit for about 2 to 4 days, stirring once daily if you remember. You may see a thin layer of mold or a sour smell develop. That is normal during fermentation, as long as the mixture does not become black, rotten, or attract pests.
Watch for the seed to sink while pulp and lighter debris rise to the top. When fermentation is done, the seeds should look cleaner and the mixture will have separated.
How to Know It Is Ready
- The top layer has formed a little scum or mold
- The seeds have settled lower in the jar
- The gel around the seeds has loosened
- The mixture smells sour, not foul
Step 3: Rinse and Clean the Seeds
Once fermentation is complete, add more water, stir well, and pour off the floating pulp and debris. The viable seeds tend to sink, while unusable bits float. Repeat this process until the water runs much clearer.
You can also pour the mixture through a fine sieve and rinse the seeds gently under cool running water. Be careful not to lose tiny seeds down the drain.
At the end, you should have clean seeds that are free of pulp and ready to dry.
Step 4: Dry Them Thoroughly
Drying is crucial. If you store seeds while they still hold moisture, they can mold or rot in storage.
Spread the clean seeds in a single layer on a coffee filter, paper towel, or ceramic plate. Avoid waxed paper or plastic, which can trap moisture. Keep them in a warm, airy room away from direct sun.
Stir or gently separate the seeds once a day so they do not clump together. Depending on temperature and humidity, drying can take one to two weeks.
Seeds are ready when they feel hard and snap rather than bend. If you are unsure, give them an extra few days. It is better to dry a little too long than not long enough.
Step 5: Store for Next Season
Place fully dry seeds in a paper envelope, small glass jar, or seed packet. Keep them in a cool, dry, dark location such as a drawer, cupboard, or storage box. If you use a jar, make sure it is completely dry before sealing it.
For extra organization, label each packet with the tomato variety and the date saved. If you grew several plants, you can also note where the plant was grown or any traits you noticed, such as “best flavor” or “most disease resistant.”
- Cool storage helps preserve viability
- Dry conditions prevent mold
- Dark storage protects seed quality
- Clear labels make planting easier next year
Common Mistakes to Avoid
Saving tomato seeds is straightforward, but a few mistakes can cause problems later.
- Saving seeds from hybrid tomatoes if you want the same plant again
- Skipping fermentation, which leaves the gel coating intact
- Storing seeds before they are fully dry
- Using diseased fruit, which can spread problems into next season
- Mixing up varieties because packets were not labeled
How Long Tomato Seeds Last
When stored properly, tomato seeds usually remain viable for several years. In many home gardens, they perform best for about 4 to 6 years, though freshness and storage conditions matter. The cooler and drier the storage area, the longer seeds tend to stay usable.
If you are unsure whether older seeds will still germinate, do a simple test before planting season. Place a few seeds between damp paper towels in a sealed container for a few days and check how many sprout.
Extra Tips for Better Results
If you want to improve your odds of success, save seeds from several tomatoes on the same healthy plant rather than only one fruit. That gives you a broader sample of the plant’s genetics.
You can also choose seeds from tomatoes that ripened naturally on the vine, since fully mature fruit usually holds mature seed. If the weather is ending and tomatoes need to be picked early, let them finish ripening indoors before you save the seeds.
For gardeners in very humid areas, consider using a small fan in the drying room or extending the drying time. Humidity slows seed curing and can lead to clumping or mildew.
When to Plant Saved Seeds
Use your saved seeds just like any other tomato seed in spring. Start them indoors 6 to 8 weeks before your last expected frost, or follow the timing recommended for your region. Since tomato seedlings like warmth, a heat mat can help improve germination if your growing space is cool.
When the seedlings are large enough, harden them off gradually before moving them outdoors. Saved seeds can give you excellent plants, but they still need the same careful start as any tomato crop.
Final Thought
Once you learn how to save tomato seeds, it becomes an easy end-of-season habit. You get a free supply of plants, keep your favorite varieties going, and build seeds that are adapted to your own garden conditions. It is one of the simplest ways to make next year’s tomato harvest more rewarding.