How to Save Tomato Seeds for Planting Next Year
If you grew a tomato this year that tasted better than anything from the store, save a few seeds before the season slips away. Learning how to save tomato seeds is simple, but tomatoes do best with one extra step: a short fermentation that helps remove the slippery gel around each seed.
This guide walks you through the home-gardener method: choose the right tomato, ferment the seeds, rinse, dry, label, and store them so you can start your own plants next spring.
Start With the Right Tomato
For predictable results, save seeds from open-pollinated or heirloom tomatoes, not hybrids. Open-pollinated varieties are more likely to grow into plants that resemble the parent plant, while hybrid tomatoes may produce a surprise mix of traits in the next generation. Extension seed-saving guidance also notes that tomatoes are among the easier crops for beginners because they are mostly self-pollinating. ([extension.oregonstate.edu](https://extension.oregonstate.edu/catalog/em-9663-step-step-guide-saving-seeds?utm_source=openai))
Choose fruit from a plant you would happily grow again. Look for:
- Good flavor: Save from tomatoes you actually loved eating.
- Healthy growth: Avoid plants with serious disease, heavy pest damage, or weak production.
- Typical shape and color: Pick a tomato that looks like the variety should look.
- Full ripeness: The fruit should be fully ripe, even slightly overripe, but not rotten.
If you grew several tomato varieties close together, there is a small chance of crossing, especially if pollinators were busy in your garden. For everyday home use, that usually is not a deal-breaker. If you are preserving a rare variety or sharing seeds widely, take extra care with isolation and labeling.
What You’ll Need
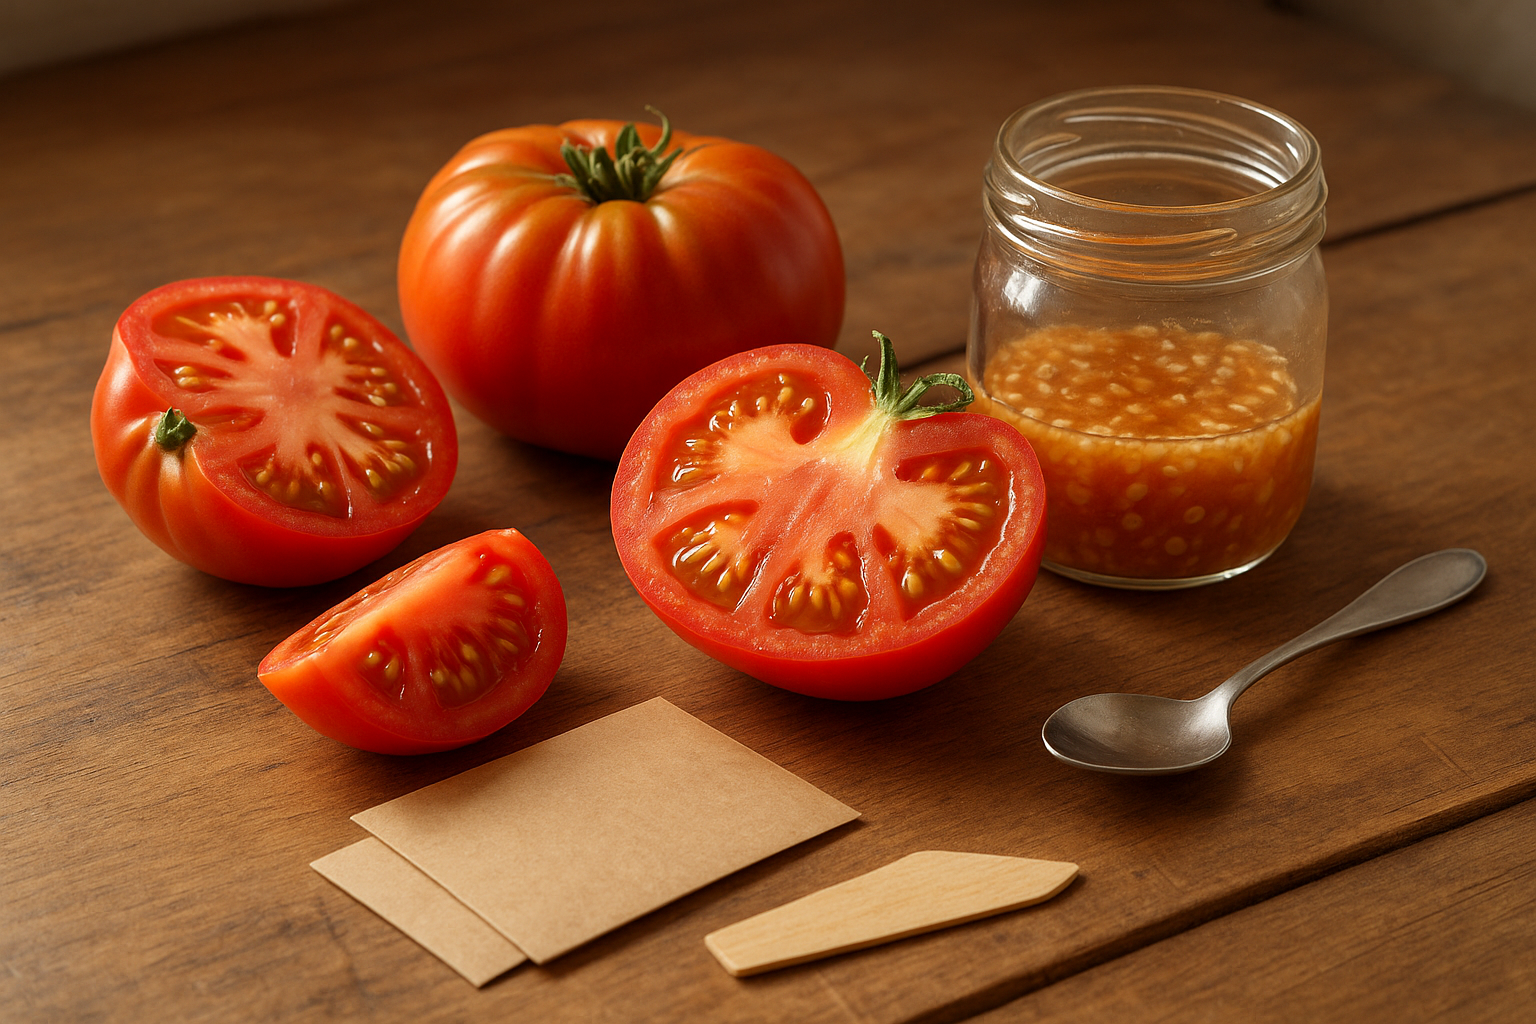
- 1 fully ripe open-pollinated or heirloom tomato
- A clean glass jar or cup
- A knife and spoon
- A little water, if the pulp is very thick
- Paper towel, coffee filter, paper plate, or fine mesh screen
- Fine mesh strainer
- Envelope or small paper packet for storage
- Pen or marker for labeling
Step-by-Step: How to Save Tomato Seeds
1. Scoop the Seeds and Gel Into a Jar
Cut the tomato across the middle, then squeeze or spoon the seed gel into a clean jar. You do not need much fruit flesh. If the seed mixture is very thick, add a tablespoon or two of water so it can swirl easily.
Do not seal the jar tightly. Fermentation produces odors and gases, and the mixture needs air. Cover it loosely with a paper towel, coffee filter, or jar lid set on top without tightening. Place the jar somewhere out of direct sun where it will not be knocked over.
2. Let the Seeds Ferment Briefly
Let the jar sit for about 2 to 4 days, checking it daily. University extension resources describe tomato seed fermentation as a useful wet-seed method because it helps separate seeds from the gel coating; Oregon State Extension also notes that fermentation microorganisms can help destroy some seed-borne disease organisms. ([extension.oregonstate.edu](https://extension.oregonstate.edu/catalog/em-9663-step-step-guide-saving-seeds?utm_source=openai))
You may see a pale film or moldy-looking layer form on top. That is normal. The mixture will smell sour, so this is not a job to do beside a fruit bowl or dinner prep area.
Do not forget the jar for a week. Over-fermenting can reduce seed quality. Once the gel loosens and many seeds sink when stirred, move on to rinsing.
3. Rinse and Separate the Good Seeds
Add clean water to the jar, stir or swirl, and let the seeds settle for a moment. Pour off the floating pulp, scum, and any seeds that continue to float. Heavier, mature seeds usually settle to the bottom.
Repeat with fresh water until the water is mostly clear. Then pour the seeds into a fine mesh strainer and rinse well. Rub them gently with your fingers under running water to remove any remaining slick coating.
4. Dry the Seeds Completely
Spread the rinsed seeds in a single layer on a paper plate, coffee filter, paper towel, or fine screen. A paper plate or coffee filter is easier than slick plastic because it helps wick away moisture. Separate clumps with your fingertip while the seeds are still wet.
Set the seeds in a warm, dry, well-ventilated spot out of direct sun. Stir or rub them apart once a day so they dry evenly. Depending on humidity, drying can take several days to a week. Seeds should feel dry and hard, not bendy or tacky, before you store them.
How to Store Saved Tomato Seeds
Once fully dry, place the seeds in a paper envelope or seed packet. Label it right away with:
- Tomato variety name
- Year saved
- Plant notes, such as “best flavor,” “early,” or “crack resistant”
- Any special location note, such as “back raised bed”
Store packets in a cool, dark, dry place. A closet shelf is usually better than a garage, shed, or greenhouse, where heat and humidity swing up and down. If your house is humid, you can place the paper packet inside a glass jar with a small food-safe desiccant packet, but only after the seeds are completely dry.
Can You Skip Fermentation?
Yes, for casual home gardening, many gardeners simply smear tomato seeds on a paper towel, let them dry, and plant the bits of towel with the seeds in spring. It can work.
Fermentation is still the better method when you want cleaner seeds, better separation, and a more reliable seed packet. The wet fermentation process is widely recommended for tomatoes because it removes the gel surrounding the seeds; University of Maine Cooperative Extension also recommends starting with clean, disease-free, fully ripe fruits for fruited crops such as tomatoes. ([extension.umaine.edu](https://extension.umaine.edu/publications/2750e/?utm_source=openai))
Common Tomato Seed-Saving Mistakes
- Saving from hybrid tomatoes: The seeds may sprout, but the next plants may not match the tomato you liked.
- Using diseased fruit: Fermentation is helpful, but it is not magic. Do not save seed from badly diseased plants.
- Storing damp seeds: Moist seeds can mold in storage. Dry them longer than you think you need to.
- Forgetting labels: Tomato seeds look alike. Label before you set the packet down.
- Fermenting too long: A short ferment is enough. Check daily and rinse once the gel breaks down.
When to Plant Your Saved Seeds
Most gardeners start tomato seeds indoors about 6 to 8 weeks before their average last spring frost date, then transplant seedlings outdoors after frost danger has passed and the soil has warmed. Your exact timing depends on your region, so use your local extension frost guidance or a trusted local planting calendar.
Before planting a whole tray, you can test a few seeds. Place 10 seeds on a damp paper towel, tuck it into a plastic bag, and keep it warm. If most sprout, your saved seed is in good shape. If only a few sprout, sow extra or buy a fresh packet as backup.
The Handy Hearth Takeaway
Saving tomato seeds is one of those small garden chores that feels especially satisfying in winter, when you pull out a packet from last summer’s best plant. Choose a ripe heirloom or open-pollinated tomato, ferment the seeds for a few days, rinse well, dry thoroughly, and store them somewhere cool and dry. Next spring, you will have a little piece of this year’s garden ready to grow again.