How to Fix a Drafty Door Without Replacing It
A drafty exterior door can make a room feel chilly even when the heat is running. The good news: you usually do not need a new door. Most leaks come from worn weatherstripping, a gap under the door, cracked caulk around the frame, or a door that no longer closes tightly.
This guide walks through how to fix a drafty door in a practical order, starting with the easiest checks and moving toward slightly more involved repairs. Air sealing around doors and windows is one of the simple DIY fixes ENERGY STAR recommends for comfort and energy efficiency, and broader air sealing and insulation can save up to 10% on annual energy bills. ([energystar.gov](https://www.energystar.gov/saveathome/seal_insulate?utm_source=openai))
What You’ll Need
- Flashlight or bright lamp
- Painter’s tape or sticky notes for marking leaks
- Self-adhesive foam or rubber weatherstripping
- Door sweep or door bottom seal
- Exterior-grade paintable caulk for gaps around trim
- Caulk gun
- Utility knife or scissors
- Screwdriver or drill
- Putty knife or scraper
- Rags and mild cleaner
- Optional: backer rod for wider trim gaps
Step 1: Find Where the Door Is Leaking
Start with the door closed and locked. Look around all four sides: the hinge side, latch side, top, and bottom. If you see daylight, you have an air path. If you do not see light, use your hand to feel for moving air on a windy day.
A simple paper test also helps. Close the door on a strip of paper at several spots around the frame. If the paper slides out with almost no resistance, the weatherstripping is not compressing enough there. Mark each loose spot with painter’s tape so you are not guessing later.
Pay close attention to the bottom corners. These are common trouble spots because the sweep, threshold, and side weatherstripping all have to meet neatly. A tiny opening there can feel much bigger when cold air is moving through it.
Step 2: Tighten the Door Before Adding New Materials
Before you install anything, check whether the door is hanging correctly. Open the door and tighten the hinge screws, especially the top hinge. A sagging door can create a wide gap at the top latch-side corner and make the latch side rub at the bottom.
If the screws spin without tightening, remove one at a time and fill the hole with wood glue and wooden toothpicks or a golf tee. Let it set, trim it flush, then drive the screw again. For a heavier door, replacing one short screw in the top hinge with a 2 1/2- or 3-inch screw can help pull the jamb more snugly to the framing.
Also check the strike plate. If the latch barely catches, the door may not be pulling tight against the weatherstripping. Loosen and adjust the strike plate slightly if needed, or replace it if it is bent or worn.
Step 3: Replace Worn Weatherstripping Around the Sides and Top
Weatherstripping is the flexible seal that compresses when the door closes. If yours is flattened, cracked, missing, painted stiff, or pulling loose, replace it. The U.S. Department of Energy describes caulking and weatherstripping as simple air-sealing techniques with quick returns, often paying for themselves in a year or less. ([energy.gov](https://www.energy.gov/cmei/buildings/articles/energy-efficient-home-improvement-credit-insulation-and-air-sealing?utm_source=openai))
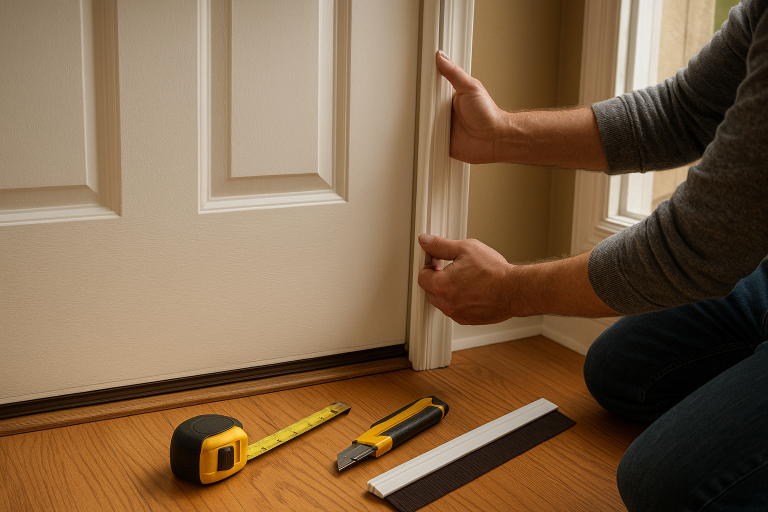
For many doors, self-adhesive foam or rubber weatherstripping is the easiest DIY option. It is inexpensive and works well when the gaps are fairly even. Clean the door stop first so the adhesive can grip. Let it dry completely before applying the strip.
- Remove old loose weatherstripping and scrape away adhesive residue.
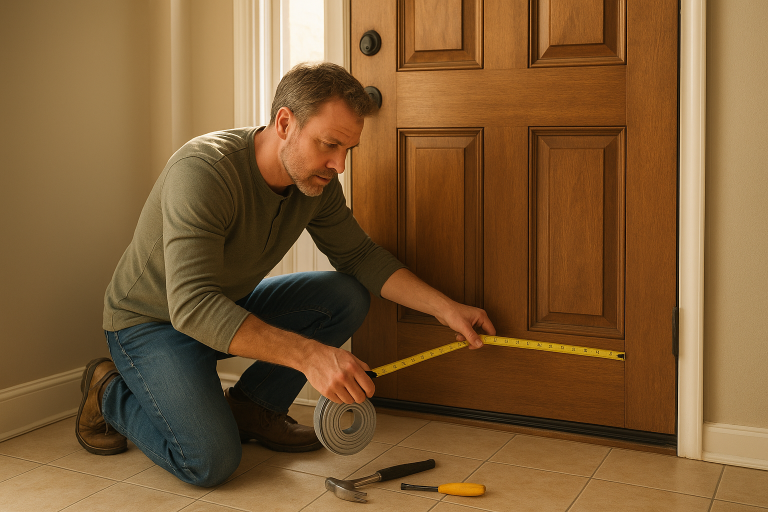
- Measure the latch side, hinge side, and top separately.
- Cut each strip slightly long, then trim for a neat fit.
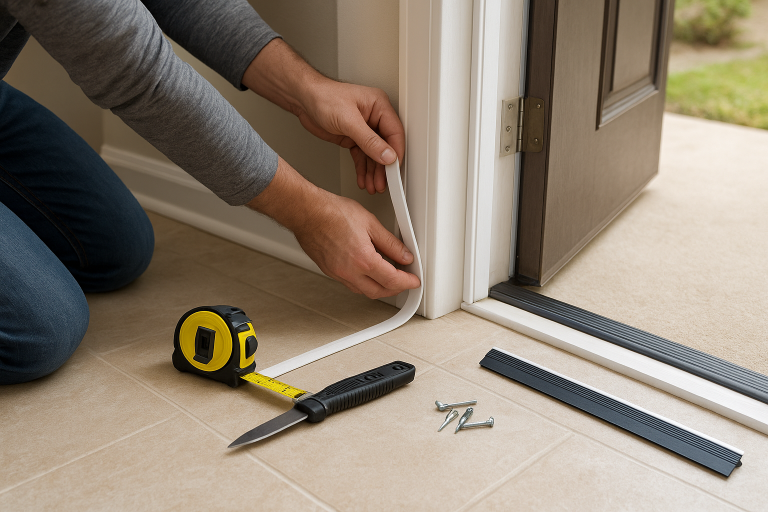
- Peel the backing a little at a time and press the strip firmly into place.
- Close the door and check that it latches without slamming.
The seal should compress, not crush. If the door suddenly will not latch, the weatherstripping may be too thick or placed too far forward. Move it back slightly on the door stop or choose a thinner profile.
Step 4: Add or Replace the Door Sweep
If the draft is coming from under the door, install a door sweep. This is usually a metal, vinyl, rubber, or bristle strip fastened to the inside face of the door. It closes the gap between the door and the threshold.
Measure the width of the door and cut the sweep to fit if needed. Hold it in place with the flexible fin just touching the threshold. It should block air without dragging so hard that the door becomes difficult to open.
- Close the door and position the sweep along the bottom edge.
- Mark the screw holes with a pencil.
- Drill small pilot holes if the door is wood or metal.
- Screw the sweep on loosely at first.
- Open and close the door, adjust the height, then tighten the screws.
For uneven floors or older thresholds, a bristle sweep may glide more easily than a solid rubber fin. For a very cold entry, a U-shaped door bottom that wraps under the door can make a stronger seal, but you may need to remove the door to install it.
Step 5: Adjust the Threshold If You Have One
Many exterior doors have an adjustable threshold with visible screw heads along the top. Turn the screws a little at a time to raise or lower the threshold. Your goal is light contact with the door bottom seal across the full width.
Do not raise it too high. If the door rubs hard, the sweep will wear out quickly and the door may not latch properly. A good test is to close the door on a dollar bill or paper strip at several points. You should feel slight resistance when you pull it out.
Step 6: Caulk Gaps Around the Door Trim
Weatherstripping handles moving parts. Caulk handles stationary gaps. Check where the exterior and interior door trim meets the wall or siding. Cracked, missing, or separated caulk can let air move behind the trim and around the door frame.
ENERGY STAR notes that leaks around windows and doors can cause drafts and energy losses, and recommends sealing behind window and door trim with appropriate materials such as non-expanding window-and-door foam, caulk, or backer rod depending on the gap. ([energystar.gov](https://www.energystar.gov/saveathome/seal_insulate/sealing-window-door?utm_source=openai))
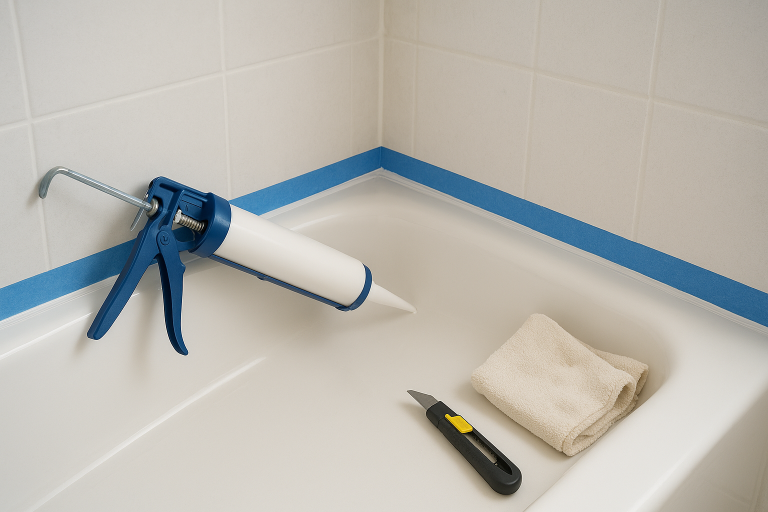
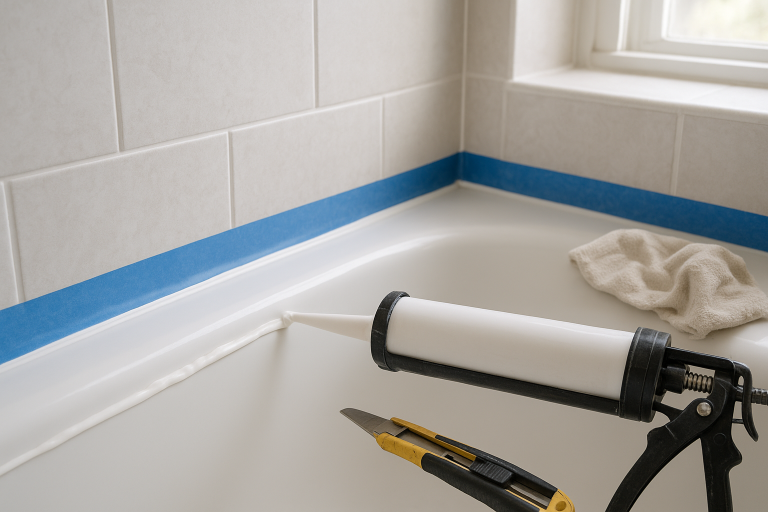
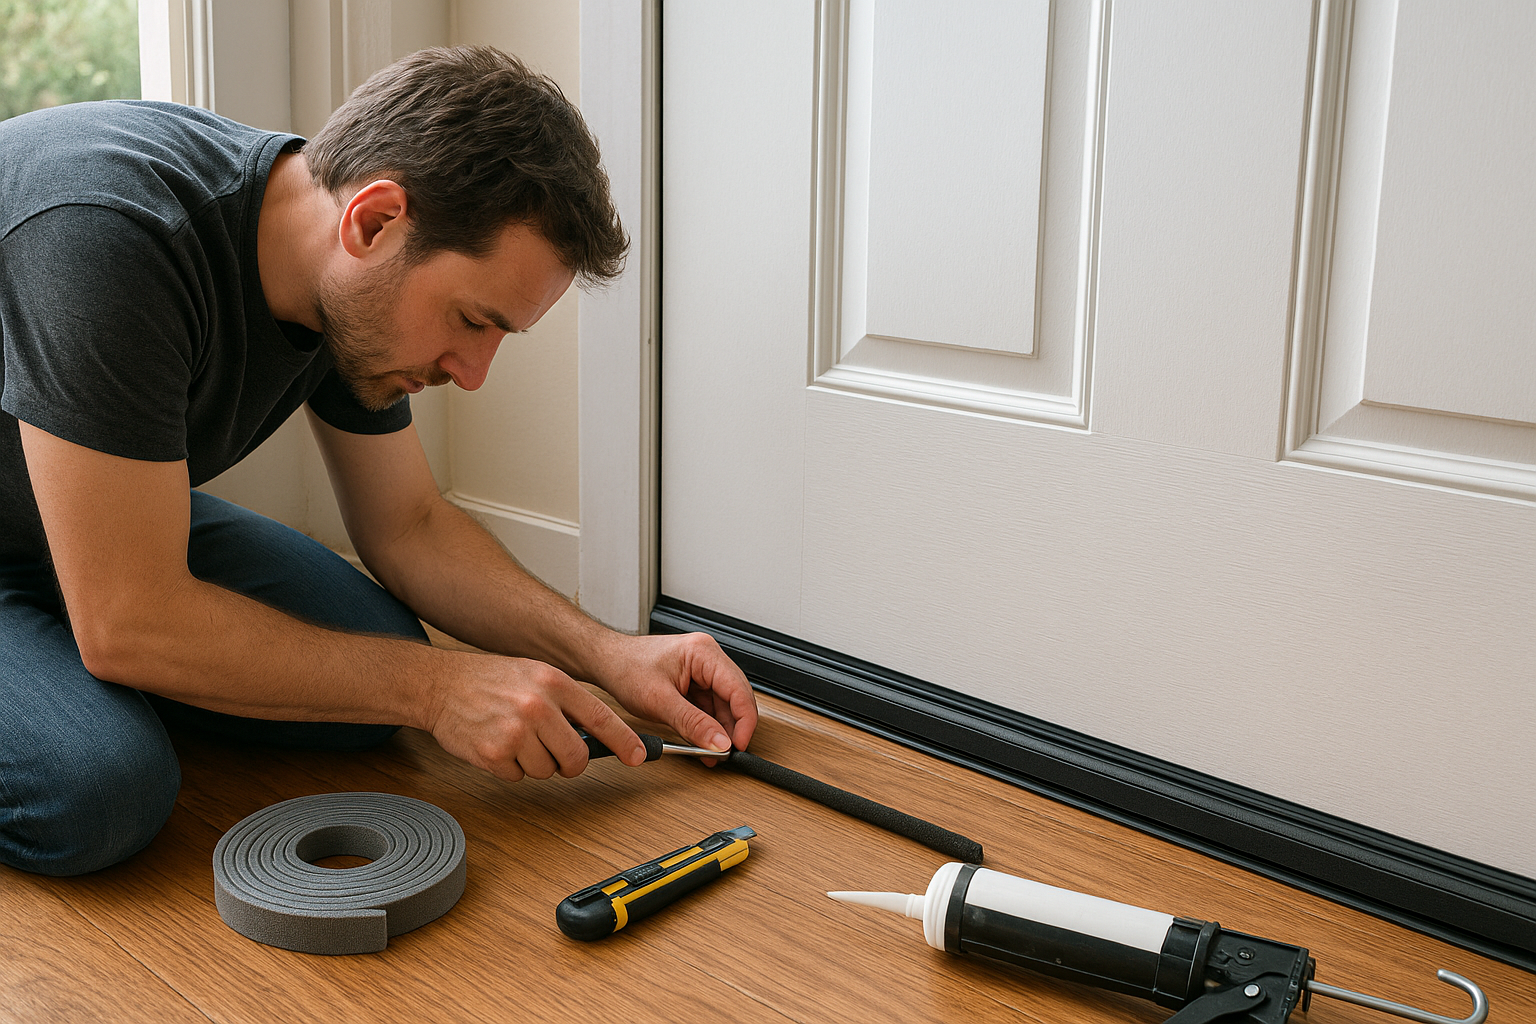
For narrow cracks, scrape away loose old caulk, clean the surface, and apply a smooth bead of exterior-grade caulk. For a wider gap, press foam backer rod into the opening first, then caulk over it. Backer rod gives the caulk something to bridge so it does not sink into the gap or fail early.
Avoid regular expanding spray foam around a door frame unless the product specifically says it is for windows and doors. High-expansion foam can bow the jamb and make the door harder to close.
Step 7: Seal the Bottom Corners
If the door still leaks after the sweep and weatherstripping are in place, inspect the lower corners again. The sweep may not meet the side weatherstripping tightly. Many hardware stores sell small corner seal pads for this exact problem.
To install them, clean the lower jamb area, peel the backing, and press the pad where the door bottom, threshold, and side jamb meet. Close the door and check for compression. These little pads can stop the annoying cold stream you feel near your ankles.
When a Drafty Door Needs More Than Weatherstripping
Sometimes a draft points to a bigger issue. Consider a more involved repair if the door slab is warped, the frame is rotted, the threshold is loose or damaged, or water is getting in during rain. Soft wood, dark staining, peeling paint, or a musty smell near the sill can mean moisture damage that should be fixed before you simply seal it up.
If your home has combustion appliances such as a gas furnace, boiler, or water heater, be thoughtful about major air-sealing projects. ENERGY STAR advises that inspection and testing by a home energy professional can help identify combustion-related health and safety issues before air sealing or efficiency upgrades. ([energystar.gov](https://www.energystar.gov/saveathome/seal_insulate/identify-problems-you-want-fix?utm_source=openai))
Quick Drafty Door Troubleshooting
- Daylight on the latch side: Replace side weatherstripping and check the strike plate.
- Gap under the door: Install or adjust a door sweep.
- Draft at bottom corners: Add corner seal pads.
- Cold air around trim: Caulk narrow gaps or use backer rod plus caulk for wider ones.
- Door rubs after sealing: Use thinner weatherstripping or adjust the sweep and threshold.
- Door is sagging: Tighten hinge screws before adding seals.
The Bottom Line
The best way to fix a drafty door is to treat each leak where it actually happens: tighten the door, replace worn weatherstripping, seal the bottom with a sweep, adjust the threshold, and caulk gaps around the trim. Work slowly and test the door after each step. A snug, easy-closing door is the goal—not one you have to shoulder shut every time you come inside.