5 Rose Black Spot Mistakes That Make It Spread
Rose black spot is one of those garden problems that can catch even careful growers off guard. The fungus takes advantage of damp leaves, crowded growth, and leftover plant debris, then keeps returning if the conditions stay friendly.
The good news is that you do not need to overhaul your whole rose bed to get better results. A few small changes in watering, pruning, cleanup, and plant spacing can make a big difference in how often black spot shows up.
What Rose Black Spot Does to a Plant
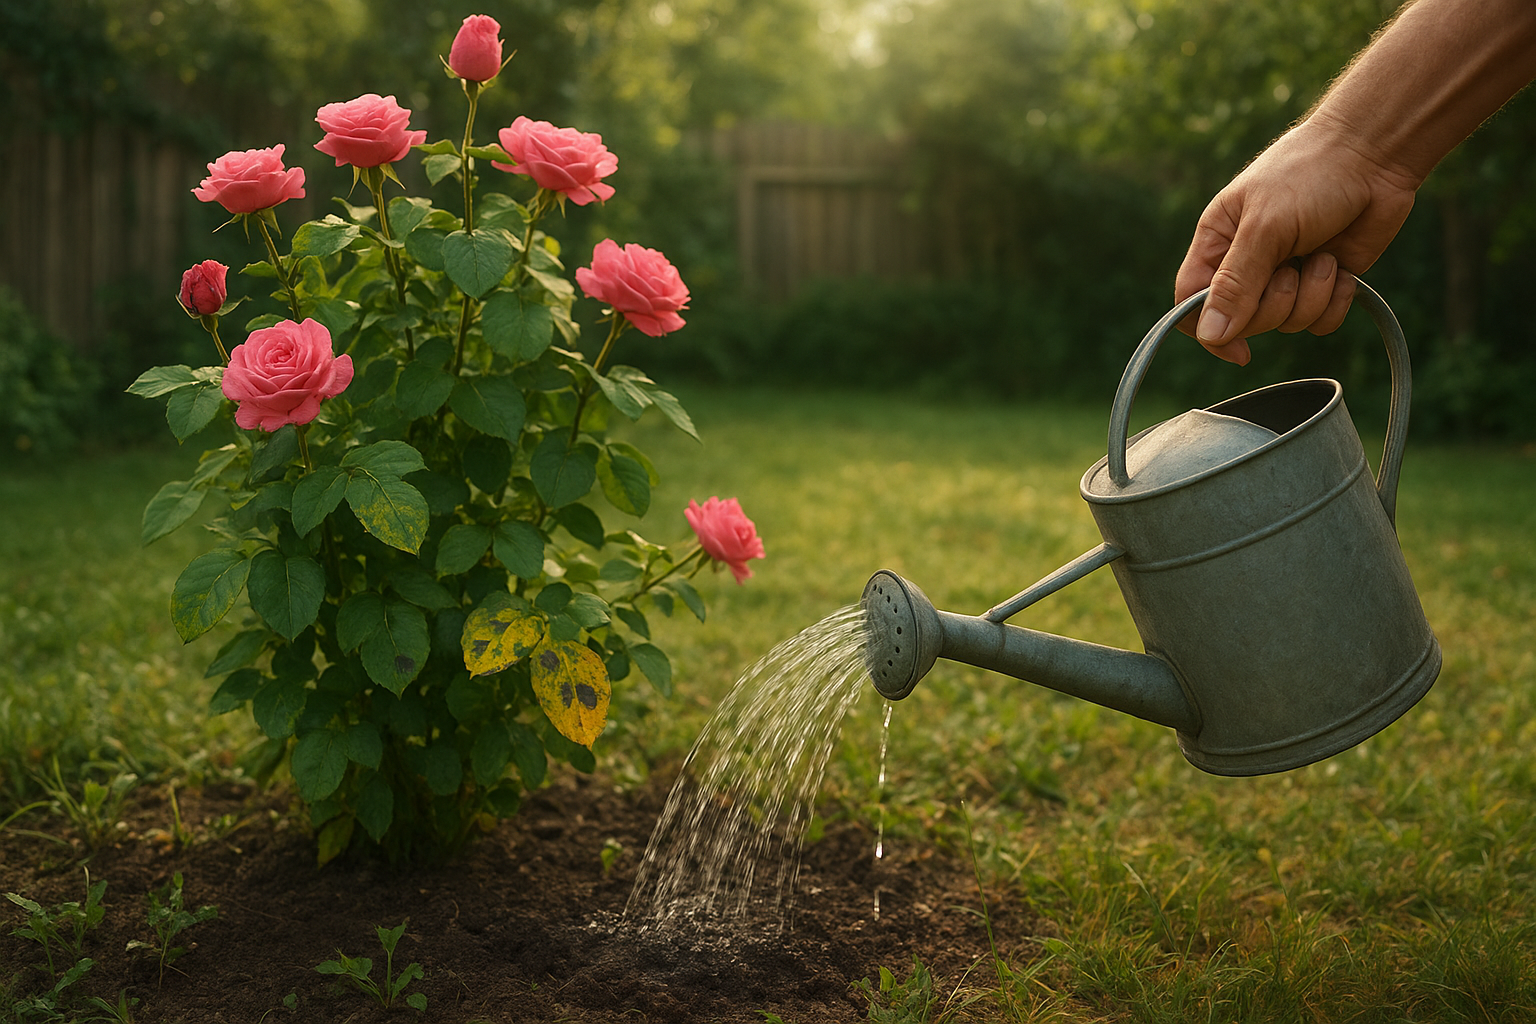
Rose black spot is a fungal disease that starts with dark, rounded spots on leaves. The spots are usually surrounded by yellowing, and affected leaves often drop early. When the disease is active for long enough, the plant can lose much of its foliage before the season ends.
That leaf drop is more than cosmetic. Roses need their leaves to gather energy for new blooms and healthy canes. If black spot strips them bare too often, the plant goes into winter weaker than it should be.
The fungus spreads most easily when leaves stay wet for long stretches, especially in warm weather. That means many of the most common rose-care habits can accidentally make the disease worse.
Mistake 1: Watering the Leaves Instead of the Roots
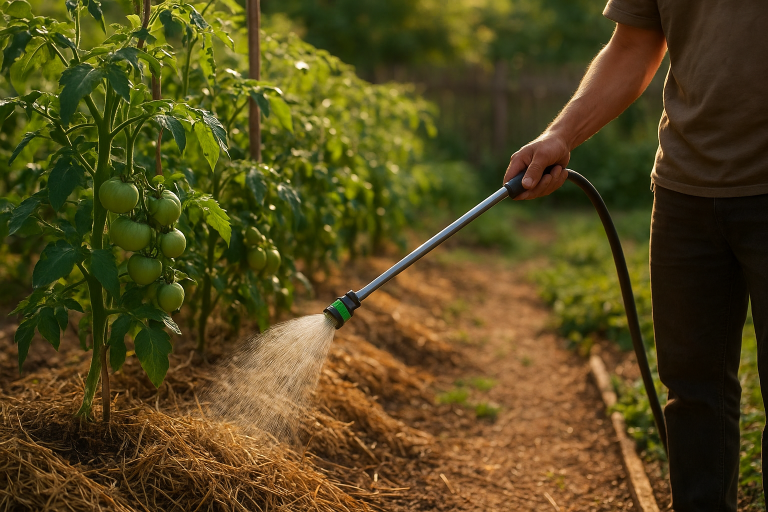
Spraying roses from above is one of the fastest ways to help black spot spread. Wet foliage gives the fungus the moisture it needs to infect new leaves, especially when the plant stays damp overnight.
It is easy to understand why overhead watering happens. A hose or sprinkler seems quicker, and it can be tempting on hot days when the whole garden looks thirsty. But roses do much better when water goes directly to the soil.
Better approach
- Water at the base with a hose, watering wand, or drip system.
- Water early in the day so any splashes on the leaves dry quickly.
- Water deeply rather than a little every day, so roots grow downward.
If you use a sprinkler on the lawn nearby, try to keep it from soaking the rose foliage. Even a few repeated wet nights can keep the disease cycle going.
Mistake 2: Watering in the Evening
Timing matters almost as much as method. Evening watering can leave leaves and stems damp for hours, and that long wet window is exactly what black spot wants.
Morning is usually the best time to water roses. The plant has the whole day to dry off, and the sun and breeze do part of the work for you. If you live in a very hot climate, early morning is even more helpful because the soil can absorb moisture before the day heats up.
Simple rule to follow
If the leaves will still be wet when the sun goes down, the watering time is probably too late.
Mistake 3: Letting Fallen Leaves Sit Under the Bush
Black spot does not disappear when a leaf drops. In fact, fallen leaves can carry fungal spores that help restart the disease later. If infected foliage stays beneath the plant, rain and splashing water can move those spores back onto healthy leaves.
This is why cleanup matters so much in rose care. A tidy bed is not just about appearance; it is part of disease prevention.
What to do instead
- Pick up fallen leaves regularly, especially after wet weather.
- Remove badly infected foliage from the plant as soon as you notice it.
- Do not compost diseased rose leaves unless your compost pile gets hot enough to destroy pathogens.
- At the end of the season, clear away every bit of debris around the base of the bush.
A thin layer of mulch can help by reducing splashing from soil back onto the leaves. Just keep the mulch a few inches away from the cane base so the crown does not stay too moist.
Mistake 4: Crowding Roses Too Close Together
Roses need airflow. When bushes are packed tightly, moisture lingers longer between leaves, and that gives fungus more time to settle in. A crowded bed can also make it harder to inspect the plant and remove infected leaves early.
Some gardeners plant roses close together because the bed looks fuller right away. The problem is that a dense planting can create a damp, shaded pocket that stays wet after rain or overhead watering.
How to improve air circulation
- Give each shrub enough room for its mature size, not just its size at planting time.
- Prune lightly but regularly to open the center of the plant.
- Remove weak, crossing, or inward-growing canes so air can move through the bush.
- Keep nearby weeds and tall companions trimmed so they do not trap humidity around the roses.
Think of the goal as dry leaves, not just pretty shape. Good airflow helps the plant dry faster after dew, rain, or watering.
Mistake 5: Leaving Infected Growth on the Plant Too Long
Once black spot is visible, affected leaves should not be ignored. The fungus can keep producing spores on diseased tissue, which means the problem may spread to fresh growth if the infected leaves remain in place.
Many gardeners hesitate to remove too much because they do not want to stress the plant. That concern is fair, but leaving obviously infected foliage behind often does more harm than a careful cleanup.
How to prune safely
- Use clean, sharp pruners so cuts heal well.
- Remove the worst leaves first, especially those low on the plant.
- Disinfect tools between plants if black spot is widespread.
- Prune to open the canopy, but avoid cutting too hard in one go unless the plant is severely affected.
If the plant is heavily infected, a more thorough cleanup may be worth it. Roses are resilient, and reducing disease pressure now can help them produce healthier growth later in the season.
Extra Steps That Help Roses Stay Healthier
Once you fix the main mistakes, a few supporting habits can make black spot easier to manage year after year.
- Choose disease-resistant varieties when planting new roses.
- Feed roses appropriately so they grow steadily without sending out overly soft, weak growth.
- Water consistently during dry spells to reduce stress.
- Watch new growth closely after rainy periods, since early spotting is easier to control than a full outbreak.
If black spot has been a repeat visitor in your garden, resistance matters. Some rose varieties are naturally better at tolerating common fungal diseases, which can save you a lot of cleanup over time.
When Treatment Makes Sense
Good culture is the foundation, but there are times when a fungicide can be useful too. If your roses already have active black spot and weather conditions keep favoring spread, a labeled fungicide may help protect new growth while you improve care habits.
Always follow the product label exactly, and remember that treatment works best as part of a broader plan. Spraying alone will not fix crowded planting, wet foliage, or a bed full of infected leaves.
A Simple Black Spot Prevention Routine
If you want an easy routine to follow through the season, use this checklist:
- Check roses weekly for yellowing leaves and dark spots.
- Water the soil, not the foliage, preferably in the morning.
- Remove fallen leaves from around the base of the plant.
- Prune for airflow when the plant gets dense.
- Dispose of infected material so spores do not stay in the bed.
Black spot can be stubborn, but it is not unbeatable. In many gardens, the biggest improvement comes from drying leaves faster and cleaning up infected debris more consistently. Once those habits become routine, roses have a much better chance of staying leafy, healthy, and blooming well into the season.