How to Clean a Dehumidifier So It Runs Better
A dehumidifier is one of those humble appliances you only notice when the basement starts smelling damp or the laundry room feels sticky. But if the filter is dusty, the bucket is slimy, or the drain hose is gunky, it has to work harder than it should.
Here is a simple, safe way to clean a dehumidifier without overcomplicating it. The goal is to keep air moving, water draining, and musty odors from building up in the machine.
Why Cleaning Your Dehumidifier Matters
A dehumidifier pulls moist air across cold coils, collects water, and sends drier air back into the room. That means dust, pet hair, mineral residue, and damp grime can all collect inside the unit over time.
Keeping indoor humidity under control is not just about comfort. The EPA recommends keeping indoor relative humidity below 60%, ideally between 30% and 50% when possible, and the CDC says home humidity should be kept no higher than 50% all day to help limit mold growth. ([epa.gov](https://www.epa.gov/mold/mold-course-chapter-2?utm_source=openai))
ENERGY STAR also notes that certified dehumidifiers use more efficient components to remove moisture, but even an efficient machine needs clear airflow and regular care to do its job well. ([energystar.gov](https://www.energystar.gov/products/dehumidifiers?utm_source=openai))
How Often Should You Clean a Dehumidifier?
Use this schedule as a practical starting point:
- Empty the bucket: Daily or whenever it fills.
- Rinse the bucket: Once a week during heavy use.
- Clean the filter: Every 2 to 4 weeks, or more often in dusty rooms.
- Check the drain hose: Monthly if you use continuous drain mode.
- Deep clean before storage: At the end of the humid season.
If your dehumidifier runs in a basement, workshop, laundry area, or near a litter box, lean toward the more frequent side. Dust and lint build up fast.
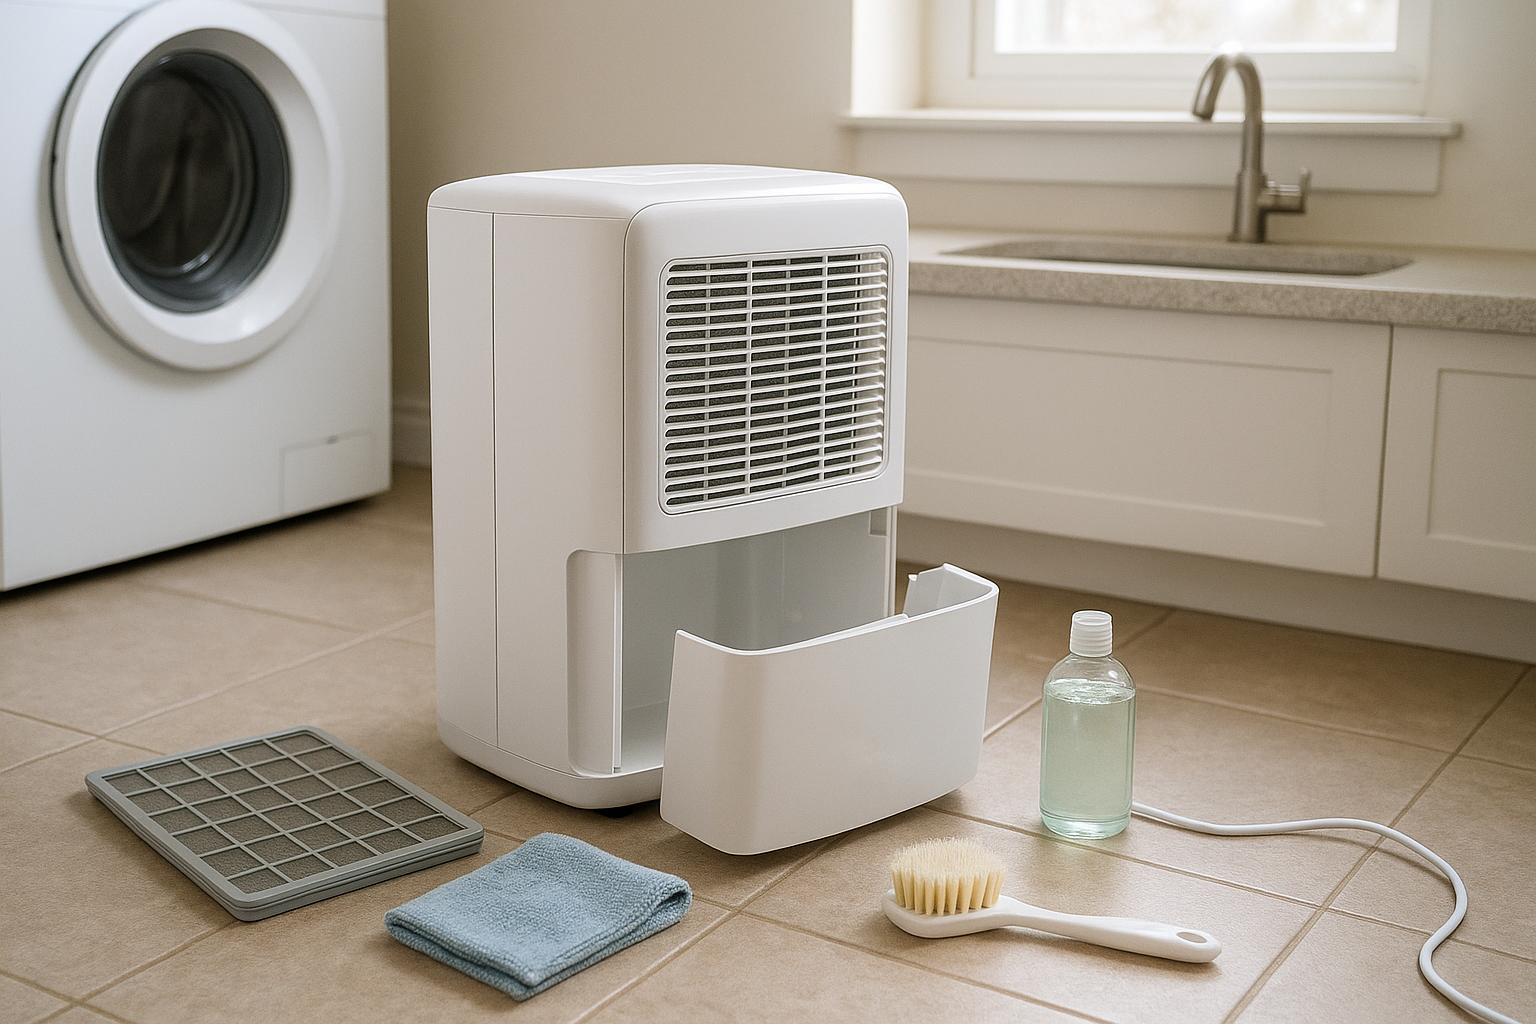
What You’ll Need
- Mild dish soap
- Warm water
- Microfiber cloths or clean rags
- Soft brush or old toothbrush
- Vacuum with brush attachment
- White vinegar, optional for odors and mineral film
- Small bottle brush, optional for drain hoses
Always check your owner’s manual first. Some buckets, filters, and grilles are removable in a specific order, and some models have parts that should not be soaked.
Step 1: Turn It Off and Unplug It
Before cleaning, turn the dehumidifier off and unplug it from the wall. Do not clean it while it is running, and do not spray water into the machine. You are cleaning a water-collecting appliance, but it is still an electrical appliance.
Move the unit to a spot where a little water will not hurt anything, such as a laundry room, garage, or near a utility sink. If the bucket is full, carry it slowly so it does not slosh into the housing.
Step 2: Empty and Wash the Water Bucket
Remove the bucket and pour out the collected water. Wash the bucket with warm water and a few drops of mild dish soap. Use a soft cloth or sponge to wipe the bottom, corners, handle area, and float mechanism if your model has one.
If the bucket smells musty, fill it with a mix of warm water and a splash of white vinegar. Let it sit for 10 to 15 minutes, then scrub gently and rinse well. Do not leave vinegar sitting on metal parts, and avoid harsh cleaners unless your manual specifically allows them.
Dry the outside of the bucket before putting it back. The inside can air-dry, but there should not be standing cleaner or suds left behind.
Step 3: Clean the Filter
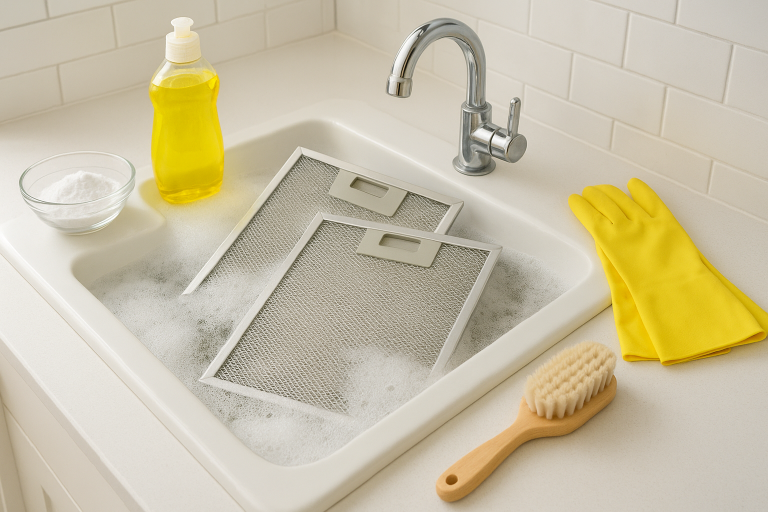
The air filter is usually behind a front or rear grille. Slide or pop it out according to the manual. If it is a washable mesh filter, rinse it under lukewarm running water from the clean side toward the dirty side to push dust out instead of deeper in.
For stubborn dust, use a soft brush and a little mild soap. Rinse thoroughly, shake off excess water, and let the filter dry completely before reinstalling it. A damp filter can encourage musty smells and restrict airflow.
If your model uses a disposable filter, replace it instead of washing it. Never run the dehumidifier without the filter unless the manufacturer specifically says it is safe.
Step 4: Vacuum the Intake and Exterior Grilles
While the filter is drying, vacuum the intake grille, exhaust grille, and any dusty seams around the case. Use a brush attachment and light pressure. This helps remove lint and pet hair before it gets pulled inside.
Wipe the outside of the unit with a damp microfiber cloth. Pay attention to the control panel, handle, and the area where the bucket slides in. Do not let water drip into buttons, vents, or the cord connection.
Step 5: Check the Coils Without Damaging Them
If your manual gives access to the coils, inspect them for dust. Use a vacuum brush carefully around the accessible area, or use a soft brush to loosen dust. The fins can bend easily, so do not scrub hard or poke them with a metal tool.
If the coils are very dirty, iced over repeatedly, or smell sour even after cleaning the bucket and filter, it may be time for professional service or replacement. A dehumidifier that cannot move air across clean coils will not remove moisture efficiently.
Step 6: Flush the Drain Hose
If you use continuous drainage, disconnect the hose and take it to a sink or outdoor spigot. Run clean water through it. If water drains slowly, use a bottle brush if it fits, or soak the hose in warm soapy water and rinse again.
Look for kinks, low spots, algae, or mineral buildup. ENERGY STAR advises placing a continuously draining unit close enough to a floor drain or sump so the hose does not need to be long and awkward. A short, steady downward run is less likely to clog or back up. ([energystar.gov](https://www.energystar.gov/products/dehumidifiers?utm_source=openai))
Step 7: Let Everything Dry, Then Reassemble
Let the bucket, filter, and hose dry before reassembling the machine. Slide the bucket in firmly so the float switch lines up. Reinstall the dry filter, reconnect the hose if using one, and plug the unit back in.
Set the humidity target thoughtfully. For many homes, a setting around 45% to 50% is a good starting point in damp seasons, as long as the room does not feel overly dry. Use a separate hygrometer if you want to double-check the reading on the machine.
Quick Troubleshooting After Cleaning
If the dehumidifier smells musty
Rewash the bucket, clean the filter, and check the drain hose. Also look around the room for the real moisture source: a foundation leak, wet carpet, dripping pipe, or blocked dryer vent can keep feeding the problem.
If it runs but collects little water
Make sure the filter is clean, the room is warm enough for the model, and the humidity setting is lower than the actual room humidity. If the air is already near your target, it may not collect much water.
If the bucket full light stays on
Remove and reseat the bucket. Check that the float moves freely and is not stuck with soap residue or grime.
Before You Store It
At the end of the season, empty and wash the bucket, clean and dry the filter, flush the hose, and let the unit air out for a day. Store it upright in a clean, dry spot. Frigidaire’s care guidance also recommends cleaning the filter and flushing drain hoses before reusing a stored unit. ([owner.frigidaire.com](https://owner.frigidaire.com/support-articles/article/1927766-dehumidifier-clean-and-care?utm_source=openai))
A clean dehumidifier is not fancy, but it is effective. Give it a little attention every few weeks, and it will do a better job keeping damp rooms fresher, drier, and easier to live with.