How to Clean a Dryer Vent Before It Becomes a Fire Risk
A clogged dryer vent is one of those home problems that is easy to ignore until laundry starts taking forever to dry. The good news: learning how to clean a dryer vent is a doable weekend task for many homeowners, and it can help your dryer run better and more safely.
Lint is highly flammable, and it does not all stay in the lint screen. The National Fire Protection Association has reported that dust, fiber, or lint was the item first ignited in 27 percent of home dryer fires, and ENERGY STAR recommends cleaning the lint filter after every load to improve airflow and efficiency. ([content.nfpa.org](https://content.nfpa.org/-/media/Project/Storefront/Catalog/Files/Research/NFPA-Research/US-Fire-Problem/osdryer.pdf?utm_source=openai))
How Often Should You Clean a Dryer Vent?
For most households, plan to clean the dryer exhaust duct about once a year. If you do laundry daily, have pets, wash lots of towels or bedding, or your vent run is long with several bends, check it more often.
The U.S. Department of Energy’s Building America guidance says cleaning the dryer duct annually can help clothes dry faster, save energy, and reduce fire risk. The Consumer Product Safety Commission also advises cleaning the dryer vent and exhaust duct periodically. ([basc.pnnl.gov](https://basc.pnnl.gov/diy-guides/clean-dryer-exhaust?utm_source=openai))
Signs Your Dryer Vent May Be Clogged
You do not have to wait for a calendar reminder. Your dryer will usually give you hints that airflow is restricted.
- Clothes need two cycles to dry. This is one of the most common warning signs.
- The dryer feels unusually hot. Heat that cannot escape properly can build up in and around the machine.
- The laundry room feels humid or hot. A vented dryer should move moist air outdoors.
- You smell a hot or slightly burnt odor. Stop using the dryer until you investigate.
- The outside vent flap barely opens. Weak airflow at the exterior vent usually means lint is blocking the path.
- Lint collects behind the dryer. This can point to a loose, crushed, or leaking transition duct.
Tools and Supplies You Will Need
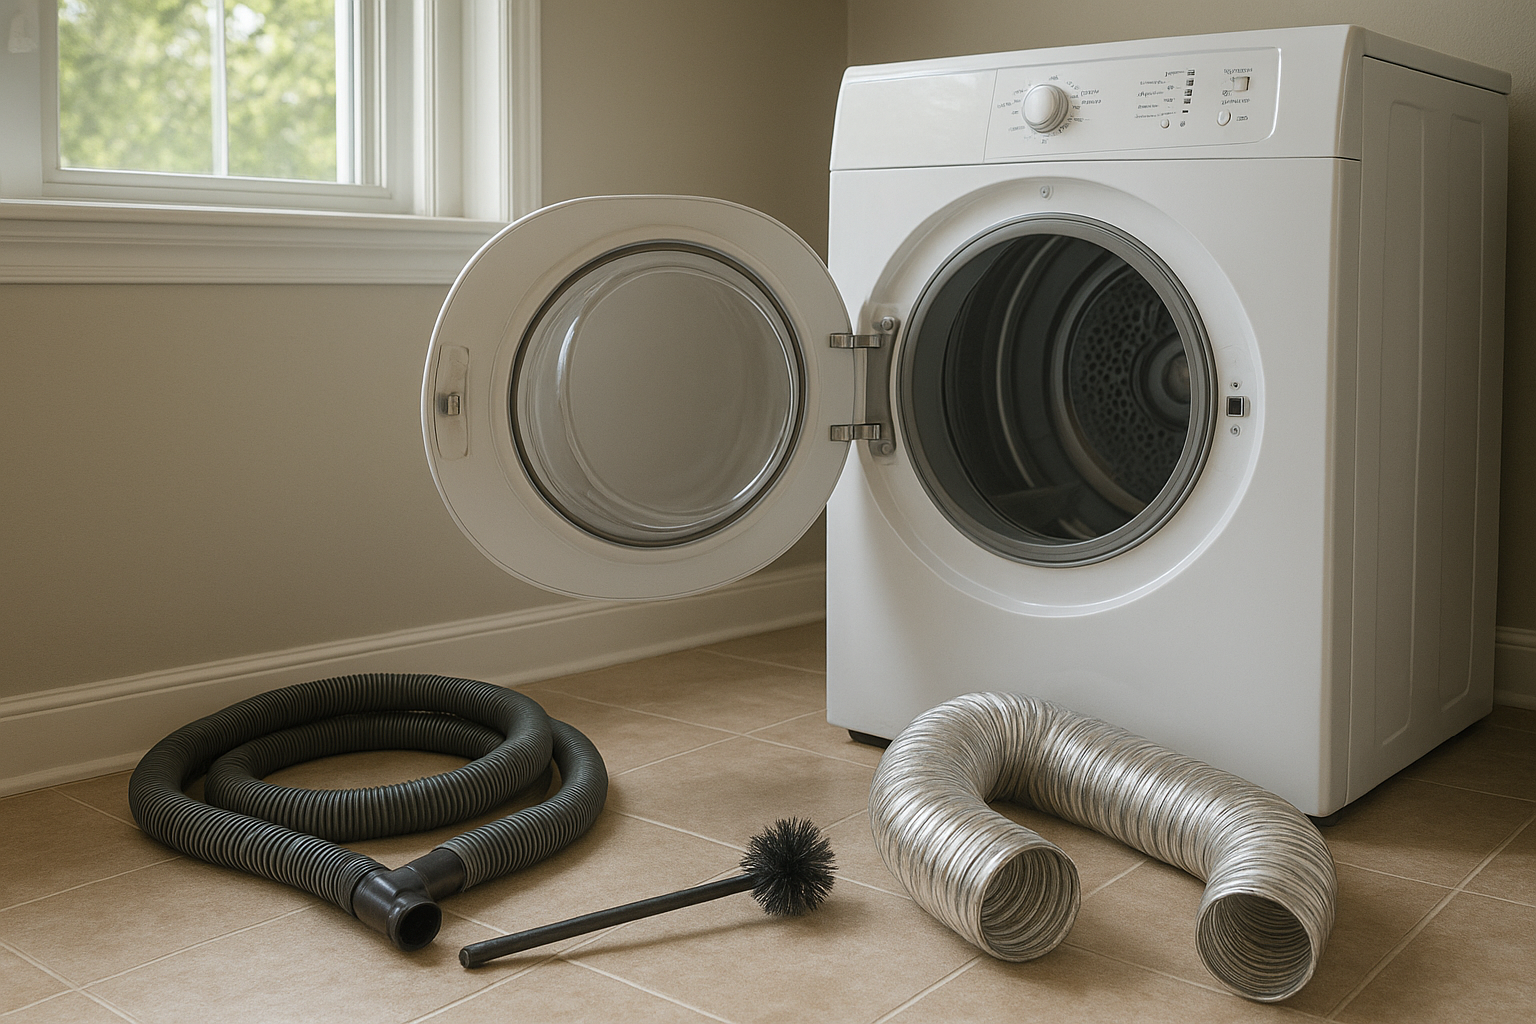
- Vacuum with hose attachment
- Dryer vent cleaning brush kit with flexible rods
- Screwdriver or nut driver
- Work gloves
- Flashlight
- Foil HVAC tape, if a joint needs resealing
- Broom or shop vacuum for cleanup
Skip plastic or vinyl dryer vent hose if you discover it behind your machine. The Department of Energy notes that spiral duct designs can restrict airflow and trap lint, and older plastic vent hose is a safety concern because it can burn and spread fire. Rigid or semi-rigid metal duct is the safer choice for the transition from dryer to wall. ([basc.pnnl.gov](https://basc.pnnl.gov/resource-guides/proper-clothes-dryer-venting?utm_source=openai))
Step-by-Step: How to Clean a Dryer Vent
1. Unplug the dryer
Safety comes first. For an electric dryer, unplug it from the outlet. For a gas dryer, unplug the power cord and avoid disturbing the gas line. If you need to move a gas dryer far enough that the gas line is strained, stop and call a qualified appliance technician.
2. Pull the dryer away from the wall
Move slowly so you do not crush the duct, scratch the floor, or pull anything loose. You only need enough room to reach the vent connection behind the dryer.
3. Disconnect the transition duct
Use a screwdriver or nut driver to loosen the clamp where the duct attaches to the dryer. Remove the duct from the dryer outlet and inspect it with a flashlight. If it is crushed, torn, full of holes, or made of plastic or thin foil, replace it with a rigid or semi-rigid metal duct.
4. Vacuum the dryer outlet
Use the vacuum hose to remove loose lint from the round exhaust opening on the back of the dryer. Do not shove anything deep into the dryer cabinet. If you see heavy lint inside the machine itself, schedule service rather than taking the dryer apart unless you are confident and have the manual.
5. Clean the duct from the inside
Feed the dryer vent brush into the duct opening in the wall. Rotate the brush as you push it forward, adding flexible rods as needed. Pull it back out often and remove lint from the bristles. Take your time; forcing the rods can separate them or damage the duct.
If your brush kit is designed for drill use, use the drill only as the kit instructions allow. Keep the drill speed low and always rotate in the direction that keeps the rods tightened together.
6. Clean from the outside vent
Go outdoors and find the dryer exhaust hood. Remove lint from the flap or louvers by hand, then brush into the duct from the exterior side if you can. A proper dryer vent cap should open freely and should not have a screen, because screens can trap lint and clog quickly. Building America notes that louvered vent caps for dryer ducts should not have screening that catches lint. ([basc.pnnl.gov](https://basc.pnnl.gov/diy-guides/clean-dryer-exhaust?utm_source=openai))
7. Reconnect the duct carefully
Reattach the transition duct to the dryer and wall connection. Tighten the clamps, then use foil HVAC tape on metal-to-metal joints if needed. Do not use regular cloth duct tape; heat and lint can make it fail.
8. Push the dryer back without crushing the vent
This step matters. A clean vent will not help much if the duct gets smashed flat when the dryer goes back into place. Leave enough space for a smooth path with the fewest bends possible.
9. Run a test cycle
Plug the dryer back in and run it on an air-only or low-heat setting for a few minutes. Go outside and check the vent. You should feel steady airflow, and the flap should open easily.
Do Not Forget the Lint Screen
The lint screen is your first line of defense, but it needs more than an occasional swipe. Clean it before or after every load. ENERGY STAR also recommends scrubbing the lint filter about once a month if you use dryer sheets, because they can leave a film that reduces airflow. ([energystar.gov](https://www.energystar.gov/products/clothes_dryers?utm_source=openai))
To test for residue, run water over the screen. If water pools instead of passing through easily, wash the screen with warm water, a little dish soap, and a soft brush. Let it dry completely before putting it back.
When to Call a Professional
Some dryer vents are simple: a short, straight run through an exterior wall. Others travel up, across ceilings, through roofs, or around several bends. Call a professional if your vent is longer than your brush kit can reach, exits on the roof, has a bird nest or pest problem, or still has weak airflow after cleaning.
You should also call for help if the dryer repeatedly overheats, shuts off mid-cycle, smells burnt, or shows an error code. A clogged vent is common, but heating elements, thermostats, moisture sensors, and internal lint buildup can also cause trouble.
A Simple Dryer Vent Maintenance Routine
- Every load: Clean the lint screen.
- Monthly: Vacuum around the lint screen slot and behind the dryer.
- Every few months: Check the outside vent flap for lint, leaves, snow, or animal nesting.
- Yearly: Disconnect and clean the dryer duct from end to end.
A clean dryer vent is not glamorous, but it is one of the most useful home maintenance jobs you can do. It helps laundry dry faster, reduces strain on the appliance, and removes a common source of lint buildup before it becomes a bigger problem.