How to Weatherstrip a Drafty Exterior Door
A drafty exterior door can make a whole room feel colder than it should, especially on windy days. The good news is that learning how to weatherstrip a drafty exterior door is a manageable weekend job for most homeowners, and it usually takes only basic tools.
Weatherstripping seals the top and sides of the door, while a door sweep or threshold seal handles the gap at the bottom. Together, these small fixes can make your entryway more comfortable and may help reduce heating and cooling waste; ENERGY STAR notes that sealing air leaks and adding insulation can save homeowners up to 10% on annual energy bills, while EPA estimates average savings of 15% on heating and cooling costs when air sealing is paired with insulation in key areas. ([energystar.gov](https://www.energystar.gov/saveathome/seal_insulate?utm_source=openai))
First, Find Where the Door Is Leaking
Before buying supplies, figure out exactly where the air is getting in. Close the door fully and inspect the reveal—the narrow line between the door and the frame—on the latch side, hinge side, and top. Look for daylight, uneven gaps, loose old foam, cracked rubber, or places where the door no longer touches the seal.
On a windy day, you can run your hand slowly around the door frame and bottom edge. Another simple check is the dollar bill test: close the door on a bill or sheet of paper, then pull. If it slides out with almost no resistance, the seal is too loose in that spot.
Do not skip the bottom of the door. A surprisingly large draft can come from a worn door sweep, a threshold that is set too low, or an uneven floor just inside the entry.
Choose the Right Weatherstripping
There are several types of weatherstripping, and the best choice depends on your door and the size of the gap.
- Adhesive foam tape: Easy and inexpensive, good for small, even gaps. It is the simplest option, but it may compress or peel sooner than sturdier materials.
- Rubber or vinyl bulb weatherstripping: A good all-purpose choice for exterior doors. It compresses well and tends to last longer than basic foam.
- V-strip tension seal: Useful for narrow gaps along the sides or top, especially where you need a flexible seal.
- Kerf-in weatherstripping: Common on newer prehung exterior doors. It presses into a groove in the jamb and gives a clean, durable seal.
- Door sweep: Attaches to the inside or outside face of the door to seal the bottom edge.
- Door shoe: Wraps around the bottom of the door and often includes a flexible vinyl insert; helpful when the old bottom seal is badly worn.
The Department of Energy describes caulking and weatherstripping as simple, effective air-sealing techniques, with caulk suited for stationary cracks and weatherstripping suited for movable parts such as doors and operable windows. ([energy.gov](https://www.energy.gov/cmei/buildings/articles/energy-efficient-home-improvement-credit-insulation-and-air-sealing?utm_source=openai))
Tools and Supplies
For a basic exterior door weatherstripping job, gather these items before you start:
- Tape measure
- Utility knife or heavy scissors
- Screwdriver or drill
- Putty knife or scraper
- Rubbing alcohol and a clean rag
- New weatherstripping for the top and sides
- Door sweep or replacement bottom seal
- Exterior-grade caulk, if there are cracks around trim
- Pencil
If your door has old adhesive residue, a plastic scraper and a little patience will help the new strip bond properly. For screw-on weatherstripping, save the old screws only if they are not rusty or stripped.
Step 1: Remove Old Weatherstripping
Open the door and pull away the old weatherstripping. Adhesive foam may peel off by hand, while screw-on metal, vinyl, or rubber strips will need to be unscrewed. Kerf-in weatherstripping usually pulls straight out of the groove in the jamb.
Clean the surface well. Dirt, loose paint, and old adhesive can keep the new material from sealing tightly. Wipe the area with rubbing alcohol and let it dry before installing adhesive-backed products.
Step 2: Measure the Door Jamb
Measure the left side, right side, and top of the door frame separately. Do not assume both sides are identical, especially in an older house. Cut each piece of weatherstripping slightly long at first; you can trim it for a snug fit.
For the best seal, the side pieces should meet the top piece neatly at the corners. Gaps at the corners can undo some of the benefit of the project, so take your time here.
Step 3: Install the Top and Side Weatherstripping
Start with the hinge side or latch side, depending on the product instructions. With the door closed, position the weatherstripping so it lightly compresses against the door without making the door difficult to latch.
If you are using adhesive-backed foam or rubber, peel away a short section of backing at a time and press firmly as you work down the jamb. Avoid stretching the material, because it may shrink back later and leave gaps.
For screw-on weatherstripping, hold the strip in place, close the door to test compression, then drive screws loosely at first. Once the door opens, closes, and latches properly, tighten the screws. The seal should touch the door continuously, but it should not bow the door or require slamming.
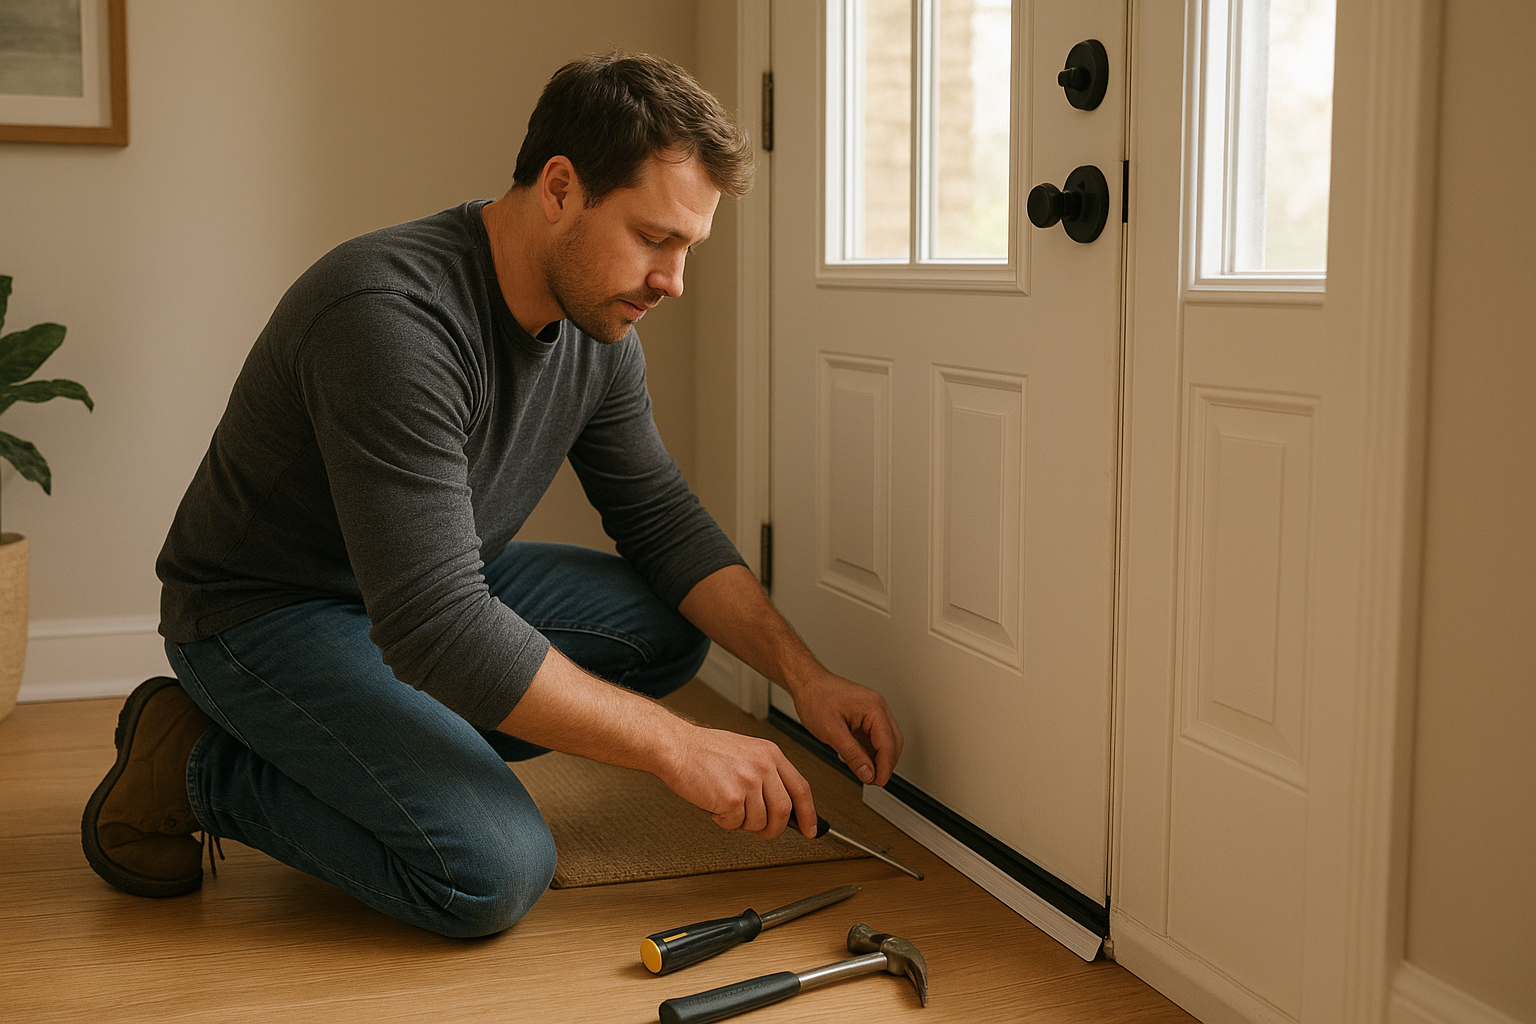
Step 4: Add or Replace the Door Sweep
Close the door and measure the width of the door slab, not the frame. Cut the sweep to fit if needed. Most sweeps can be trimmed with a hacksaw for the metal channel and scissors or a utility knife for the flexible vinyl or rubber fin.
Position the sweep along the bottom of the inside face of the door so the flexible edge just touches the threshold. Mark the screw holes, then attach it loosely. Open and close the door a few times. If it drags hard, raise it slightly. If you still see daylight, lower it. Once it seals well, tighten the screws.
If your door already has a slide-in bottom seal, you may be able to remove the old insert and replace it with a matching one. Bring a small piece of the old seal to the hardware store if you are unsure which profile you need.
Step 5: Check the Threshold
Some exterior thresholds are adjustable. Look for small screw heads along the threshold cap. Turning these screws can raise or lower the threshold slightly so it meets the door sweep more evenly.
Make small adjustments, then test the door. A good fit blocks light and drafts but still lets the door close without scraping. If the threshold is damaged, rotted, or badly out of level, weatherstripping may help, but the real fix may be a threshold replacement.
Do Not Caulk the Moving Gap
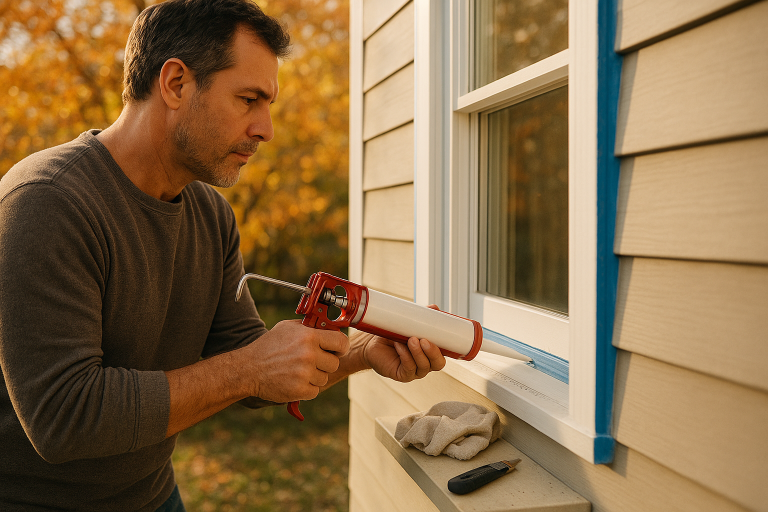
Caulk is useful around the outside trim where stationary parts meet siding, brick, or molding. It is not the right fix for the gap between the door and jamb, because that gap needs to move every time the door opens.
Use caulk for cracks around exterior casing or where the frame meets the wall. Use weatherstripping for the parts of the door that open and close. This distinction matters: the Department of Energy specifically separates caulk for stationary cracks from weatherstripping for movable building components. ([energy.gov](https://www.energy.gov/cmei/buildings/articles/energy-efficient-home-improvement-credit-insulation-and-air-sealing?utm_source=openai))
Common Problems and Quick Fixes
The door will not latch after weatherstripping
The weatherstripping is probably too thick or positioned too far toward the door. Loosen screw-on strips and shift them slightly away from the door stop. If you used adhesive foam, you may need a thinner profile.
There is still daylight at one corner
Check whether the door is sagging. Tighten the hinge screws, especially the top hinge. If the screws spin without grabbing, replace one or two with longer screws that reach the framing.
The sweep rubs on the floor
Raise the sweep slightly or switch to a lower-profile sweep. If the floor inside the door is uneven, a flexible sweep usually works better than a rigid one.
The new adhesive strip keeps peeling
The surface may be dirty, cold, or damp. Clean it again, let it dry fully, and install when the door frame is not icy cold. For a high-use exterior door, screw-on or kerf-in weatherstripping is often more reliable than peel-and-stick foam.
Final Test
When everything is installed, close and lock the door. Run your hand around the sides, top, and bottom again. Repeat the paper test in several places. You want light resistance all around, with no obvious cold spots.
If the door now closes smoothly and the drafts are gone, you have done the job right. A well-sealed exterior door is a small upgrade, but it can make the entry feel warmer, quieter, and more finished every time you walk through it.