5 Easy Plants to Propagate From Cuttings in October
October is one of the best months to try plant propagation if you want more plants without spending more money. The garden is still active, but many stems have begun to firm up, making them ideal for rooting into fresh new plants. If you’ve never tried to propagate cuttings in October before, start with a few reliable favorites and keep the process simple.
The key is to work with healthy, non-flowering stems and give them the right balance of moisture, light, and airflow. You do not need a greenhouse or special equipment to get started, just a clean cut, a small pot, and a little patience.
Why October Is a Good Time to Take Cuttings
In early fall, many plants produce semi-ripe or semi-hardwood growth. That means the base of the stem has started to mature, while the tip is still flexible and green. This stage is ideal for rooting because the cutting is sturdy enough to handle moving and planting, yet still active enough to form roots.
Compared with soft spring growth, October cuttings often lose less moisture and are less likely to wilt. That gives beginners a better shot at success. It also means you can make use of healthy growth before winter pruning and turn one plant into several.
Best Plants to Try From Fall Cuttings
Some plants root more willingly than others, and fall cuttings are especially useful for shrubs and perennial favorites. If you’re looking for reliable candidates, start with these:
- Lavender – compact, woody stems root well when taken from fresh side growth
- Rosemary – one of the easiest herbs to clone from stem cuttings
- Fuchsia – soft enough to root quickly, but sturdy enough for fall propagation
- Holly – useful for building hedges or replacing older plants
- Boxwood – a good choice if you want to fill in borders or formal plantings
If you want to experiment beyond that list, try other healthy shrubs with current-season growth that has started to harden. The best plants are usually vigorous, disease-free, and not under stress from heat or drought.
How to Take a Cutting the Right Way
Success starts with the stem you choose. Pick a stem that is healthy, has no flowers, and shows a bit of firmness near the base. Avoid anything weak, damaged, yellowing, or carrying pests.
What you need
- Sharp bypass pruners or snips
- A small pot or tray with drainage holes
- Free-draining potting mix or a rooting medium
- A clean label for the plant name and date
- A plastic cover, humidity dome, or clear bag if your air is dry
Step 1: Make a clean cut
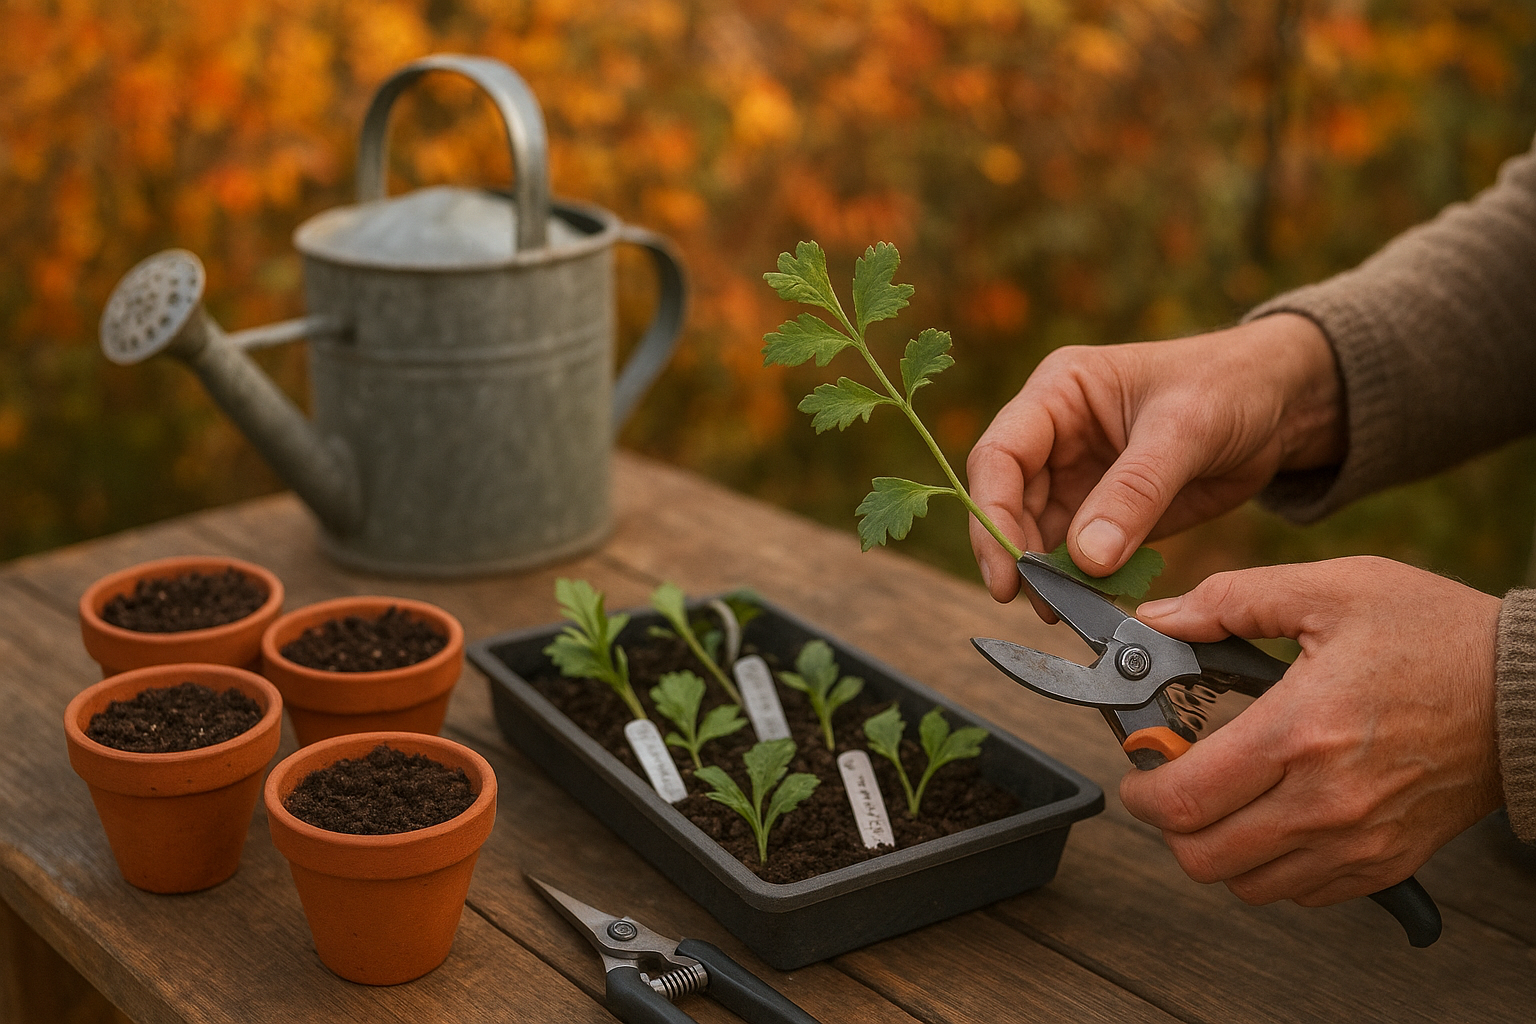
Use clean, sharp pruners and cut just below a leaf node, where a leaf meets the stem. Aim for a cutting about 4 to 6 inches long. Sharp tools matter because crushed stems are more likely to rot before they root.
If you are taking several cuttings, wipe your pruners between plants so you do not spread disease. It is also smart to cut in the morning, when stems are usually well hydrated.
Step 2: Trim the lower leaves
Remove leaves from the lower half of the cutting, leaving a few healthy leaves at the top. This reduces moisture loss and keeps the buried section focused on root growth instead of leaf production.
If the remaining leaves are large, you can trim them in half to reduce transpiration. That small adjustment can make a big difference, especially indoors where air is drier.
Step 3: Prepare the potting mix
Use a sterile, light, well-draining medium. A standard seed-starting mix or a blend made for cuttings is ideal. Dense garden soil is not a good choice because it holds too much water and can encourage rot.
Fill the container and water it lightly so the mix is evenly damp, not soggy. You want it to feel like a wrung-out sponge.
Step 4: Insert the cutting
Make a small hole in the mix with a pencil or dibber, then place the cutting in it. This helps avoid scraping off the stem as you insert it. Bury at least one node, since roots often emerge from that area.
Firm the mix gently around the stem so it stands upright. If you are rooting more than one cutting in the same pot, leave enough space between them for air circulation.
How to Help Cuttings Root Faster
Once the cuttings are potted, the goal is to keep them steady. Sudden swings in temperature, excess water, or too much sun can slow rooting or cause failure.
- Keep the mix lightly moist – never waterlog the pot
- Place in bright, indirect light – avoid hot windows or harsh midday sun
- Maintain humidity – a loose clear bag can help, but open it regularly for airflow
- Watch for rot – remove any cutting that turns black or mushy
- Be patient – rooting can take several weeks depending on the plant
If you use a plastic cover, make sure it does not touch the leaves. A few air holes or regular venting will help prevent mold. In a cool fall climate, a warm indoor spot away from heaters is usually best.
How to Tell When a Cutting Has Rooted
New roots are often hidden, so look for subtle signs. Fresh growth at the tip is one clue, but the most reliable test is a gentle tug. If the cutting resists slightly, roots may have formed.
You can also check the drainage holes for roots, or lightly tip the pot after several weeks to see whether the cutting holds in place. Avoid pulling hard, since that can damage delicate new roots.
Aftercare for New Plants
Once roots are established, move each new plant into a slightly larger pot if needed. Then continue growing it in a sheltered location until it is strong enough for the garden.
Young rooted cuttings are more vulnerable than mature plants, so give them gradual exposure to outdoor conditions. If winter is near, keep tender starts protected from hard frost, wind, and excess rain.
For woody plants like holly or boxwood, you may want to grow them on in pots for a full season before planting them into the garden. That extra time helps them build a stronger root system and adapt more easily after transplanting.
Common Mistakes to Avoid
Even easy cuttings can fail if conditions are off. These are the most common issues to watch for:
- Using flowering stems – flowers drain energy that should go into roots
- Choosing very soft or very woody stems – aim for that middle stage
- Overwatering – soggy mix leads to rot
- Too much sun – cuttings can scorch or dry out fast
- Dirty tools or pots – sanitation matters more than many gardeners realize
If one cutting fails, do not assume you are doing something wrong. Propagation often involves a little trial and error, and even experienced gardeners lose a few. The advantage is that it costs very little to try again.
A Simple October Propagation Project Worth Doing
If you want a low-cost, high-reward garden task this month, taking cuttings is a great place to begin. Start with one or two dependable plants, keep your setup tidy, and focus on steady moisture and light. Before long, you may have several healthy young plants ready to grow on for next season.
That is the real appeal of fall propagation: with a few minutes of work now, you can build a fuller garden for free later.