How to Test a Sump Pump Before Heavy Rain
If your home has a sump pump, it is one of those quiet little machines you forget about until the weather turns ugly. A 15-minute check before heavy rain can tell you whether the pump starts, moves water, shuts off properly, and sends water where it should go.
This guide walks you through how to test a sump pump safely, clean out the easy-to-reach debris, and know when the problem is bigger than a simple homeowner fix.
What a Sump Pump Does
A sump pump sits in a basin, usually at the lowest part of a basement or crawl space. When groundwater collects in the pit, a float switch rises and turns the pump on. The pump pushes water through a discharge pipe and away from the house.
That sounds simple, but several things have to work at once: the outlet, float, pump motor, intake screen, check valve, discharge pipe, and outdoor drain point. This Old House recommends cleaning the pump and pit annually and testing the pump each season by adding water to the pit. ([thisoldhouse.com](https://www.thisoldhouse.com/basements/how-to-install-a-sump-pump?utm_source=openai))
Supplies You’ll Need
- 5-gallon bucket or garden hose
- Rubber gloves
- Flashlight or headlamp
- Small cup or scoop
- Wet/dry vacuum, if the pit has gravel or sludge
- Old towel
- Notepad or phone for recording issues
You do not need to take the pump apart for a basic test. In fact, if the pump is hard-piped without a union, sealed for radon mitigation, or difficult to access, keep the check simple and call a plumber for deeper service.
Safety First: Check Power and Water Conditions
Before you touch anything near the sump pit, look for standing water on the floor, damaged cords, or a loose outlet. If the basement has flooded, do not step into water near electrical equipment. State Farm’s flood safety guidance notes that cleanup should wait until the electrical system has been determined safe. ([statefarm.com](https://www.statefarm.com/simple-insights/residence/what-to-do-when-your-basement-floods?utm_source=openai))
For a normal dry-basement check, make sure the pump is plugged directly into a working GFCI-protected outlet if that is how it was installed. Avoid using an extension cord as a permanent setup. If the outlet trips repeatedly or the cord looks damaged, stop and call a pro.
Step 1: Remove the Cover and Look Inside
Lift the sump cover if it is loose or lightly fitted. If the lid is sealed as part of a radon system, do not break the seal; schedule service with a qualified pro instead.
Shine a flashlight into the pit. You are looking for obvious problems:
- The float is jammed against the side of the basin.
- The pit is full of mud, stones, toys, insulation, or construction debris.
- The pump is leaning or sitting directly in heavy sludge.
- The discharge pipe is loose, cracked, or dripping.
- The pump is making noise even though the water level is low.
A little water in the bottom of the pit is normal. A pit packed with sediment is not ideal because debris can block the intake screen or interfere with the float.
Step 2: Make Sure the Float Can Move
The float is the part that tells the pump to turn on and off. Depending on your pump, it may look like a ball on a cord, a vertical float on a rod, or a small built-in switch.
With gloves on, gently move the float through its normal path. It should rise and fall freely without scraping the wall of the basin or catching on the power cord. Do not force it. If the float is cracked, waterlogged, or stuck, the pump may not start when the pit fills.
Step 3: Test the Pump With Water
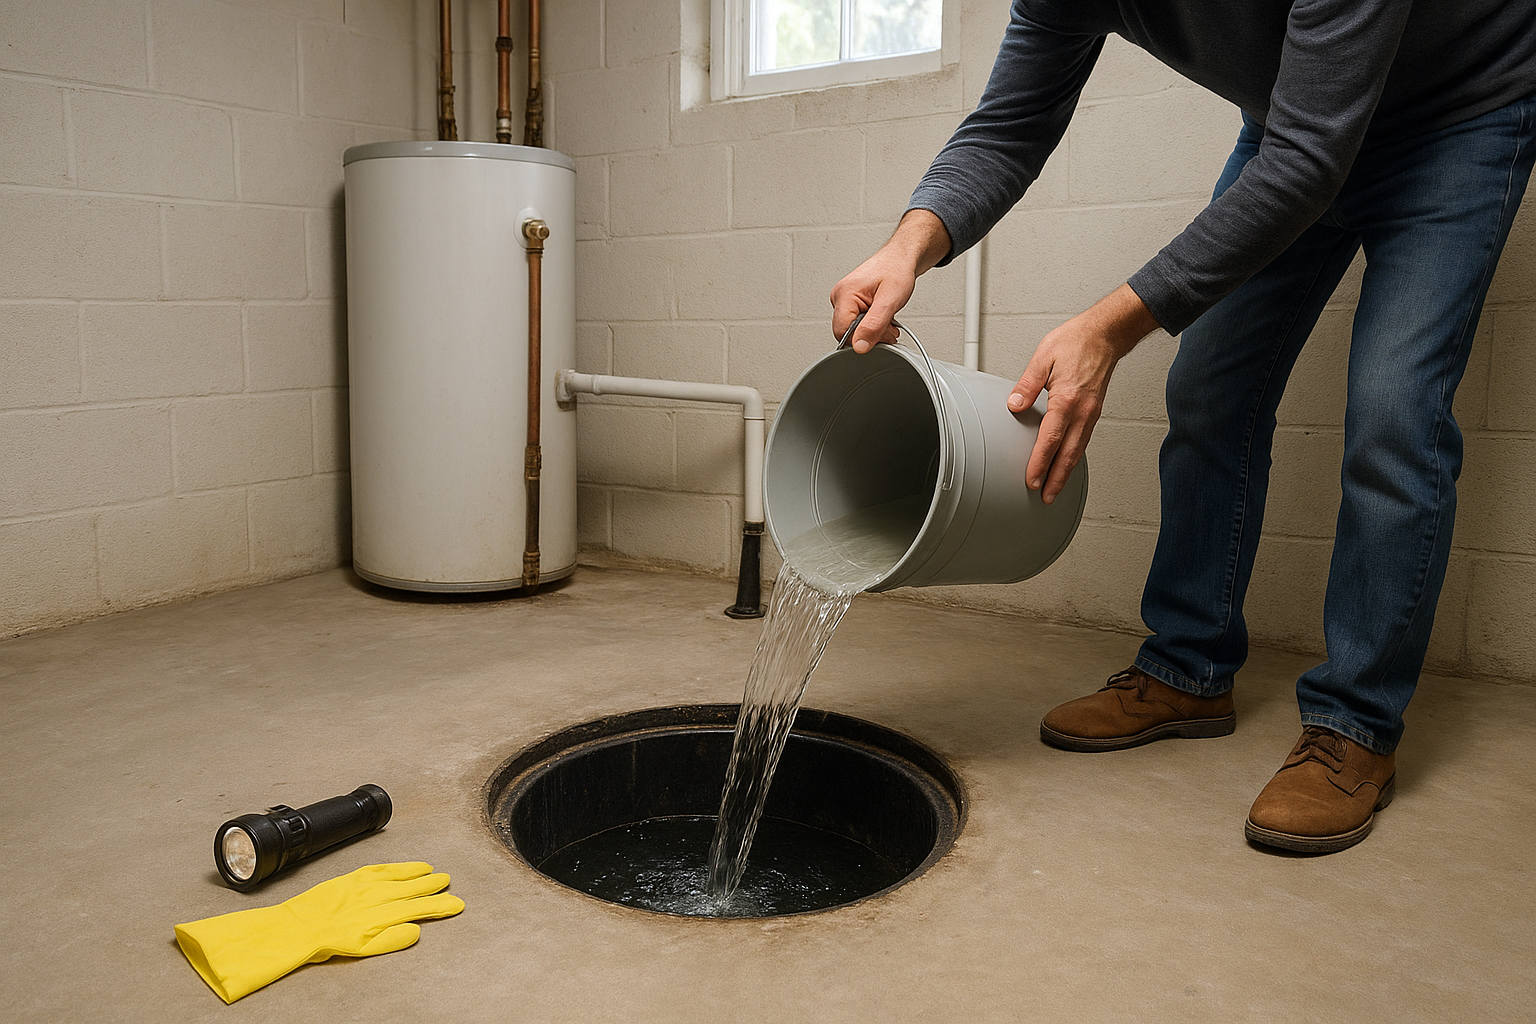
The best basic test is to add water until the float rises naturally. Pour a bucket of clean water into the pit, or use a hose if the pit is deep. Add water slowly enough that you can watch what happens.
A healthy pump should do three things:
- Turn on automatically when the float rises.
- Pump water out quickly through the discharge pipe.
- Shut off automatically once the water level drops.
If the pump hums but does not move water, unplug it and stop the test. That can point to a blocked intake, jammed impeller, air lock, failed check valve, or worn-out pump. This Old House also recommends testing after inspection to verify that the pump works correctly. ([thisoldhouse.com](https://www.thisoldhouse.com/basements/is-your-sump-pump-ready-for-spring?utm_source=openai))
Step 4: Listen for the Check Valve
A check valve keeps water in the discharge pipe from rushing back into the pit after the pump shuts off. Without it, the same water can fall back into the basin and make the pump cycle over and over.
After the pump stops, listen. A brief thump can be normal, but a large gush of water returning to the pit is a warning sign. Also look for dripping or spraying around the check valve fittings. Some installation manuals place the check valve above the pump discharge, and EPA-hosted maintenance documentation describes a check valve as a measure that helps prevent discharge water from returning toward the pump. ([semspub.epa.gov](https://semspub.epa.gov/work/05/155713.pdf?utm_source=openai))
Step 5: Check Where the Water Goes Outside
Go outside while the pump runs, if you can do so safely. Find the discharge outlet and confirm water is flowing freely away from the foundation.
Look for these common problems:
- The discharge hose is kinked, crushed, frozen, or buried in leaves.
- Water is dumping right beside the foundation.
- The pipe drains onto a sidewalk where it can ice over in cold weather.
- The outlet points toward a neighbor’s property or a low spot that drains back to your house.
As a practical rule, sump water should be directed well away from the foundation and toward an approved drainage area. Local rules vary, and many communities do not allow sump pumps to discharge into sanitary sewer systems, so check your city or county requirements if you are changing the outlet location.
Step 6: Clean the Pit Lightly
If the test worked but the pit is dirty, do a basic cleanout. Unplug the pump first. Scoop out leaves, grit, and loose debris you can reach easily. A wet/dry vacuum can help remove sludge from the bottom, but avoid knocking the pump, switch, or pipes out of position.
If you remove the pump for cleaning, take a photo first so you know how everything was positioned. Set the pump back level and make sure the float has room to move. Plug it in and repeat the bucket test before replacing the lid.
When to Call a Plumber
Call a professional if any of these happen during your test:
- The pump does not turn on when the float rises.
- The motor hums but no water leaves the pit.
- The pump runs constantly or short-cycles.
- The outlet trips or the cord feels warm.
- The discharge pipe leaks or has no visible check valve.
- The pit is sealed for radon and you cannot access it without breaking the seal.
- You do not have a backup pump and your basement has flooded before.
Also consider a backup system if your area loses power during storms. A standard sump pump cannot help during an outage unless it has a battery backup, water-powered backup, or another approved backup arrangement.
How Often Should You Test a Sump Pump?
Test it at least seasonally, and always before a forecasted stretch of heavy rain if you have had water problems before. A quick bucket test is especially smart in early spring, before fall storms, before leaving town, and after any electrical work in the basement.
Write the date of the test on a piece of painter’s tape near the pit or add it to your home maintenance calendar. Note anything unusual, such as slow pumping, louder operation, or water returning after shutoff. Those small clues can help you replace a tired pump before it fails on the wettest night of the year.
The Bottom Line
Learning how to test a sump pump is simple: look inside, free the float, add water, confirm the pump starts and stops, and check that water exits safely outside. If anything sounds strained, smells hot, leaks, or fails to move water, do not wait for the next storm to find out whether it will hold. A little attention now can save a basement full of cleanup later.