How to Clean a Dryer Vent Without Calling a Pro
If your towels take forever to dry or your laundry room feels hotter than usual, the problem may be hiding behind the dryer. Learning how to clean a dryer vent is one of those small home jobs that can make your dryer work better and reduce a real safety risk.
The U.S. Fire Administration lists failure to clean as the leading factor in home clothes dryer fires, and the NFPA recommends cleaning the lint filter before or after each load and cleaning lint from the vent pipe yearly, or more often if drying takes longer than normal. ([usfa.fema.gov](https://www.usfa.fema.gov/prevention/home-fires/prevent-fires/appliance-and-electrical/index.html?utm_source=openai))
Signs Your Dryer Vent Needs Cleaning
A lint screen catches a lot, but it does not catch everything. Over time, fine lint collects in the lint chute, flexible hose, rigid duct, and outdoor vent cover. Watch for these common warning signs:
- Clothes are still damp after a normal cycle.
- Towels, jeans, or bedding need a second drying cycle.
- The top of the dryer feels very hot.
- The laundry room feels humid or unusually warm.
- You notice a musty or slightly scorched smell.
- The outdoor vent flap barely opens while the dryer is running.
- Lint is collecting around the outside vent opening.
ENERGY STAR also notes that cleaning the lint filter after every load improves air circulation and dryer efficiency, so start there before assuming the machine is failing. ([energystar.gov](https://www.energystar.gov/products/clothes_dryers?utm_source=openai))
How Often Should You Clean a Dryer Vent?
For most homes, plan on a full dryer vent cleaning once a year. Clean it every six months if you run daily loads, have a large household, wash a lot of pet bedding, or notice drying times getting longer. The lint filter should be cleaned every load, not just when it looks packed.
Also check the outdoor vent cover every few months. Leaves, snow, mulch, lint, and even nesting material can block the flap. The U.S. Fire Administration specifically recommends making sure the outdoor vent covering opens when the dryer is operating. ([usfa.fema.gov](https://www.usfa.fema.gov/downloads/pdf/publications/clothes_dryer_fire_safety_flyer.pdf?utm_source=openai))
Tools and Supplies
You do not need fancy equipment for a straightforward vent run. Gather:
- A vacuum with a hose attachment
- A dryer vent brush kit with flexible rods
- Screwdriver or nut driver
- Work gloves
- Flashlight
- Microfiber cloth or old towel
- Foil HVAC tape if a metal duct joint needs resealing
Avoid using duct tape on dryer vent connections. It can dry out and fail from heat. If you find torn foil, crushed plastic, or a badly kinked hose, replace it with a proper metal transition duct that fits your dryer and local code requirements.
Step 1: Unplug the Dryer and Pull It Out
Turn the dryer off and unplug it. If you have a gas dryer, shut off the gas supply valve before moving the machine. Pull the dryer away from the wall slowly so you do not stretch, crush, or tear the vent hose.
Give yourself enough room to work comfortably. If the dryer is stacked, wedged tightly in a closet, or connected to a long hidden duct run, this may be a better job for a professional.
Step 2: Clean the Lint Screen and Lint Chute
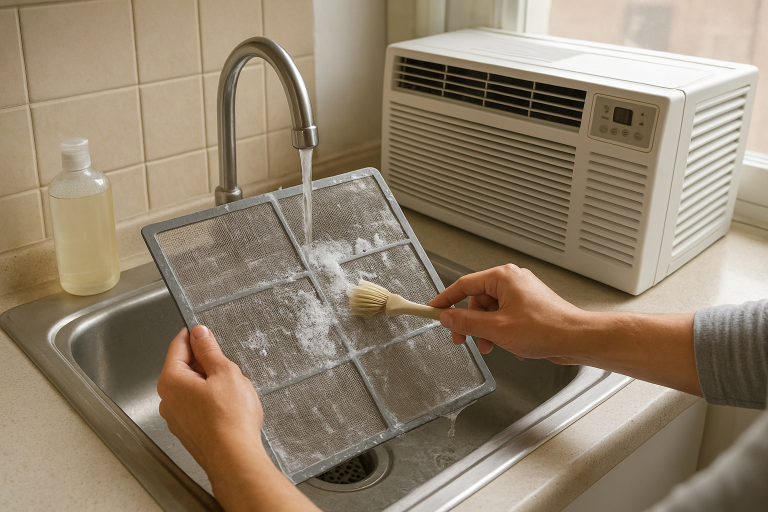
Remove the lint screen and peel away the lint. Wash the screen with warm water and a drop of dish soap if it looks waxy or feels coated. Dryer sheets can sometimes leave residue that restricts airflow. Let the screen dry fully before putting it back.
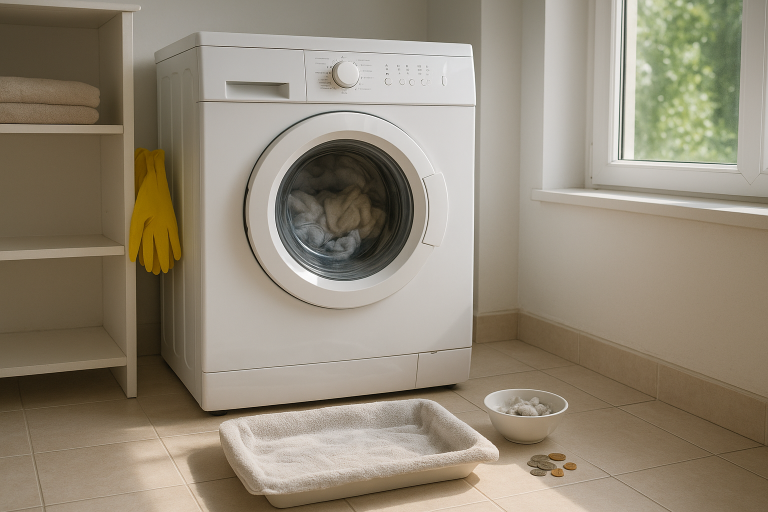
Next, use a long lint brush or vacuum crevice tool to clean inside the lint screen slot. Work gently so you do not damage the housing. This area can hold surprising amounts of lint, coins, pet hair, and bits of tissue.
Step 3: Disconnect the Vent Hose
Look behind the dryer where the hose meets the dryer outlet. Loosen the clamp with a screwdriver or nut driver, then slide the hose off. Do the same where the hose meets the wall duct, if you can reach it.
Inspect the hose. If it is crushed flat, ripped, packed with lint, or made from flimsy plastic, replace it rather than trying to save it. A smooth, short, straight vent path helps the dryer move moist air outdoors with less resistance.
Step 4: Vacuum the Dryer Outlet and Hose
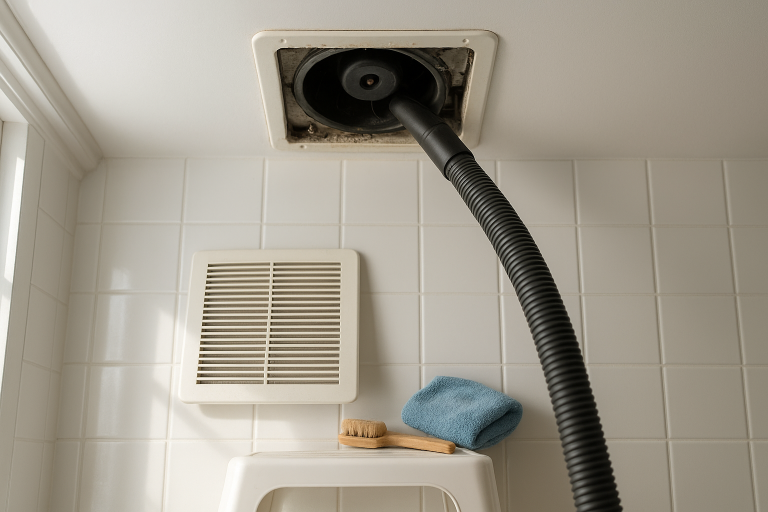
Use the vacuum hose to clean the dryer outlet first. Do not force the hose deep into the appliance; just remove loose lint near the opening.
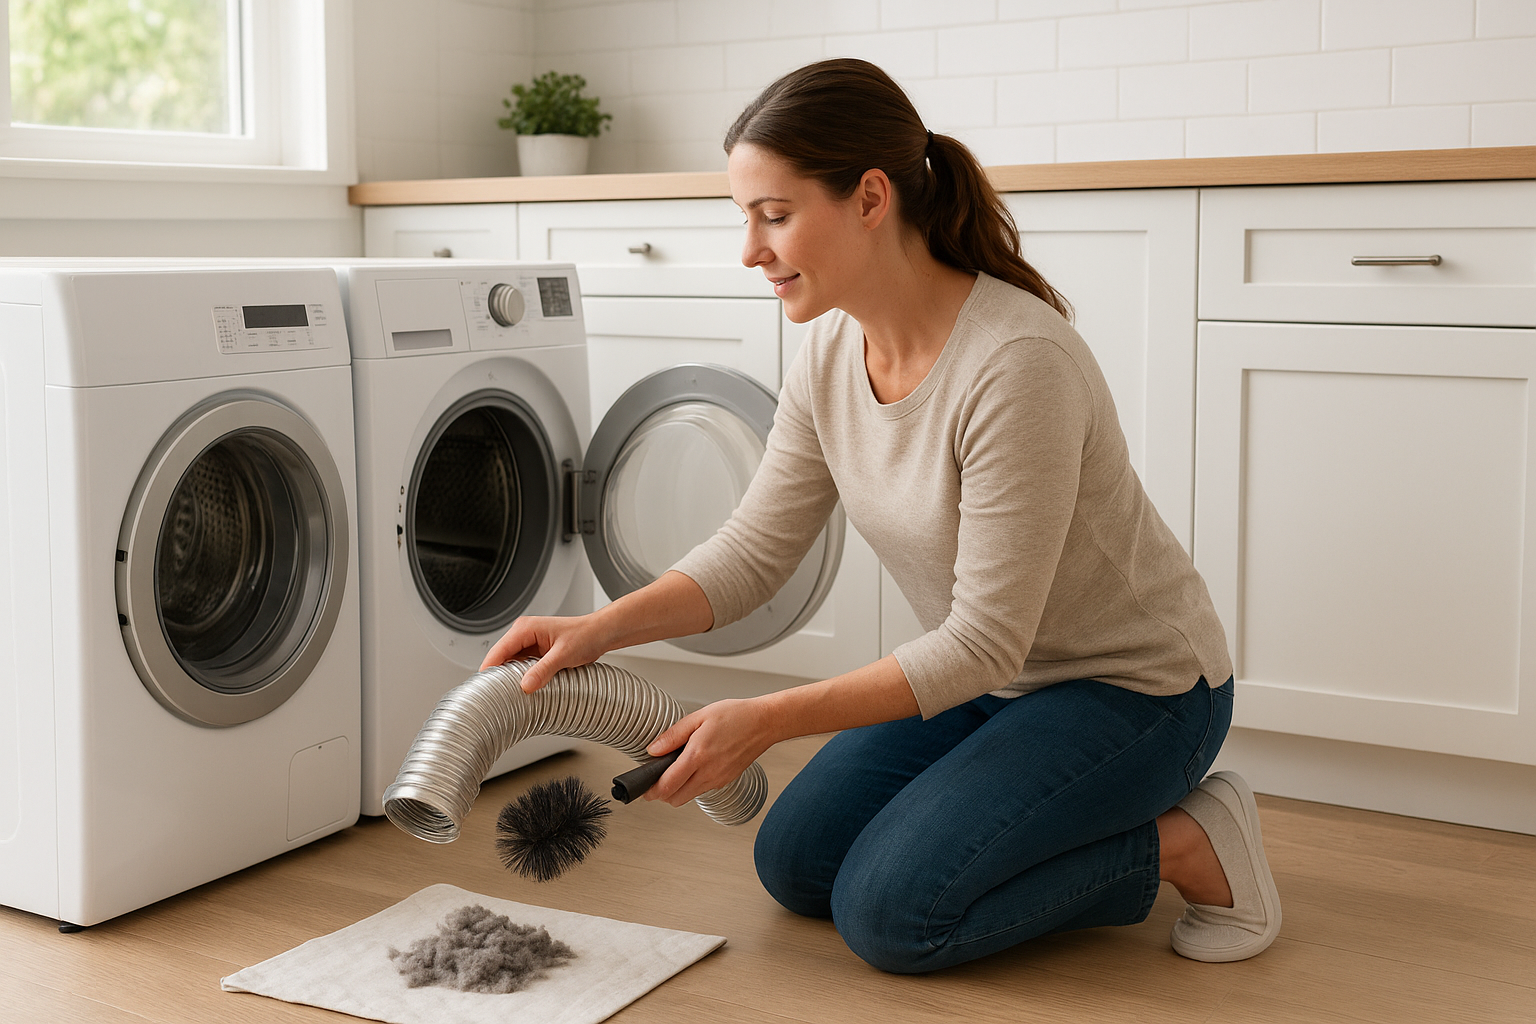
Then vacuum both ends of the disconnected vent hose. If the hose is short, you may be able to remove most lint this way. If it is longer, feed a dryer vent brush through it carefully, turning the brush as you go. Pull lint out in small batches instead of jamming it farther down the line.
Step 5: Brush the Wall Duct
Attach the flexible rods to your dryer vent brush according to the kit directions. Feed the brush into the wall duct a few feet at a time, rotating as you go. Pull it back often to remove lint.
If your kit is designed for drill use, run the drill slowly and keep control of the rods. Never reverse the drill unless your brush kit specifically says it is safe; some rods can unscrew inside the duct. For a first cleaning, hand-turning is slower but safer.
Step 6: Clean the Outdoor Vent Cover
Go outside and find the dryer vent hood. Remove lint from the flap, louvers, or screen if there is one. The flap should move freely. If it is stuck shut, cracked, or blocked by landscaping, clean it or replace it.
Run the brush inward from the outside opening if the duct is short and accessible. Vacuum loose lint around the opening. Do not leave a mesh screen over a dryer vent; it can trap lint quickly and block airflow.
Step 7: Reconnect Everything
Slide the vent hose back onto the dryer outlet and wall duct. Tighten the clamps so the hose is secure but not crushed. Keep the hose as short and straight as practical, with gentle bends instead of sharp kinks.
Push the dryer back carefully while watching the hose. This is where many vents get pinched. Leave enough space behind the dryer for air to move through the duct without the hose folding on itself.
Step 8: Test the Airflow
Plug the dryer back in. For a gas dryer, turn the gas valve back on and check that the connection has not been disturbed. Run the dryer on an air-only or low-heat setting for a few minutes.
Go outside and check the vent flap. It should open while the dryer runs, and you should feel steady airflow. If the flap barely moves after cleaning, the duct may be too long, blocked deeper in the wall, disconnected, or damaged.
When to Call a Professional
Call a dryer vent cleaning service or appliance technician if the vent run goes through multiple floors, exits at the roof, is longer than you can safely brush, or still has poor airflow after cleaning. You should also get help if you smell gas, see burn marks, hear scraping inside the dryer, or suspect the duct has come apart inside a wall.
Professional help is also wise for condos, apartments, and any setup where you cannot clearly see where the vent exits. Guessing can leave lint packed in a hidden section.
Simple Habits That Keep the Vent Cleaner
- Clean the lint filter every load. Make it part of unloading the dryer.
- Do not overload the dryer. Heavy loads shed more lint and dry poorly.
- Shake out pet blankets before washing. Less hair in the washer means less lint in the dryer.
- Keep the dryer area clear. Do not store boxes, towels, or cleaning supplies tight against the machine.
- Check the outside flap seasonally. Look after storms, leaf drop, snow, and heavy pollen.
A clean dryer vent is not a glamorous chore, but it pays you back every laundry day. If clothes dry faster, the outside flap opens freely, and the dryer no longer feels overheated, you have done the job right.