Easy Homemade Pita Bread That Puffs Every Time
Fresh pita is one of those simple kitchen projects that feels a lot more impressive than it is. With a short ingredient list and a little attention to thickness and heat, you can make soft, chewy rounds that puff into perfect pockets for lunches, dips, and quick dinners.
This version of homemade pita bread is designed for everyday cooks: no special tools, no complicated shaping, and no need to babysit the dough. Once you make it from scratch, it’s hard to go back to store-bought.
Why make pita at home?
Store-bought pita is convenient, but homemade pita bread has a fresher flavor and a softer texture right out of the oven. You also get to control the ingredients, which is especially helpful if you want a little whole wheat flour in the mix or prefer to skip unnecessary additives.
Another bonus: pitas are versatile. Use them for sandwiches, slice them into wedges for dips, stuff them with salad, or toast them into crisp chips. One batch can stretch into several meals.
What you need
The ingredient list is short and pantry-friendly. You likely have most of it already.
- Warm water to activate the yeast
- Yeast for lift and structure
- A little sugar to feed the yeast
- Olive oil for tenderness and flavor
- All-purpose flour for a soft, reliable dough
- Optional whole wheat flour for a nuttier taste
- Salt to balance the flavor
If you only have all-purpose flour, that works fine. A small amount of whole wheat flour adds color and depth, but it is not required for good results.
How pita bread gets its pocket
The signature pocket forms when the outside of the dough sets quickly in a very hot oven while moisture inside turns to steam. That steam pushes the center apart and creates the hollow space.
That means the two biggest factors are even rolling and very high heat. If the dough is too thick or the oven is not hot enough, the pita may still taste great, but it may not balloon into a pocket.
Step-by-step method
- Mix the dough. Stir warm water, yeast, sugar, and olive oil together, then add the flour and salt. Mix until a shaggy dough forms.
- Knead briefly. Turn the dough onto a lightly floured surface and knead until it becomes smooth and elastic. You’re aiming for softness, not stiffness.
- Let it rise. Place the dough in a lightly greased bowl, cover it, and let it rise until doubled in size.
- Divide and rest. Cut the dough into equal pieces, then cover them so they do not dry out.
- Roll thin circles. Flatten each piece into an even round, about 6 inches across and fairly thin.
- Bake hot and fast. Place the rounds onto a preheated baking surface or sheet and bake until puffed and just set.
- Cool under a towel. This keeps the bread soft while the residual heat finishes the interior.
Practical tips for success
1. Watch the dough, not just the timer
Flour can behave differently depending on weather, humidity, and how it’s measured. Add flour gradually until the dough feels soft and workable. It should be slightly tacky at first, then become smooth as you knead.
2. Don’t skip the full rise
Allow the dough to double in size before shaping. A proper rise gives the pita better texture and helps it puff more consistently in the oven.
3. Roll evenly
Uneven thickness is one of the most common reasons pita bread won’t puff. Press from the center outward and keep the whole round the same thickness, especially around the edges.
4. Preheat thoroughly
Whether you use a baking sheet or a pizza stone, the oven needs to be fully hot before the pitas go in. A blazing hot oven gives the dough the quick burst of heat it needs.
5. Keep the dough covered
As you work, cover any pieces you are not currently rolling. Exposed dough can dry out fast, which makes shaping harder and can affect the final texture.
What if your pitas do not puff?
Even if a pita does not form a perfect pocket, it is still useful and delicious. But if you want better puffing next time, check these common issues:
- The dough was too thick. Roll it thinner than you think you need.
- The oven was not hot enough. Give it enough time to fully preheat.
- The rounds were uneven. Try to keep a consistent thickness.
- The dough was over-floured. Too much flour can make it dry and less flexible.
- The dough was not rested enough. Resting helps the gluten relax so the rounds roll out more easily.
If a few pitas stay flat, use them for wraps, breakfast sandwiches, or pita chips. Nothing goes to waste.
Serving ideas for busy weeknights
Homemade pita bread works with more meals than you might expect. Here are a few easy ways to use it:
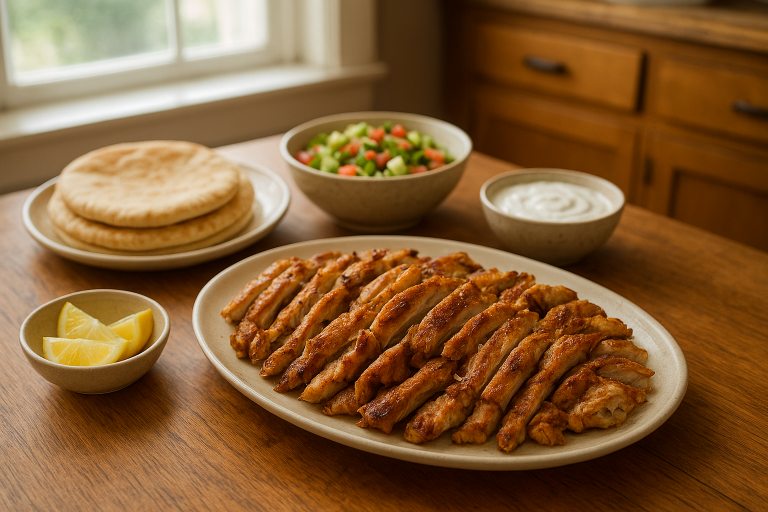
- Stuffed sandwiches: Fill with chicken, falafel, tuna salad, or roasted vegetables.
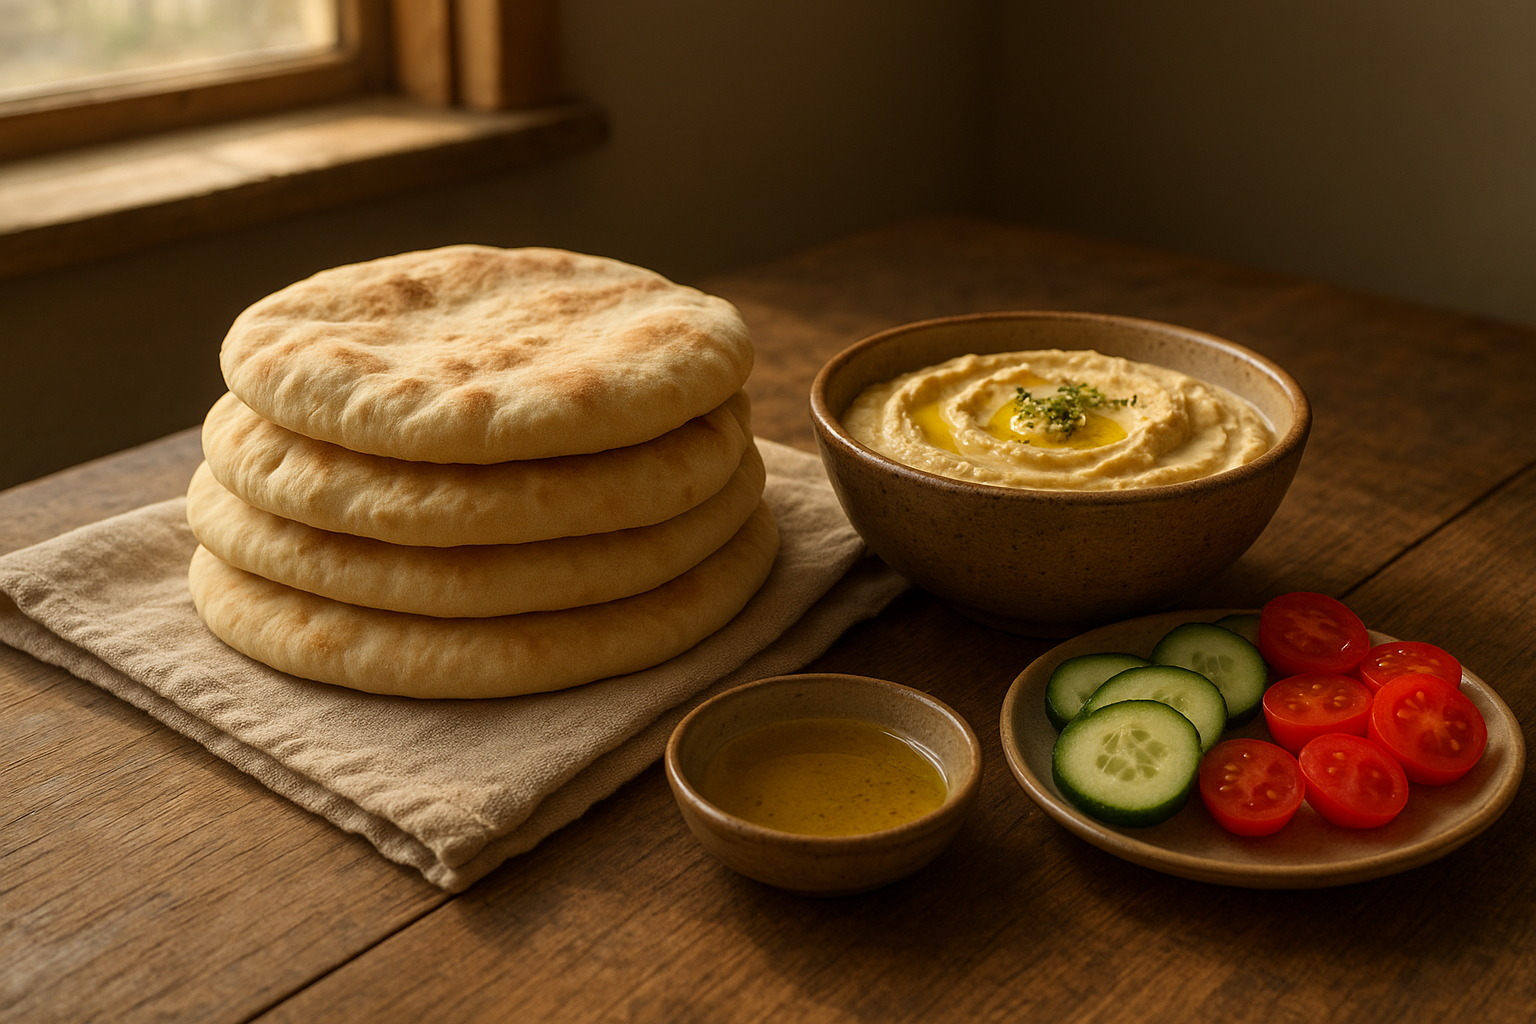
- Dip plate: Serve with hummus, tzatziki, baba ganoush, or white bean dip.
- Quick pizzas: Top with sauce, cheese, and vegetables, then toast until bubbly.
- Salad side: Cut into triangles and serve alongside Greek salad or soup.
- Pita chips: Brush with olive oil, sprinkle with salt, and bake until crisp.
For a simple meal, warm the pita and fill it with chopped lettuce, tomato, cucumber, onion, and a protein. A drizzle of tahini sauce or yogurt dressing ties it together.
Storage and freezing
Once the pitas cool completely, store them in an airtight bag or container at room temperature for a couple of days. For longer storage, freeze them with parchment between each round so they do not stick together.
To reheat, warm frozen pita in the microwave wrapped in a damp paper towel, or place it in a skillet or low oven until soft and flexible again. If you want a crisper result, toast it directly from frozen.
Make it your own
This dough is easy to adjust once you understand the basics. You can swap part of the flour for whole wheat, add a pinch of dried herbs, or brush the finished bread with garlic butter for extra flavor.
If you like a little more rustic texture, serve the pitas warm and fresh. If you want a sturdier bread for sandwiches, let them cool fully before slicing so the crumb sets neatly.
Final thought
Homemade pita bread is a great confidence-building recipe because it uses simple ingredients but gives you a big payoff. Once you’ve made it a time or two, the process becomes second nature, and you’ll always have a flexible, homemade base for fast meals.