Juicy Baked Chicken Breast That Never Turns Dry
When dinner needs to be simple, dependable, and actually satisfying, baked chicken breast is hard to beat. The trick is getting it tender instead of dry, which comes down to a few small choices before the chicken even goes into the oven. Once you know those basics, this becomes one of the easiest meals you can make on a busy weeknight.
This method focuses on moisture, even cooking, and strong but straightforward flavor. It works for both dinner on the spot and meal prep for the next few days, and it uses ingredients you probably already keep around.
Why chicken breast so often dries out
Chicken breast is lean, which makes it fast and convenient, but it also means there is very little fat to protect it during baking. If the pieces are uneven, the thinner edges can overcook before the center is done. If the oven is too cool, the meat can spend too long in the heat and lose more moisture than necessary.
The good news is that dry chicken is not inevitable. A few practical steps make a huge difference:
- Use evenly sized pieces whenever possible.
- Season the meat well, not just the surface.
- Bake at a higher temperature so it cooks quickly.
- Check the internal temperature instead of guessing.
- Let the chicken rest before slicing.
The simple method that works every time
There are many ways to prepare baked chicken breast, but the most reliable approach is one that combines a quick brine or salt soak with a flavorful spice rub and a hot oven. The brine helps the meat retain more moisture, while the seasoning gives the exterior real flavor instead of a bland, one-note result.
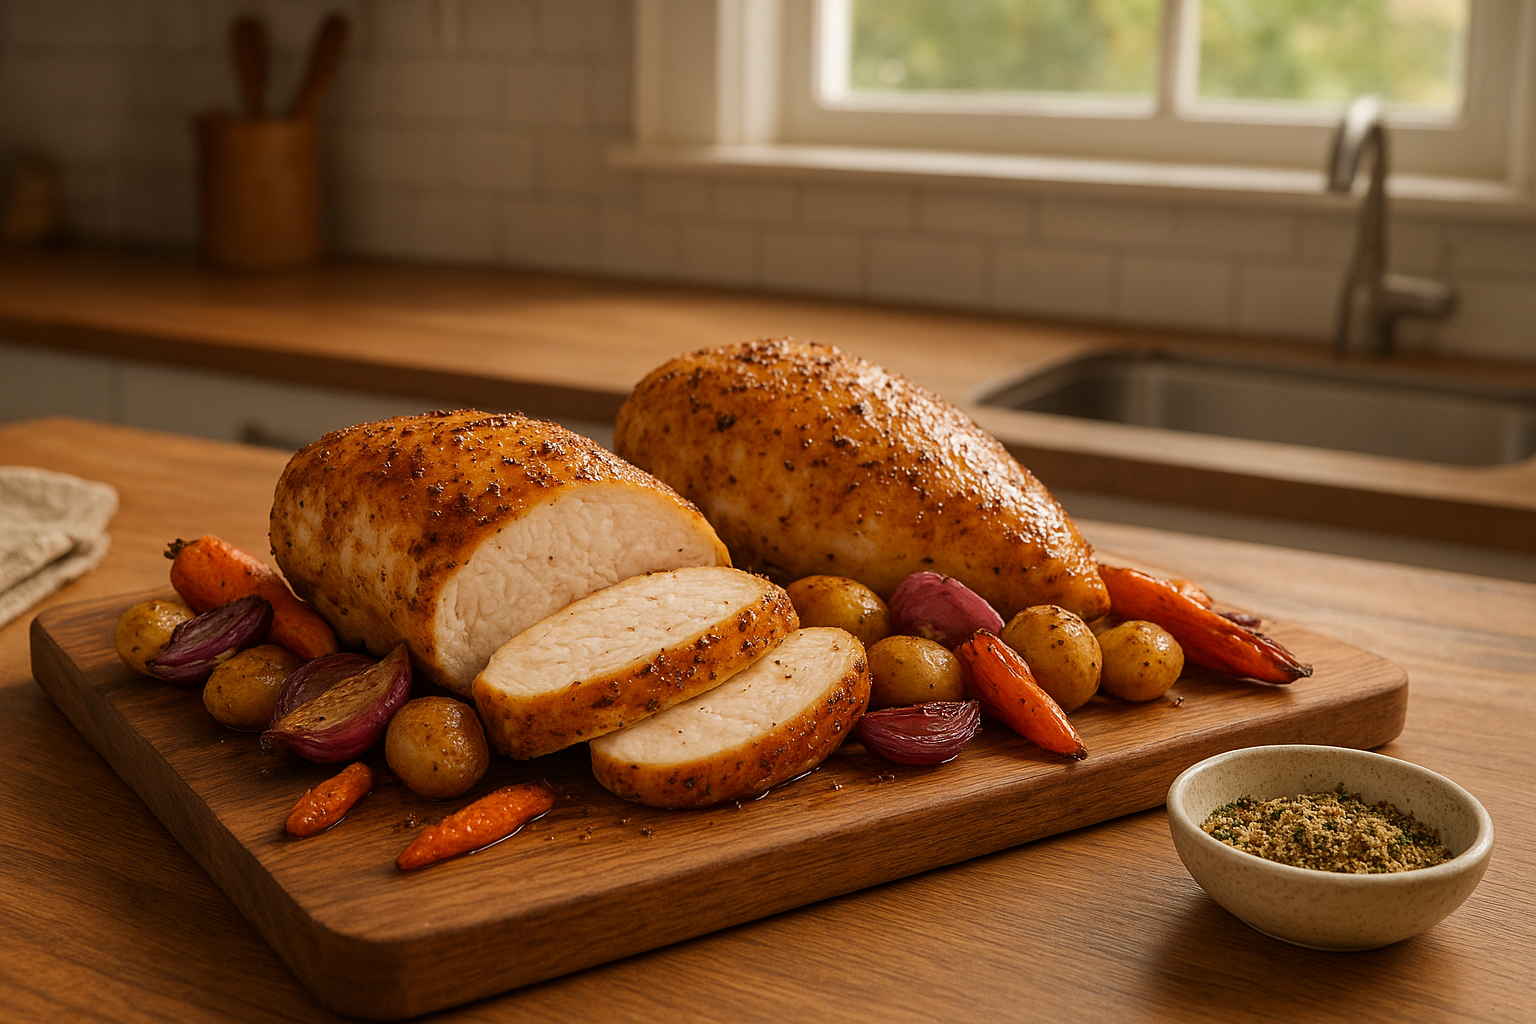
You do not need anything complicated. A basic combination of salt, pepper, garlic powder, onion powder, paprika, and a little oil is enough to make the chicken taste seasoned from edge to edge. If you like a touch of sweetness for browning, a small amount of brown sugar works well, but it is optional.
Optional quick brine
If you have 20 to 30 extra minutes, a short brine is worth doing. It is especially helpful for chicken breasts that are thick or uneven. The brine does not just add salt; it helps the meat hold onto moisture during cooking.
- Mix cold water with salt until dissolved.
- Submerge the chicken breasts for 20 to 30 minutes.
- Remove them, pat them dry very well, and season as usual.
If you are short on time, you can skip the brine and still get good results. Just be sure to season generously and avoid overbaking.
How to season baked chicken breast
A dry seasoning blend gives the best color and flavor in the oven. Oil helps the spices stick and encourages browning, so do not leave it out. You want every breast lightly coated, not drenched.
A dependable seasoning blend might include:
- Garlic powder
- Onion powder
- Paprika or smoked paprika
- Black pepper
- A small amount of salt, if you did not brine
- Brown sugar, optional
You can also change the flavor direction easily. Add Italian seasoning for pasta night, chili powder and cumin for tacos, or lemon zest and dried herbs for a brighter finish.
Step-by-step baking tips
The method is simple, but a few details matter if you want juicy results every time.
- Flatten the thick part of the breast. Chicken breasts often have one thick end and one thinner end. Gently pound the thicker portion so the whole piece is closer to the same thickness.
- Dry the surface well. Excess moisture can prevent browning and make the seasoning slide off.
- Use a hot oven. A temperature around 425°F helps the outside brown quickly while the inside cooks before it dries out.
- Line your pan. Parchment paper or foil makes cleanup easier and helps prevent sticking.
- Don’t overcook. Pull the chicken when it reaches 160°F to 165°F, depending on your thermometer and resting time.
- Rest before cutting. Five to ten minutes gives the juices time to settle back into the meat.
What to serve with it
Baked chicken breast is one of those flexible mains that can go in a dozen directions. You can slice it for bowls, shred it for sandwiches, or serve it whole with classic sides. If you make extras, the leftovers are just as useful the next day.
- For a simple dinner: roasted potatoes, green beans, and a salad
- For meal prep: rice, broccoli, and a spoonful of sauce
- For sandwiches: sliced chicken, lettuce, tomato, and mayo or pesto
- For pasta: chop and toss with olive oil, herbs, and vegetables
Storage and reheating
Chicken breast is one of the easiest proteins to prep ahead, but it does best when stored properly. Let leftovers cool, then refrigerate them in a sealed container. For the best texture, slice only what you need right away and keep the rest whole if possible.
To reheat without drying out the meat, use low heat and a little moisture. A covered skillet with a splash of water or broth works well, and the oven is a good option if you are warming several pieces at once. The microwave is fine in a pinch, but use short bursts and stop as soon as the chicken is warm.
Common mistakes to avoid
If your baked chicken breast has turned out disappointing in the past, one of these issues may be the reason:
- Skipping the thermometer: visual cues are not always reliable.
- Using low heat for too long: this can dry out lean chicken.
- Not seasoning enough: chicken breast needs bold seasoning to taste its best.
- Cutting it immediately: the juices need a moment to settle.
- Baking uneven pieces together: trim or pound them so they cook at the same pace.
A dependable dinner worth keeping on repeat
Once you get comfortable with this method, baked chicken breast becomes one of those back-pocket meals you can make almost without thinking. It is fast, budget-friendly, and easy to adapt to whatever you have in the pantry. Most importantly, it gives you a dinner that feels practical but still tastes like you planned ahead.
If you want a recipe that works on a Tuesday night, for lunch prep, or for a family meal with minimal fuss, this is the one to keep handy. A hot oven, smart seasoning, and a little resting time are all it takes to turn a basic ingredient into something reliable and genuinely good.