How to Clean a Dryer Vent Before Winter
If your dryer has been taking longer to dry towels, jeans, or bedding, the vent may be packed with lint. Learning how to clean a dryer vent is one of those unglamorous home jobs that can make laundry faster, help the appliance run better, and reduce a real fire risk before heavy winter loads begin.
The U.S. Fire Administration lists failure to clean as the leading factor in home clothes dryer fires, and its recent prevention guidance puts that factor at 31% for 2018–2020. The good news: most simple dryer vent maintenance is doable with basic tools and about an hour of careful work.
Why clean the dryer vent before winter?
Winter laundry tends to be bulkier: fleece blankets, flannel sheets, sweatshirts, coats, towels, and heavier cottons. Those loads shed lint and hold more moisture, which means your dryer may run longer and hotter if airflow is restricted.
A clogged vent can cause several everyday problems:
- Clothes need two cycles to dry.
- The dryer top or laundry room feels unusually hot.
- There is a damp, musty smell after a load.
- Lint collects around the outside vent flap.
- The exterior vent flap barely opens while the dryer runs.
- Your dryer shuts off mid-cycle or displays an airflow warning.
Cleaning the lint screen after every load is important, but it does not catch everything. Fine lint still passes into the duct, settles in bends, and can gather near the outside vent hood.
What you’ll need
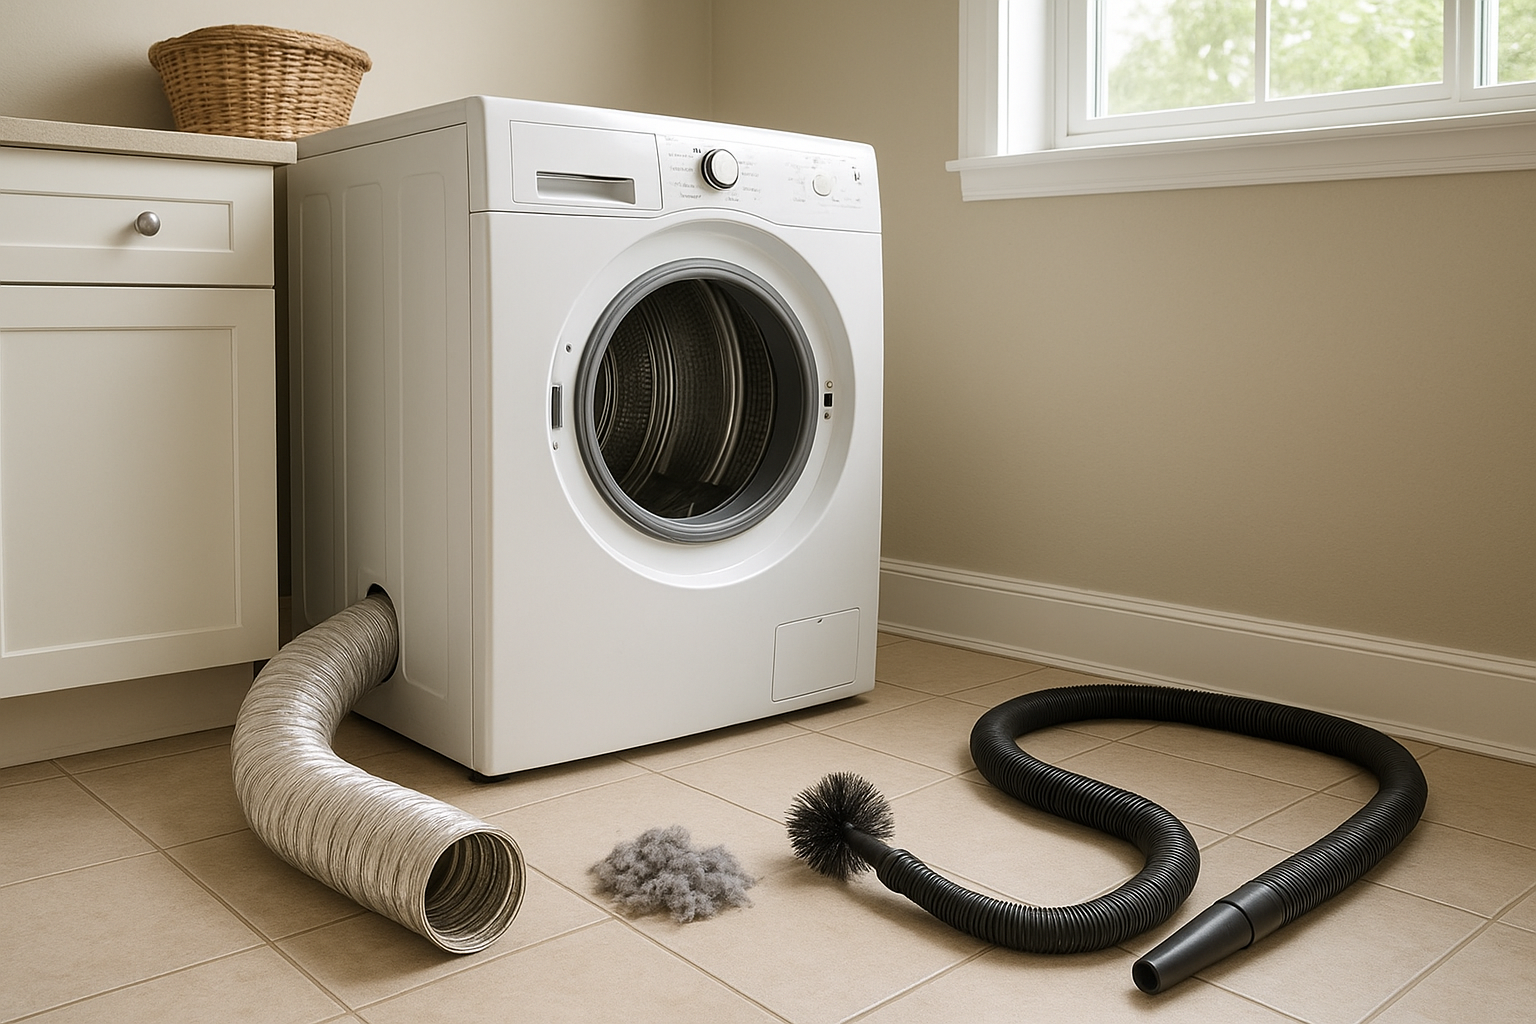
- Vacuum with hose attachment
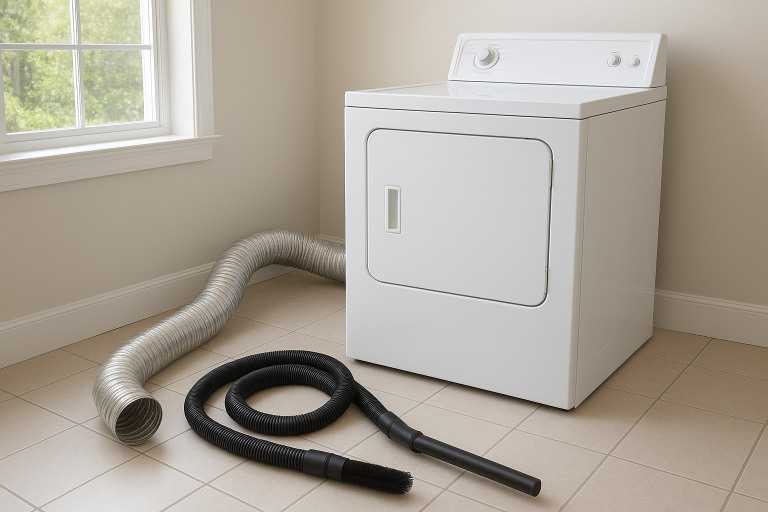
- Dryer vent brush kit or flexible lint brush
- Screwdriver or nut driver, depending on your vent clamp
- Work gloves
- Flashlight
- Microfiber cloth
- Foil HVAC tape, if the duct connection needs resealing
- Dust mask, optional but helpful
A dryer vent cleaning kit usually includes flexible rods and a brush head. Choose one made for dryer ducts, not a stiff chimney brush. If your duct is very long, runs through a wall to a roof, or has several turns, this is a good point to consider professional cleaning instead of forcing tools through the line.
Before you start: a few safety checks
First, unplug the dryer. If you have a gas dryer, turn the gas valve to the off position before moving the appliance. If you are not comfortable disconnecting or moving a gas dryer, stop here and schedule service.
Next, look behind the dryer. Ideally, the transition duct should be rigid or semi-rigid metal. Avoid using thin plastic or foil accordion-style ducting, which can crush easily and trap lint in the folds. If you find a damaged, kinked, or torn hose, plan to replace it rather than simply cleaning it.
Step-by-step: how to clean a dryer vent
1. Clean the lint screen housing
Remove the lint screen and pull off the lint by hand. Then use a long lint brush or vacuum crevice tool to clean down inside the lint screen slot. This area often hides felted lint that never makes it to the removable screen.
If the lint screen looks waxy or clogged, wash it with warm water and a little dish soap. Dryer sheets can leave a film that reduces airflow through the screen. Let it dry completely before putting it back.
2. Pull the dryer away from the wall
Move slowly so you do not stretch or crush the vent hose. Give yourself enough room to work behind the dryer without yanking cords, ducts, or a gas line. Shine a flashlight behind the appliance and vacuum loose lint from the floor and wall area.
3. Disconnect the transition duct
Loosen the clamp where the duct connects to the dryer. Slide the duct off carefully. If the connection is sealed with old tape, peel it away. Do not reuse tape that is dusty, loose, or no longer sticky.
Look inside the dryer outlet. Vacuum what you can reach without pushing the hose too far into the appliance. Use a lint brush gently if needed.
4. Clean the duct from the inside
Insert the dryer vent brush into the duct that leads to the exterior. Work slowly, turning the brush as you go. Pull it back often and remove lint instead of ramming the whole clog deeper into the duct.
If your kit is designed to attach to a drill, use the lowest speed and follow the kit directions. Keep the rotation moving in the direction that keeps the rods tightened, not loosened. Detached brush rods inside a wall duct are not a fun afternoon.
5. Clean the exterior vent
Go outside and find the dryer vent hood. Remove lint from the flap or louvers by hand, then brush and vacuum the opening. The flap should move freely. If it is stuck open, cracked, painted shut, blocked by mulch, or packed with lint, fix that before using the dryer again.
Do not install a screen over a dryer vent. Screens can trap lint and create the same airflow problem you are trying to solve. A proper dryer vent hood uses a flap or louvers to help keep pests out while allowing lint and moist air to escape.
6. Reconnect the duct
Reattach the duct to the dryer outlet and tighten the clamp. If the joint needs sealing, use foil HVAC tape rated for ducts, not cloth duct tape. Cloth duct tape dries out and fails near heat and moisture.
Push the dryer back carefully. Keep the duct as short and straight as practical, with no crushing behind the machine. A smooth, short path helps moist air leave the house instead of collecting lint in bends.
7. Test airflow
Plug the dryer back in. For a gas dryer, turn the gas valve back on only if you are confident everything is properly connected. Run the dryer on an air-only or low-heat setting for a few minutes, then check the exterior vent. You should feel a strong flow of air and see the flap open.
If airflow is still weak after cleaning both ends, the blockage may be deeper in the wall, attic, crawlspace, or roof termination. Stop using the dryer for heavy loads and call a qualified dryer vent cleaning pro or appliance technician.
How often should you clean a dryer vent?
For many households, cleaning the dryer vent once a year is a sensible baseline. Clean it more often if you do a lot of laundry, have pets, wash lint-heavy items, use the dryer daily, or have a long vent run from an interior laundry room to the outside.
Keep up with these small habits between deep cleanings:
- Clean the lint screen before or after every load.
- Do not overload the dryer.
- Dry bulky bedding in manageable loads.
- Check the outdoor vent monthly for lint, leaves, snow, or nests.
- Keep the area around the dryer free of boxes, cleaning rags, and clutter.
- Pay attention when drying time suddenly increases.
When to call a professional
Some dryer vents are simple: a short metal duct straight through an outside wall. Others are long, hidden, and awkward. Call a professional if your vent exits through the roof, runs more than a short distance, has several elbows, serves a stacked laundry closet with limited access, or still has poor airflow after a basic cleaning.
You should also get help if you smell gas, notice scorching, hear scraping inside the dryer, see error codes that keep returning, or cannot safely move the appliance. Vent cleaning is helpful maintenance, but it is not worth damaging a gas line, electrical cord, or hidden duct.
A simple fall laundry-room reset
Once the vent is clear, take five more minutes to wipe the dryer top, vacuum behind the washer and dryer, and check that detergent, dryer sheets, and laundry baskets are not blocking airflow. If your laundry room gets cold, make sure the exterior vent flap is closing fully so drafts and pests stay outside.
Cleaning a dryer vent is not complicated, but it does reward patience. Work from both ends, remove lint instead of pushing it deeper, and keep the duct as straight and sturdy as possible. Do it now, before winter laundry piles up, and your dryer will be better prepared for the season ahead.